Setting up SAP
Before we start integrating SAP with Azure Active Directory for SSO, we need to setup SAP to allow this communication to happen.
This section will show the steps required for this to be accomplished:
SAP Profile selection
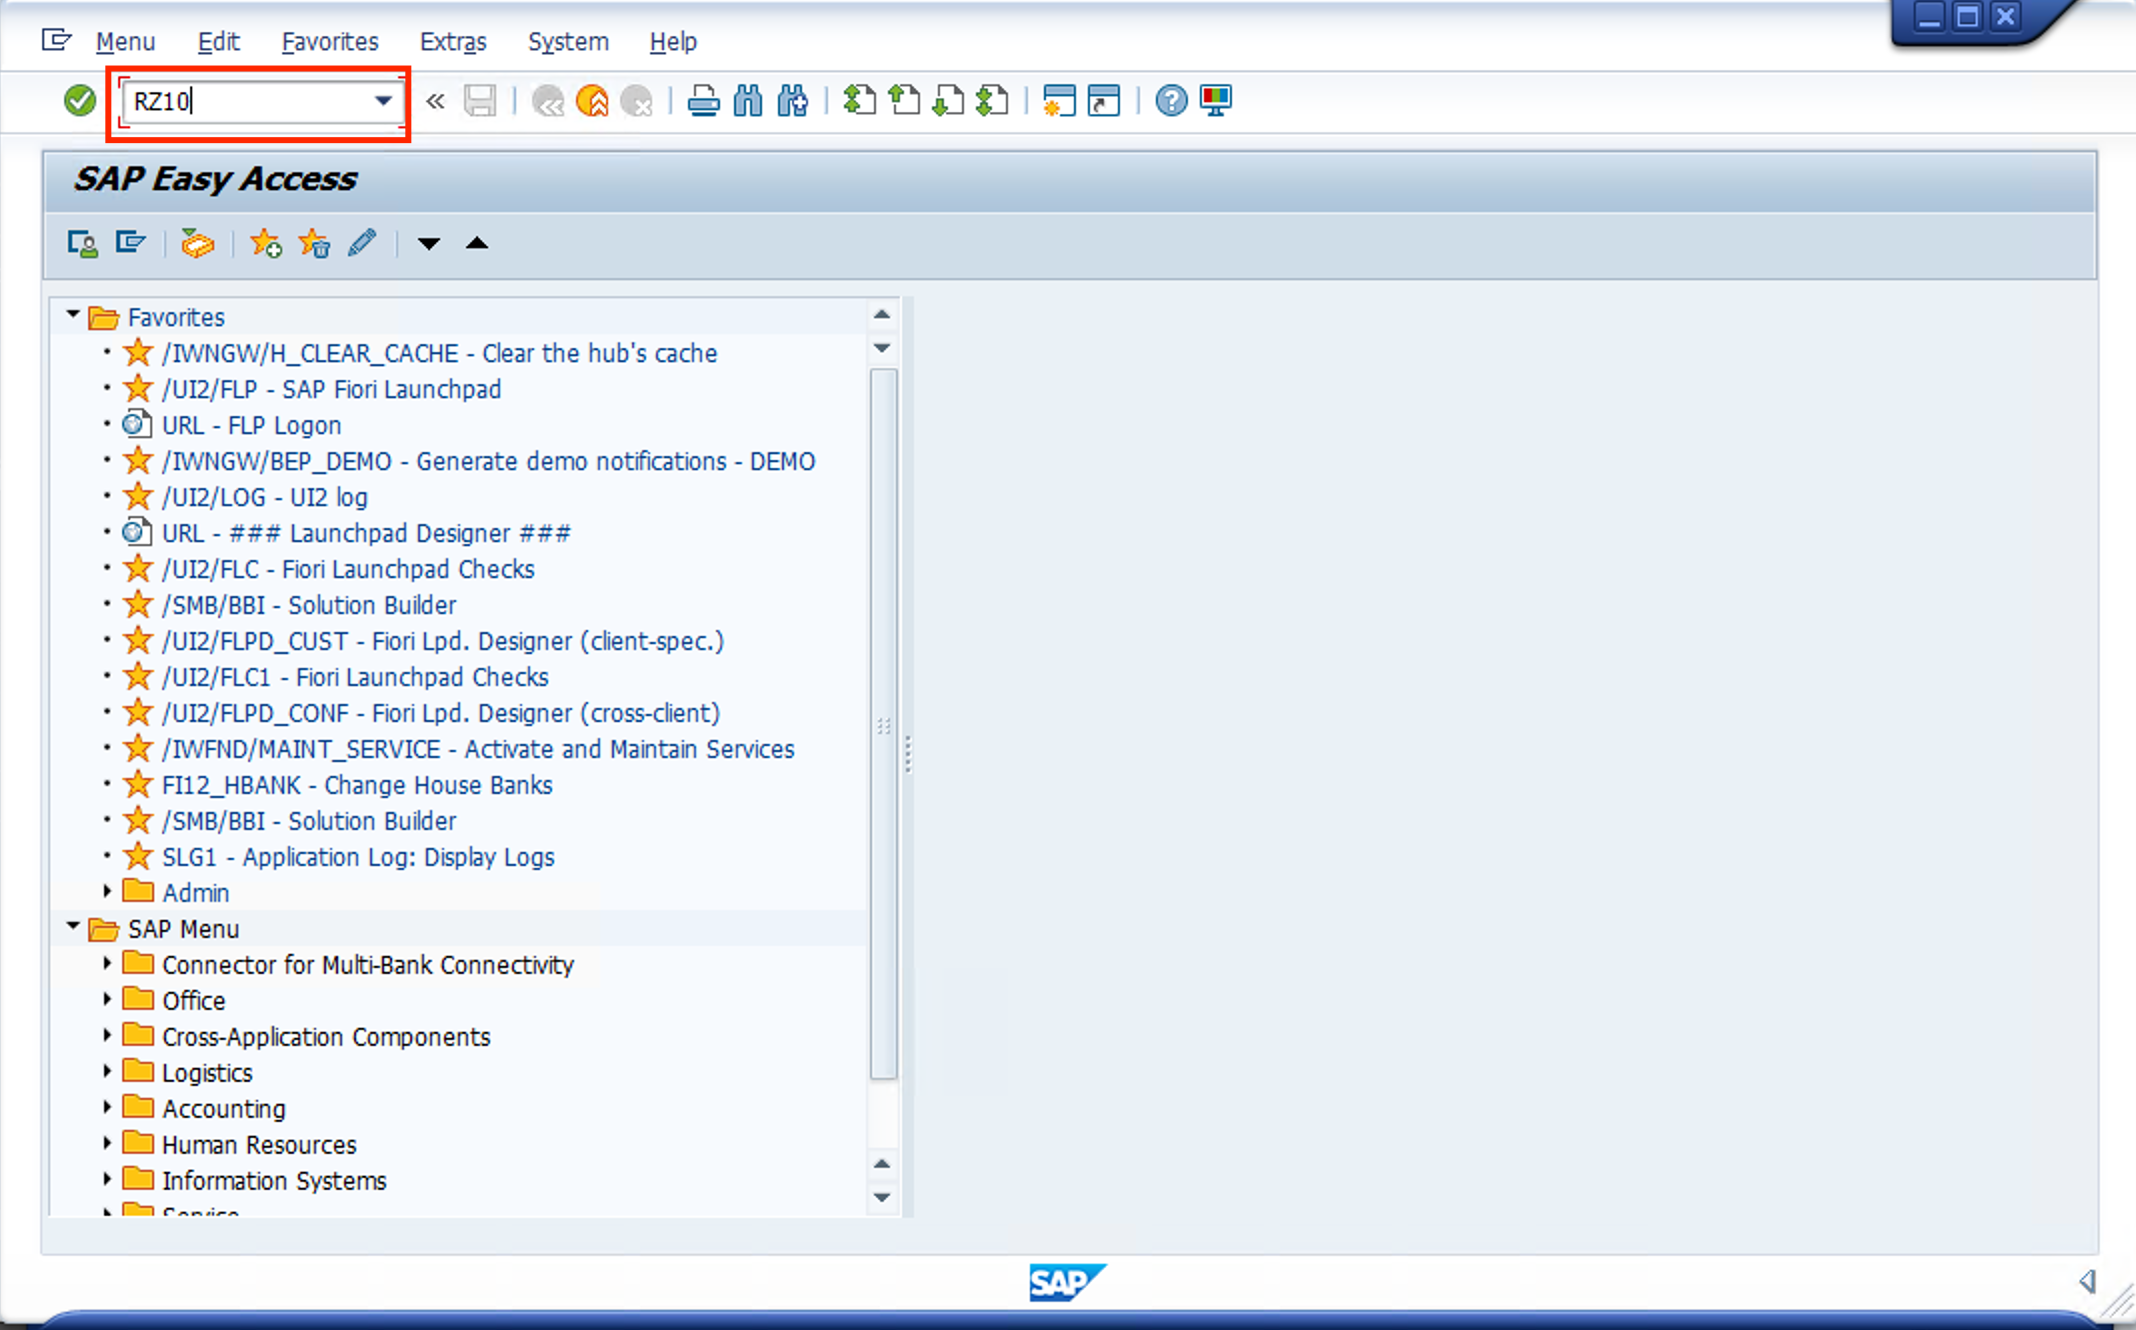
- Log on to the SAP BAstion host via Remote Desktop and look for open SAP GUI (SAP Logon) with user BPINST/Welcome1
- Go to TCODE RZ10
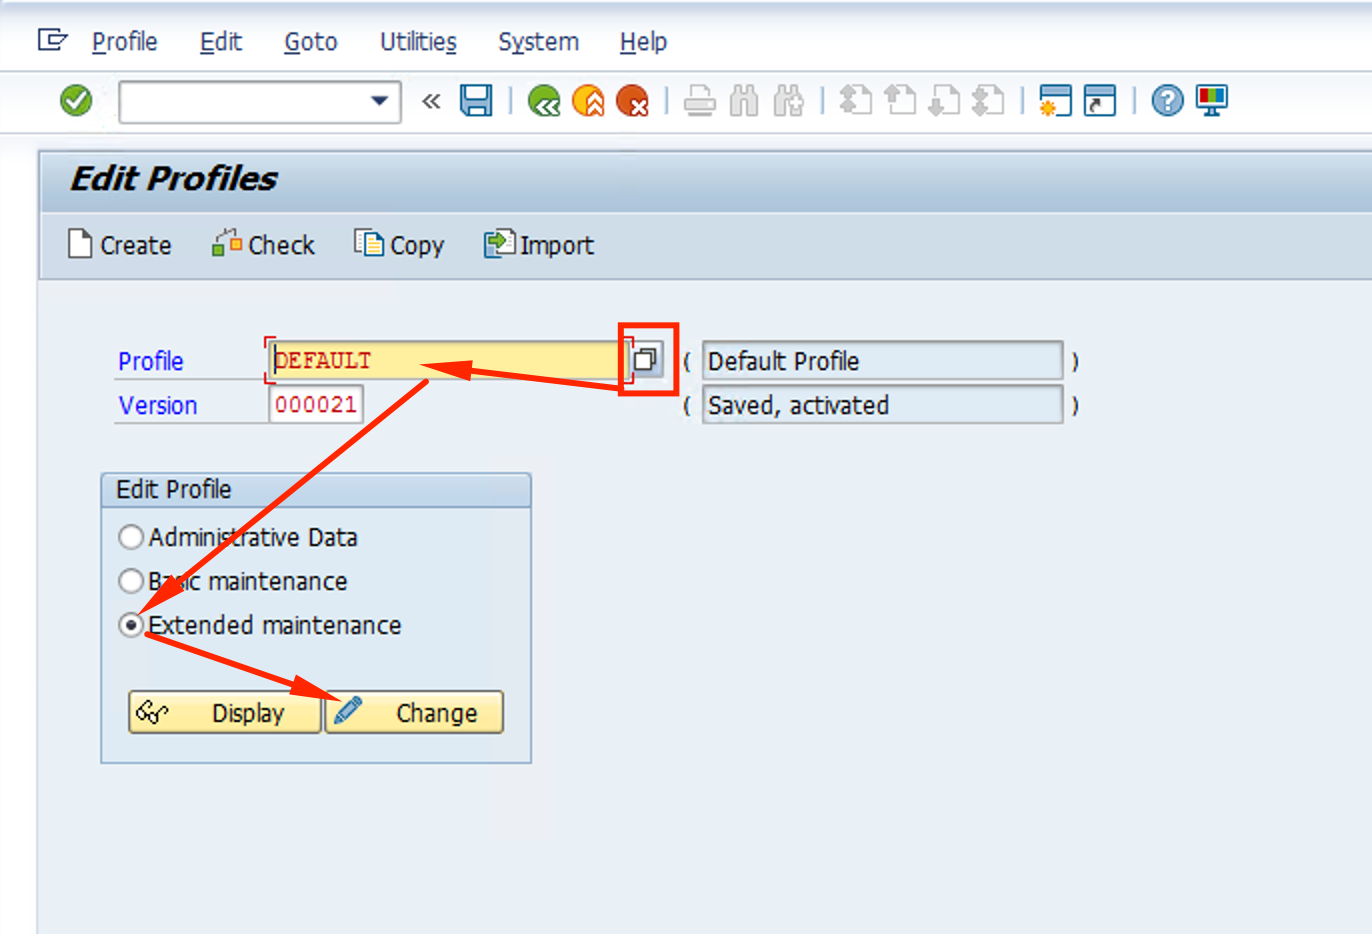
- We will change some parameters from the default SAP profile. Click on the Profile select DEFAULT, pick Extended maintenance and click on CHANGE
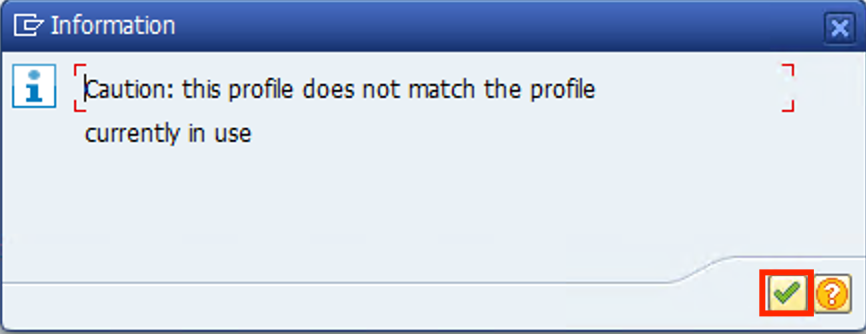
- Click OK on the pop-up message
Setting up parameters
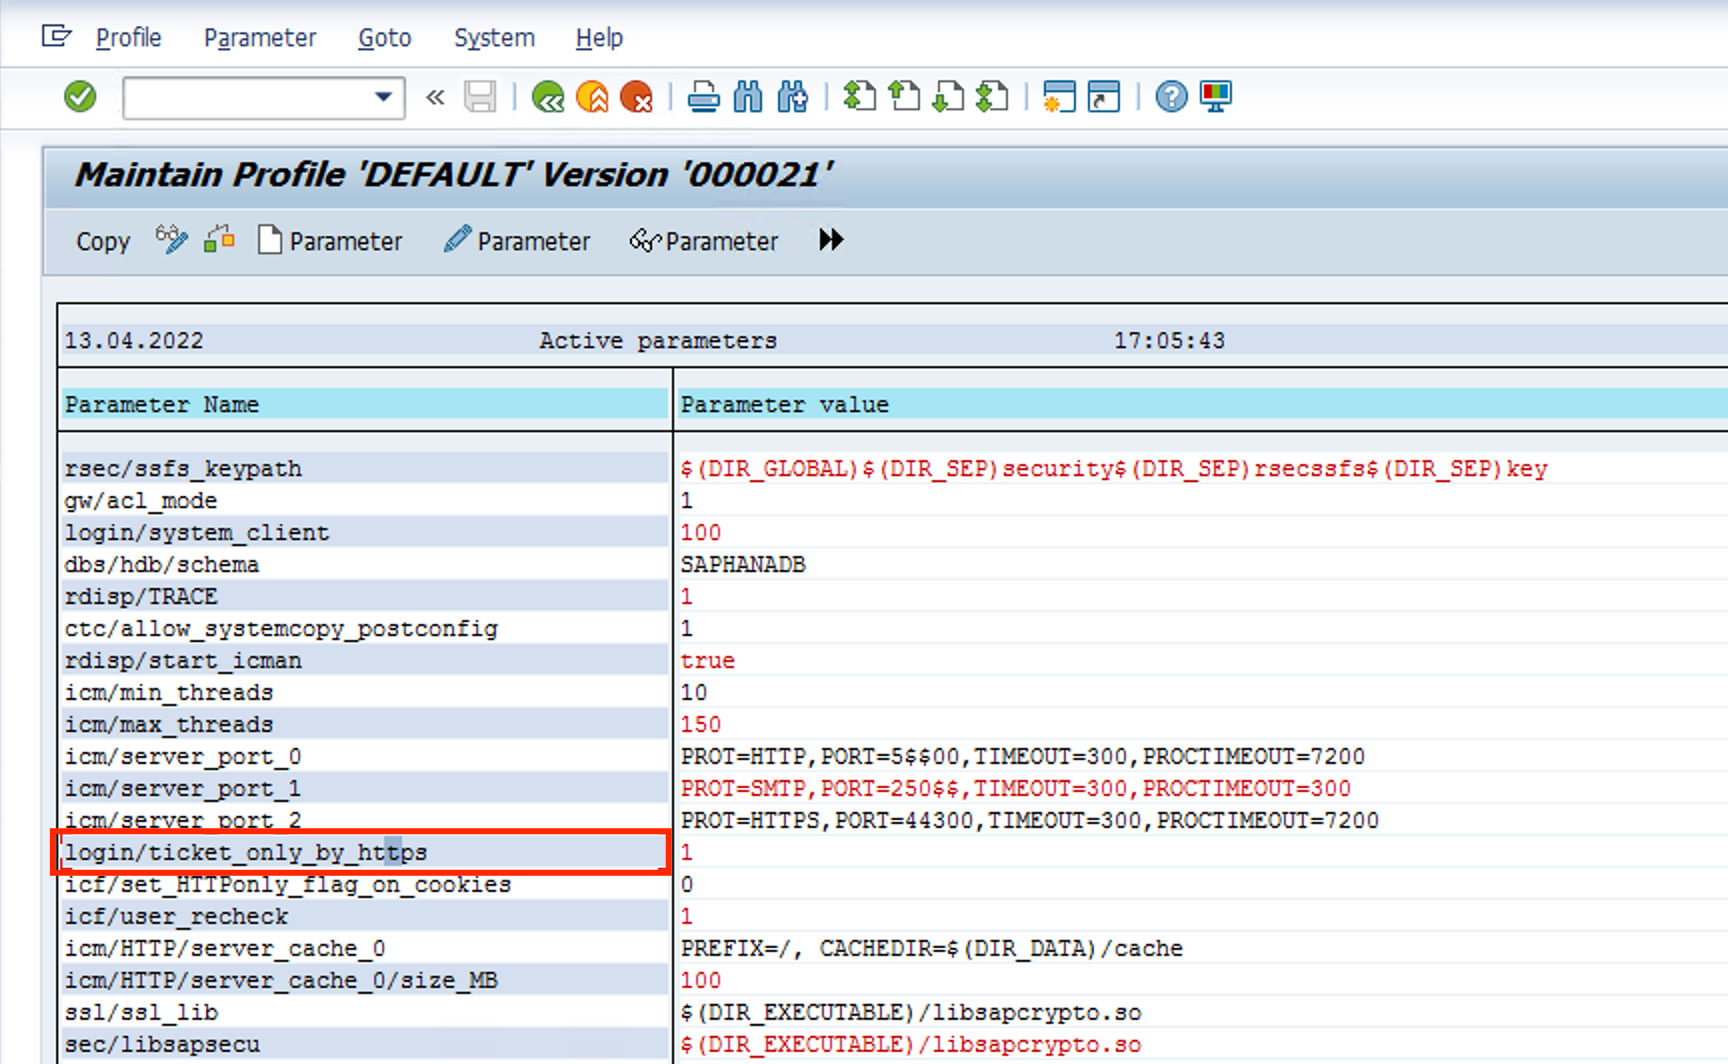
We will change 3 parameters, following always the same procedure:
-
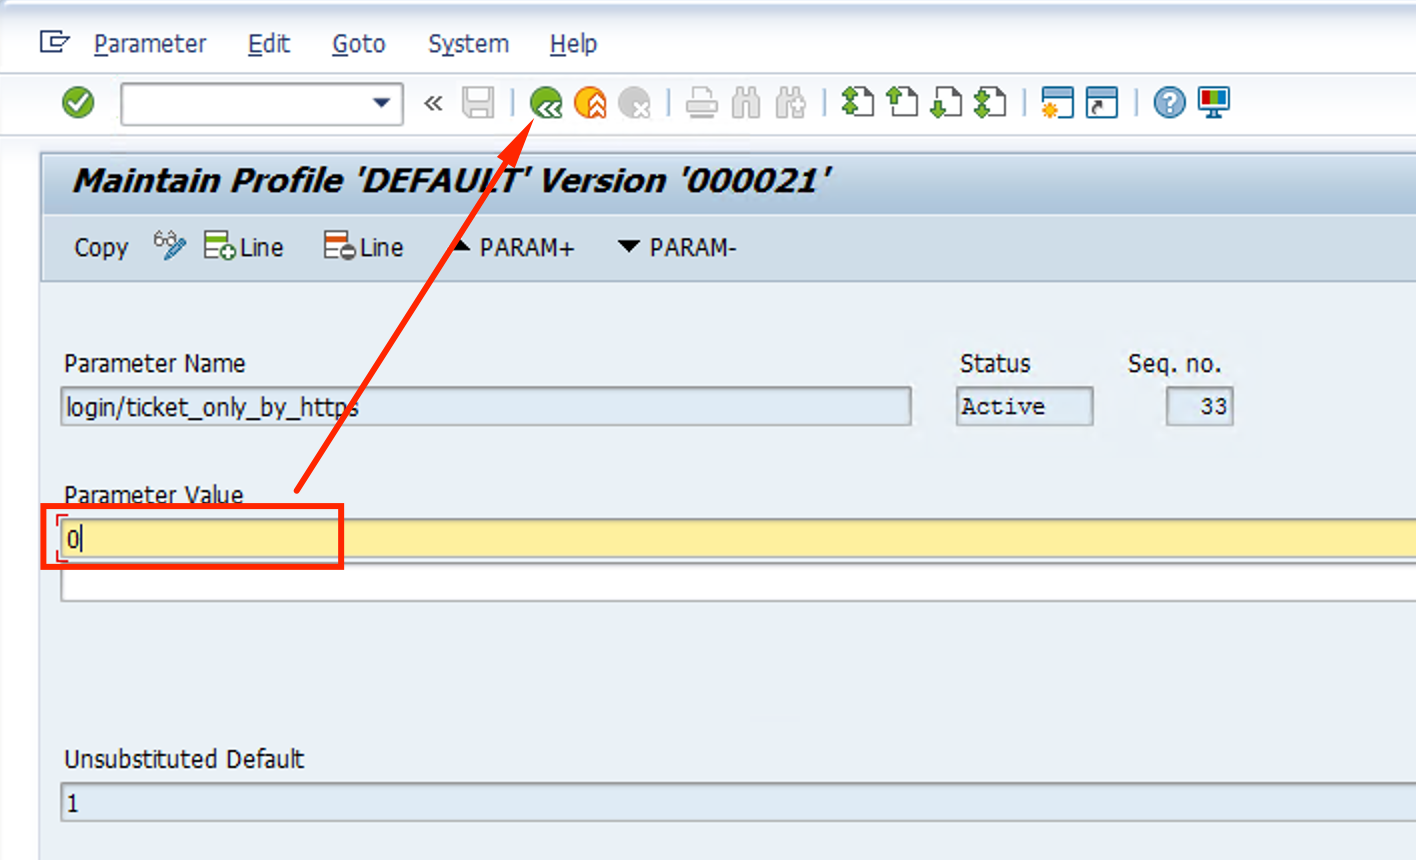
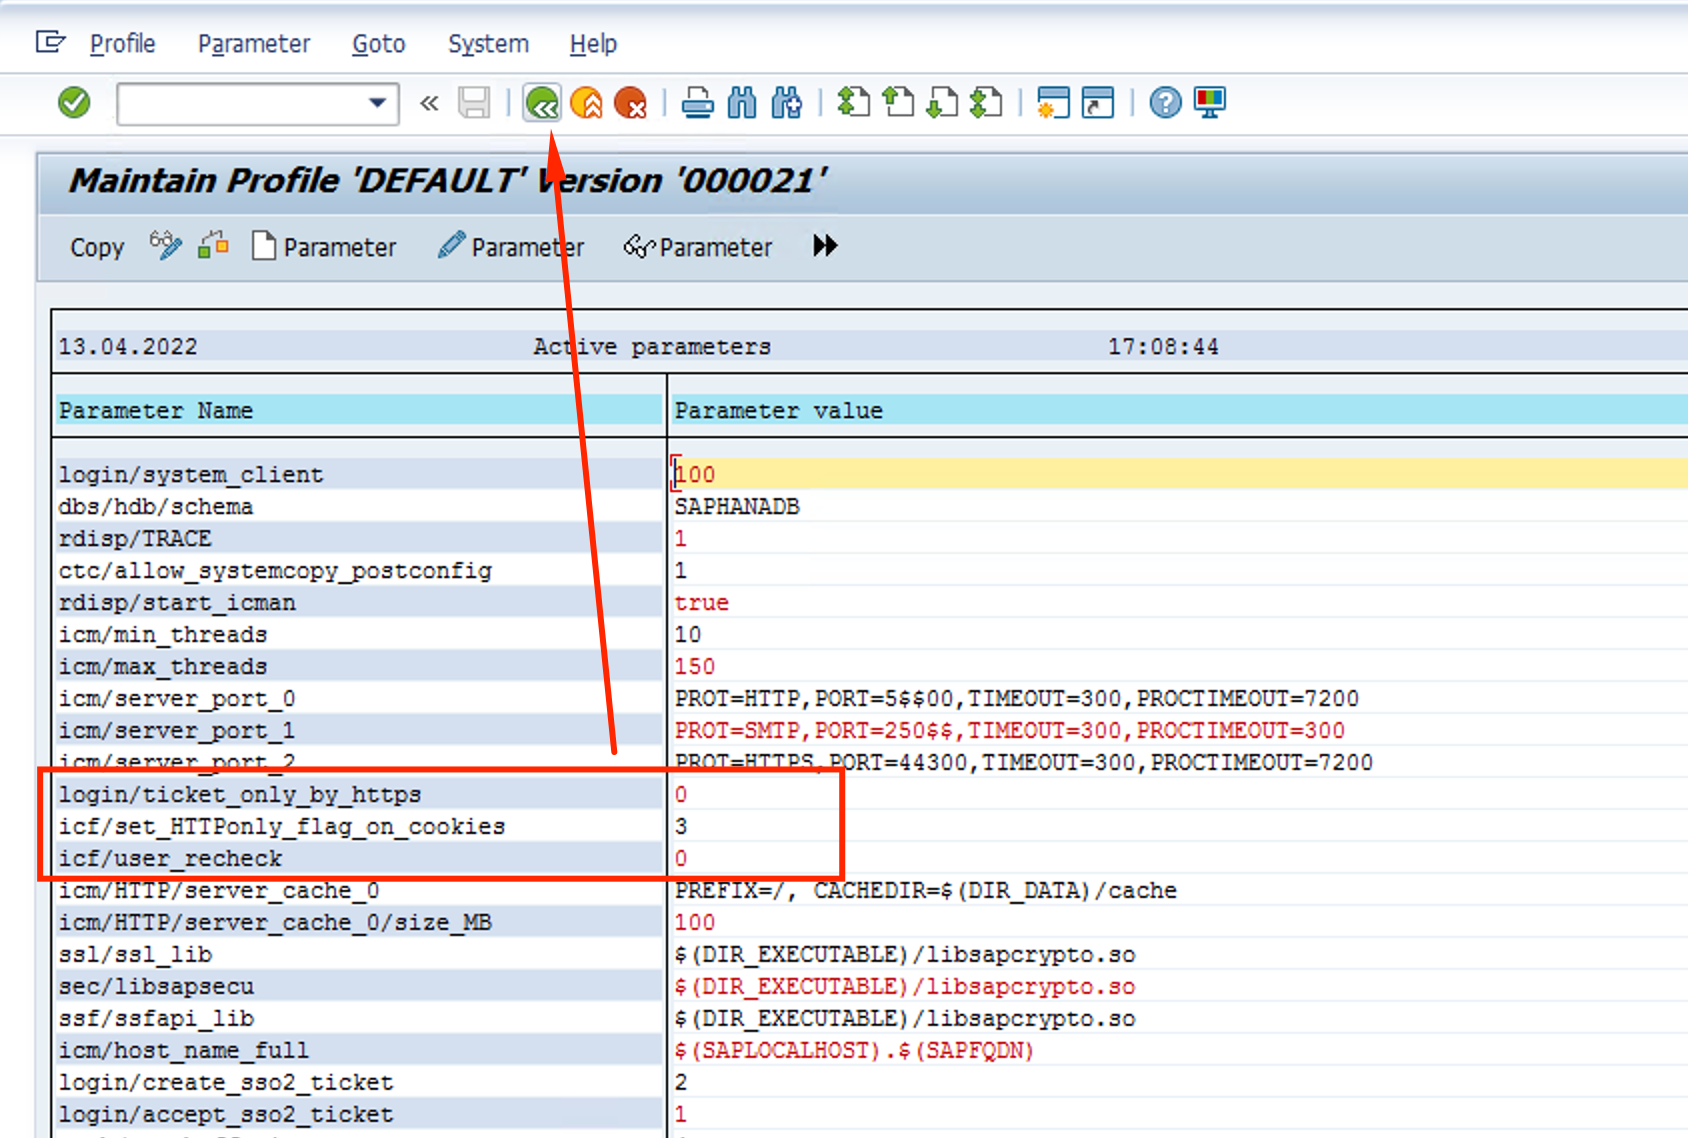
Double-Click parameter login/ticket_only_by_https (default = 1)
-
Change its value to 0 and click on the Back button
-
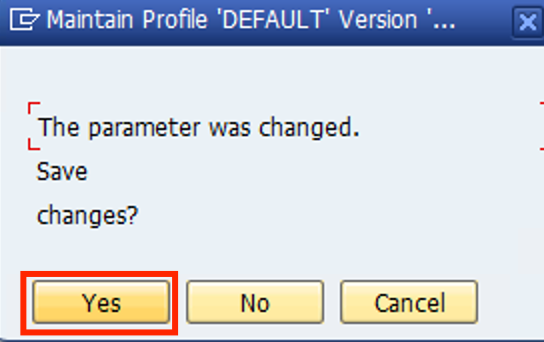
Confirm the parameter change
Repeat the same procedure to
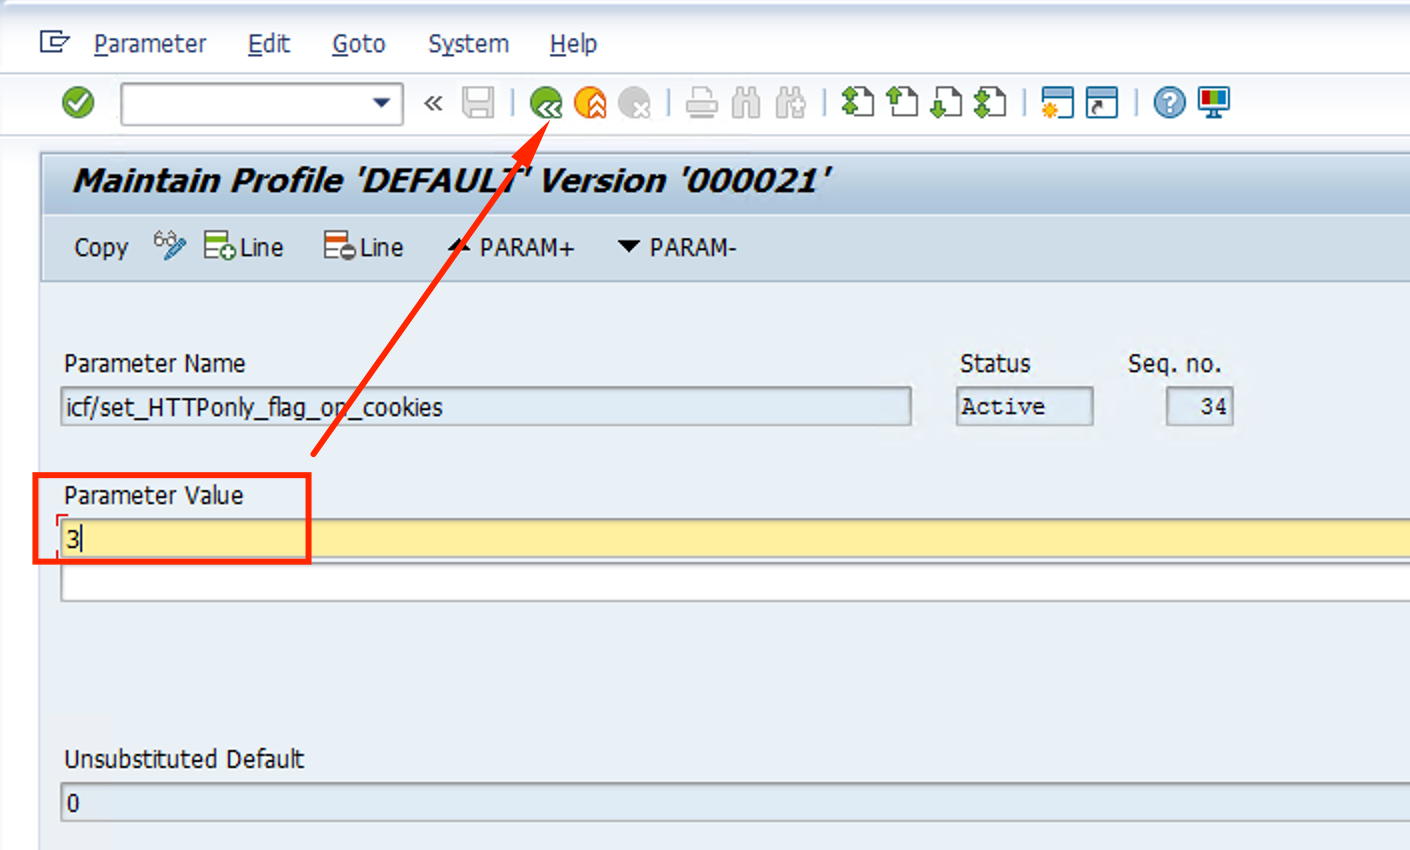
- Parameter: icf/set_HTTPonly_flag_on_cookies / Value: 3
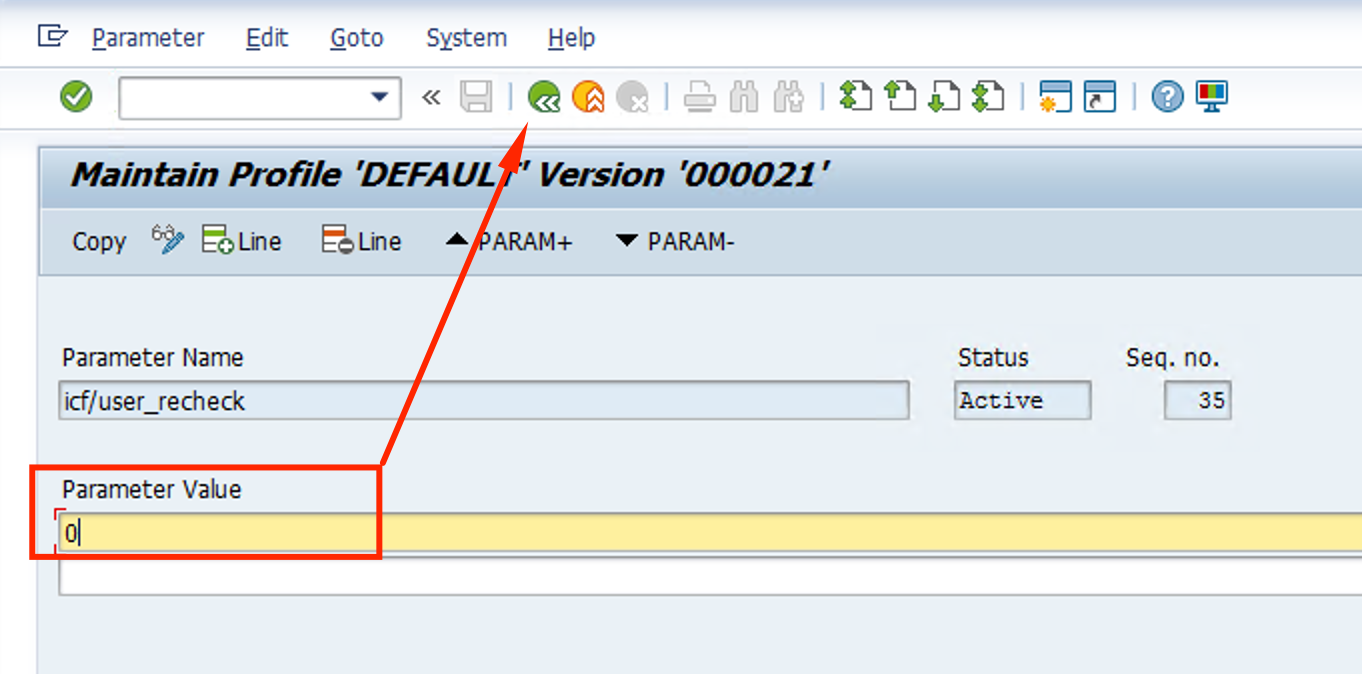
- Parameter: icf/user_recheck / Value: 0
- Parameter: icf/set_HTTPonly_flag_on_cookies / Value: 3
-
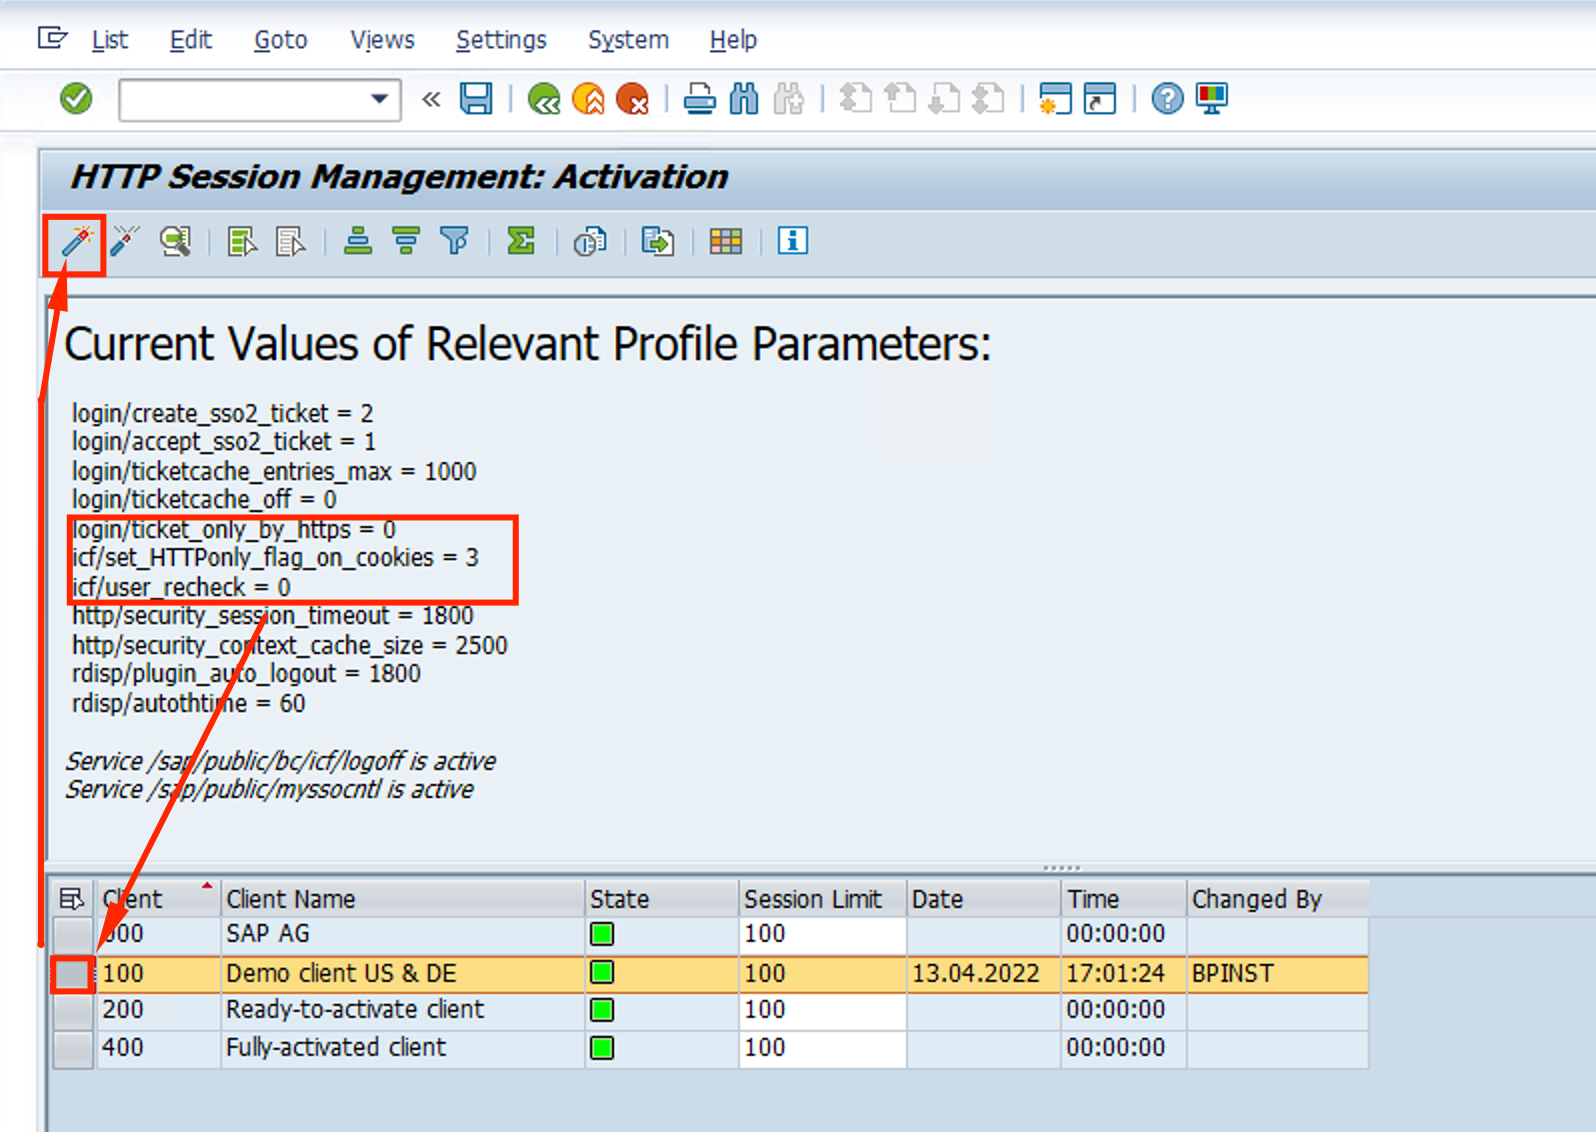
Double check changes and click Back Button:
- login/ticket_only_by_https = 0
- icf/set_HTTPonly_flag_on_cookies = 3
- icf/user_recheck = 0
-
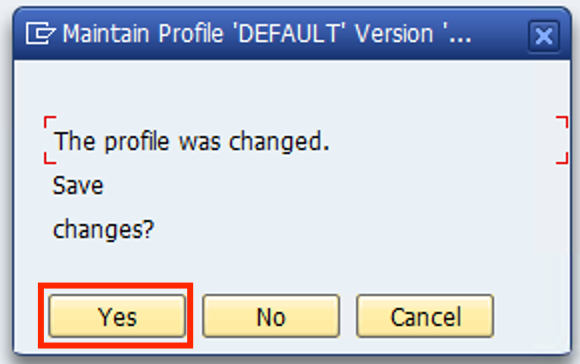
Save the Profile Changes
-
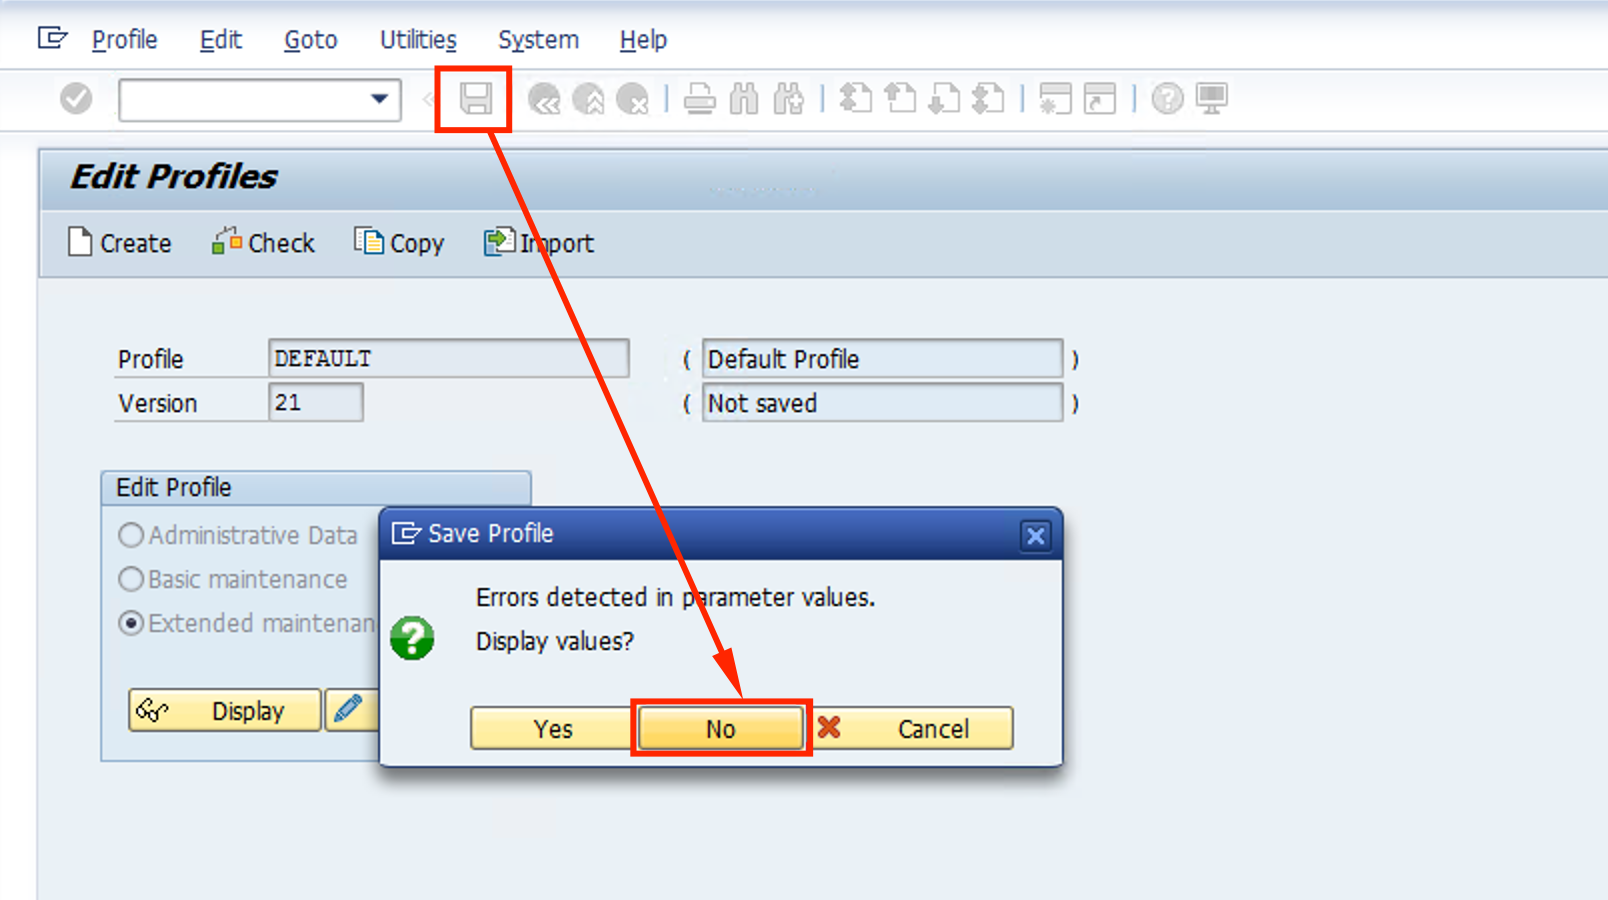
Click on the SAVE button and select No for errors
-
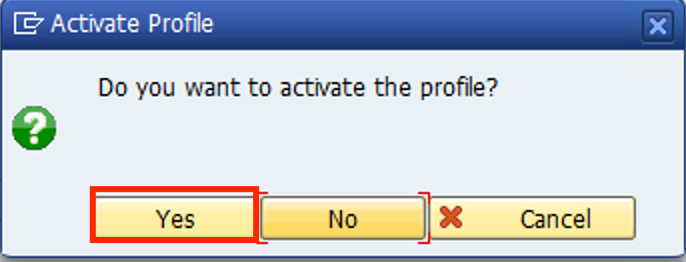
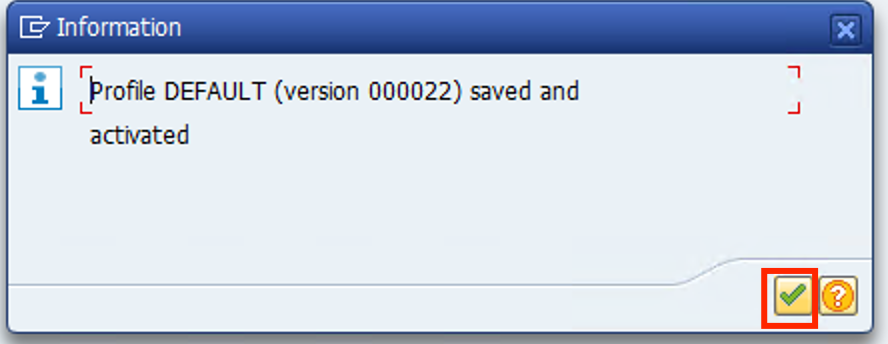
Confirm new profile activation
-
Click OK on the confirmation message
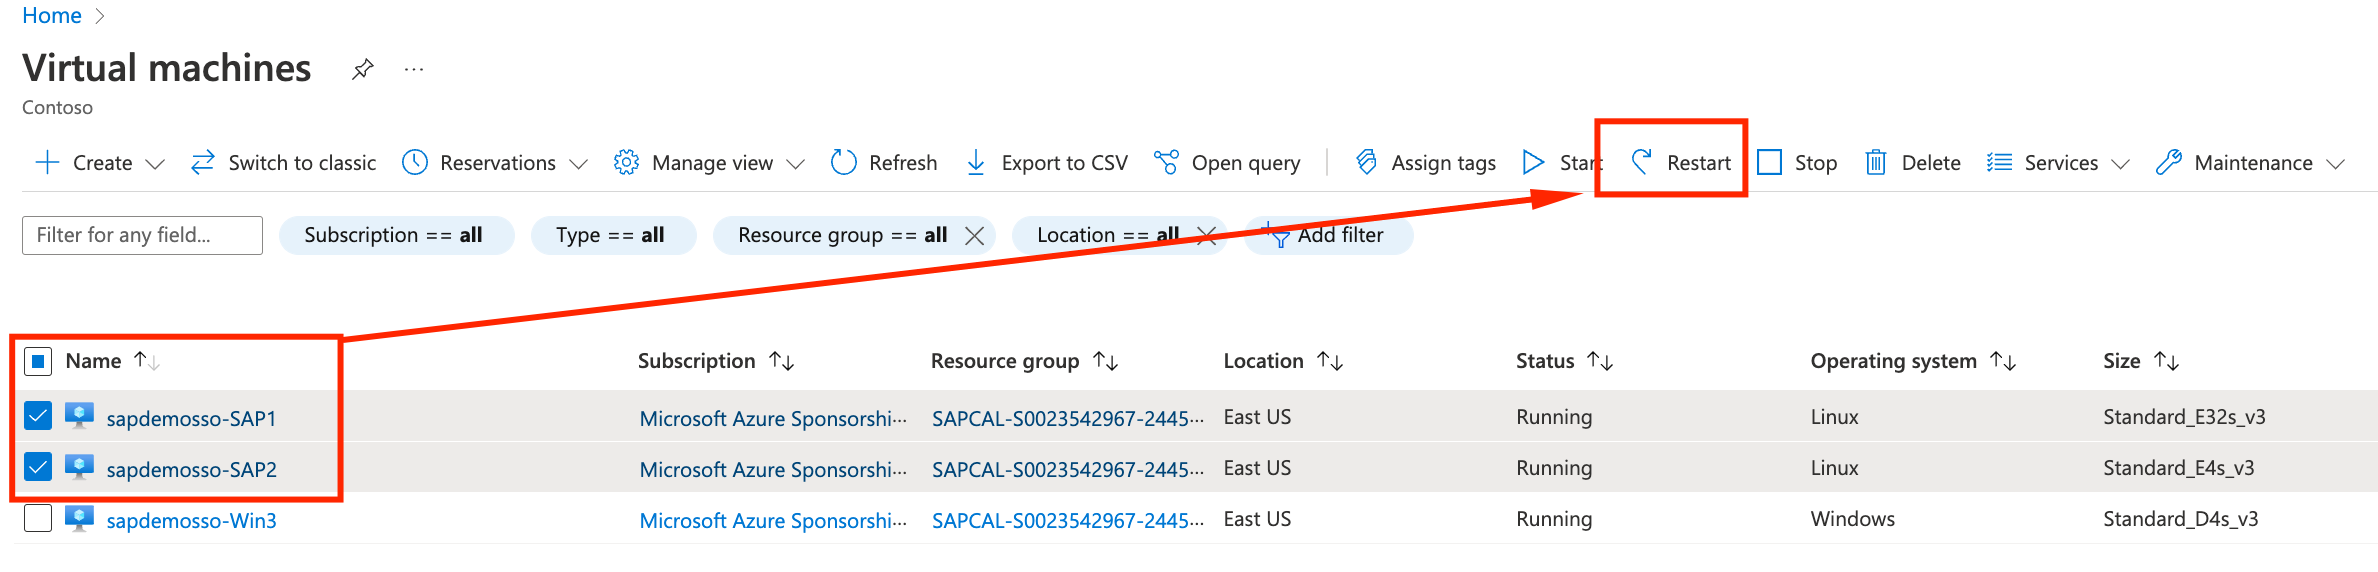
Reboot SAP
In order for the changes become effective, we need to stop/start SAP. The simple way of doing this is going to the Virtual Machines under Azure Portal, selecting VMs SAP1 and SAP2 and clickgin Restart. It should take around 15 minutes for it to come back up, go grab a coffee.
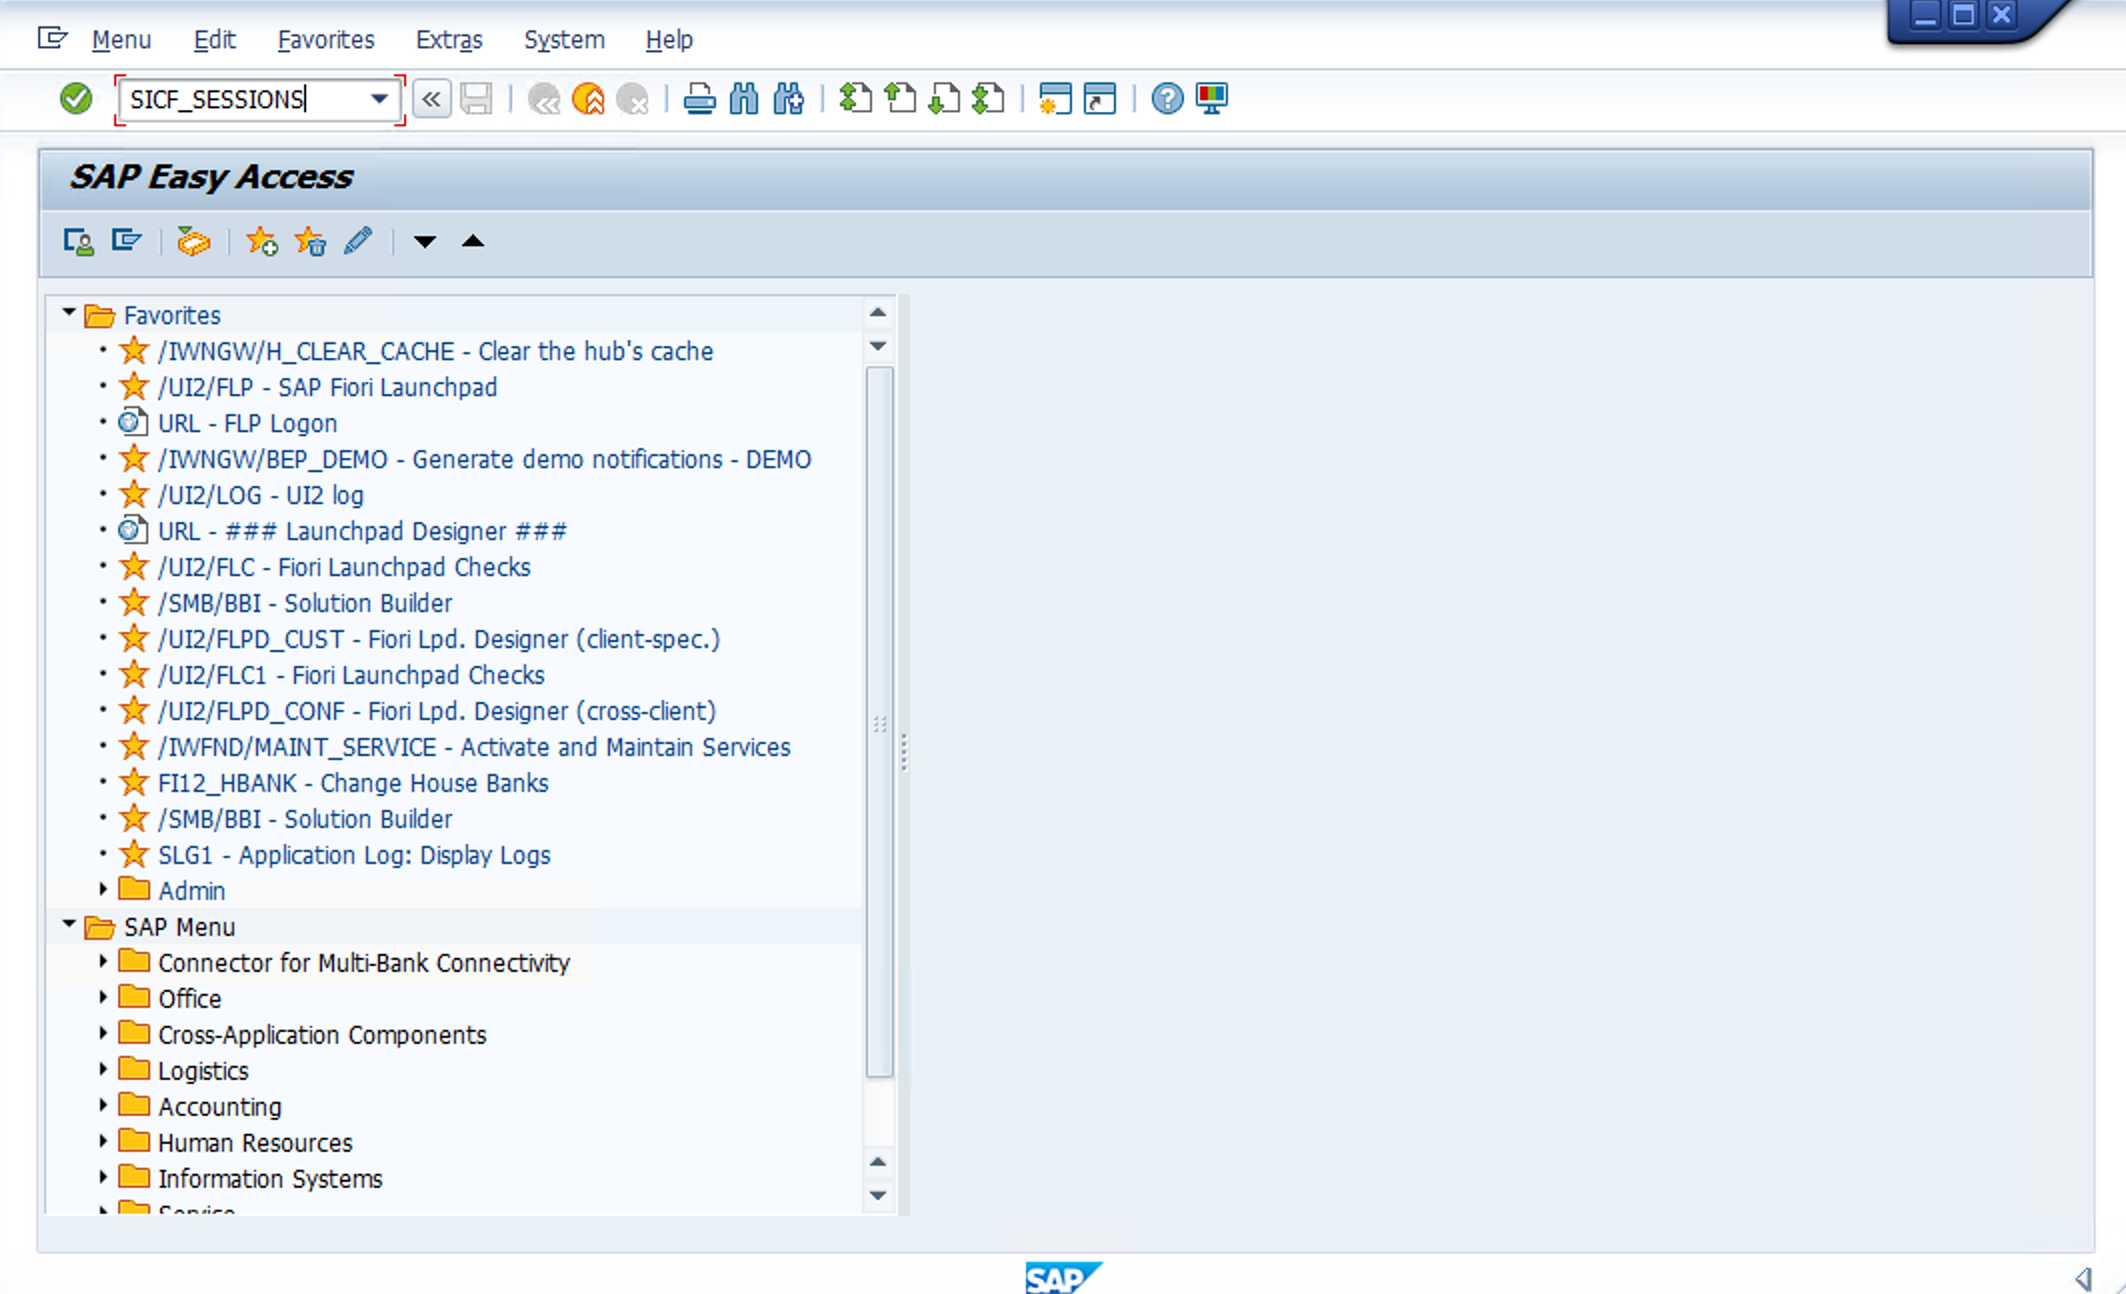
Confirming changes and activating parameters
After the reboot, we need a final step which is activating the parameters to the Client 100 into SAP:
- Go to the SAP GUi on the Bastion Host and go to TCODE SICF_SESSIONS
- Accept the message
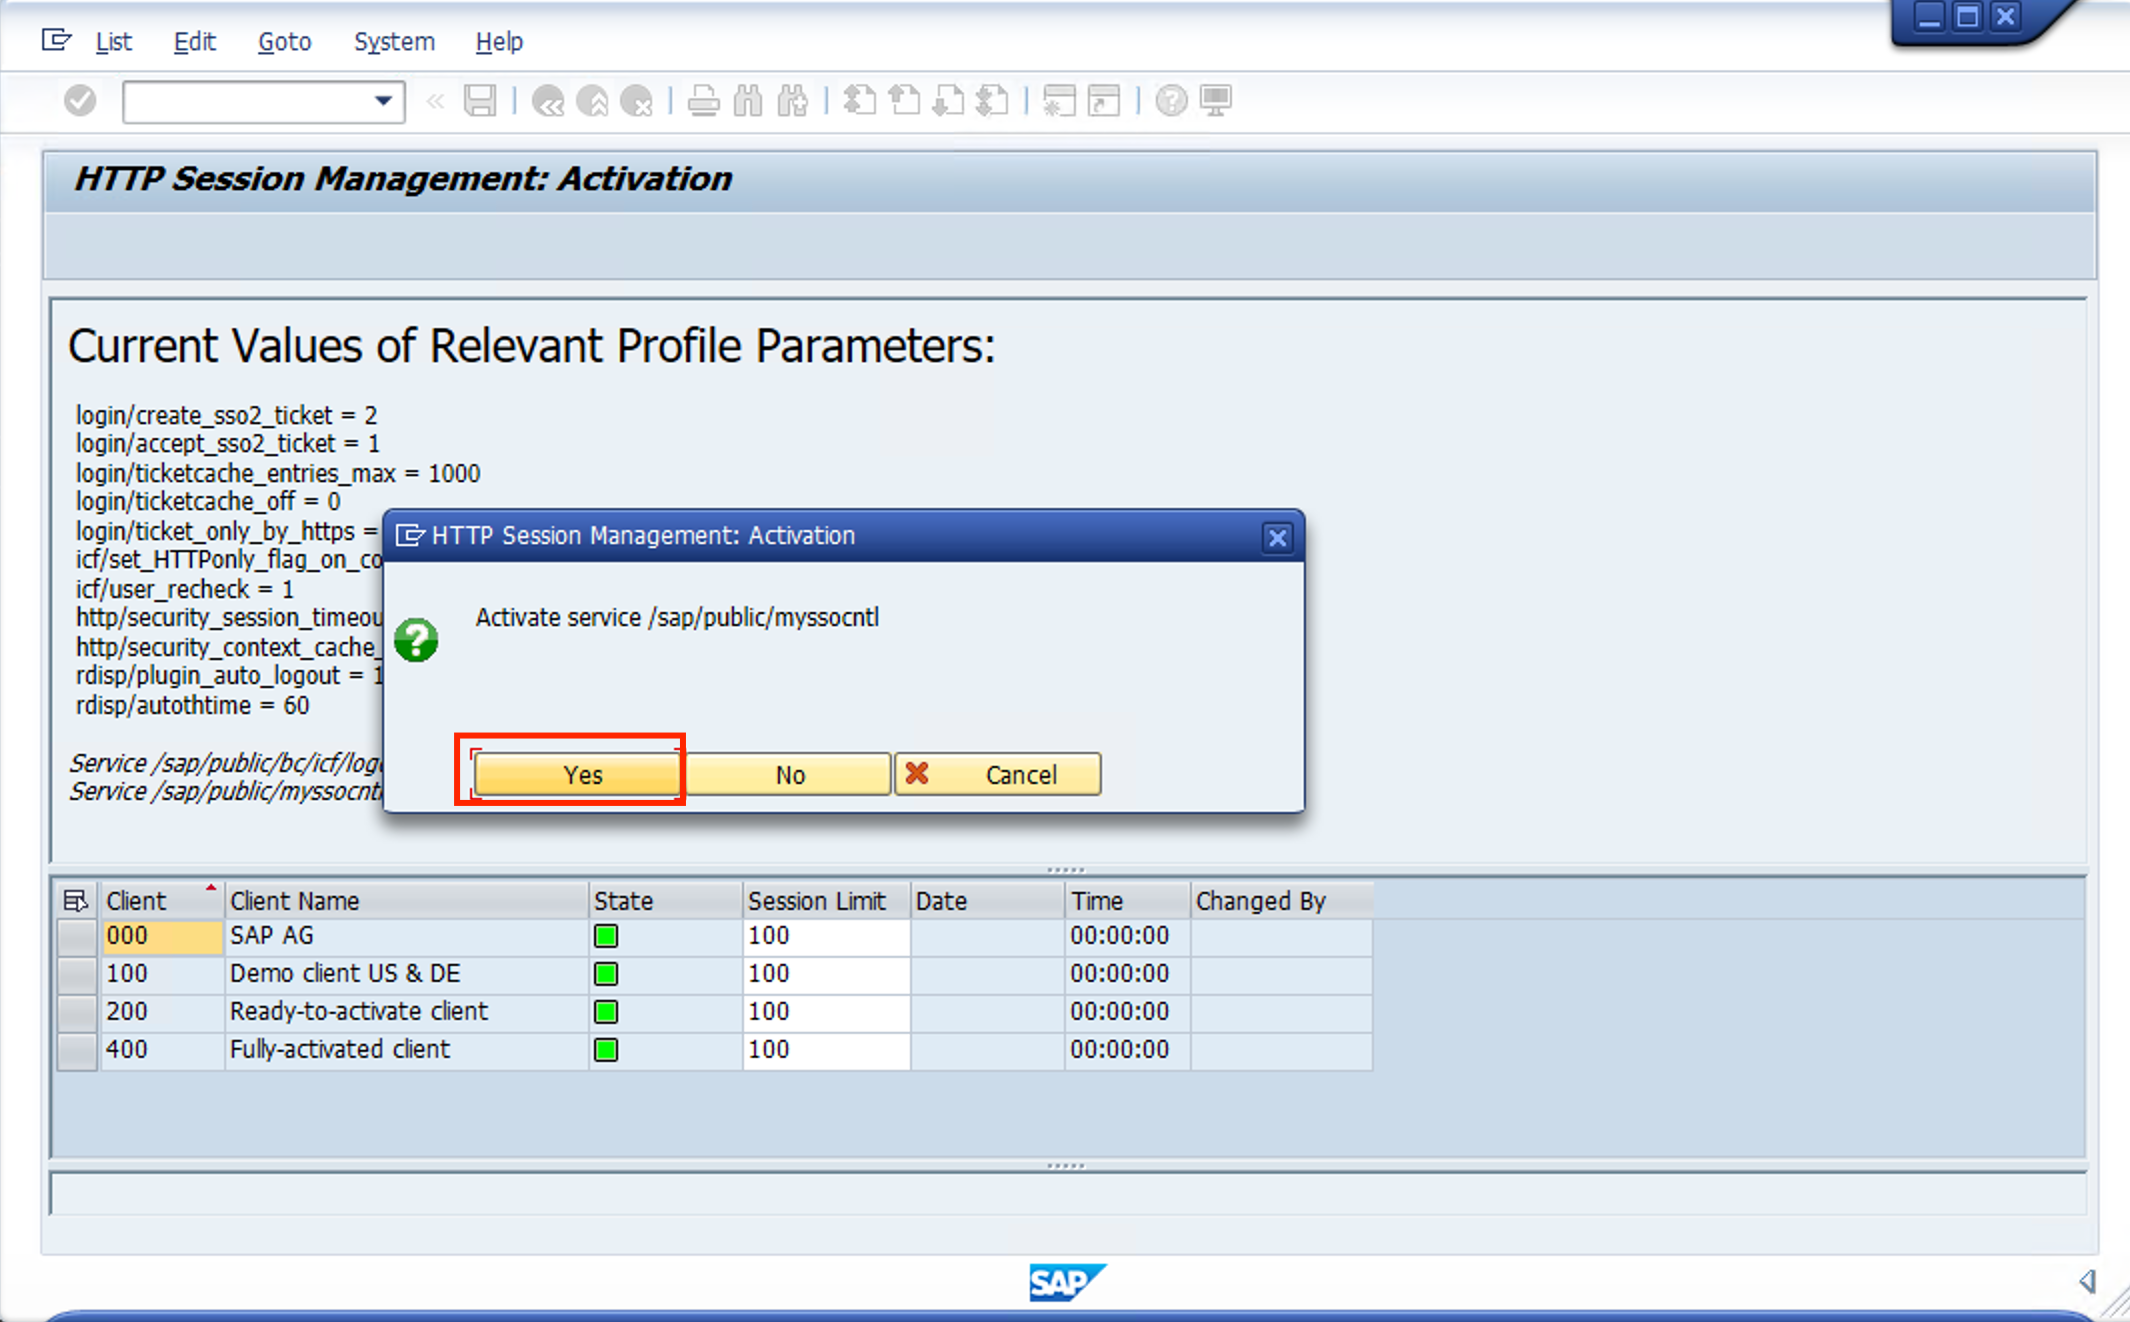
- Check the parameters changed before the reboot, select CLIENT 100 and click on ACTIVATE BUTTON
Alright ! This was the most complex part, changing SAP default profiel to accept SSO.
On the next steps we will configure Azure AD and integrate with SAP.
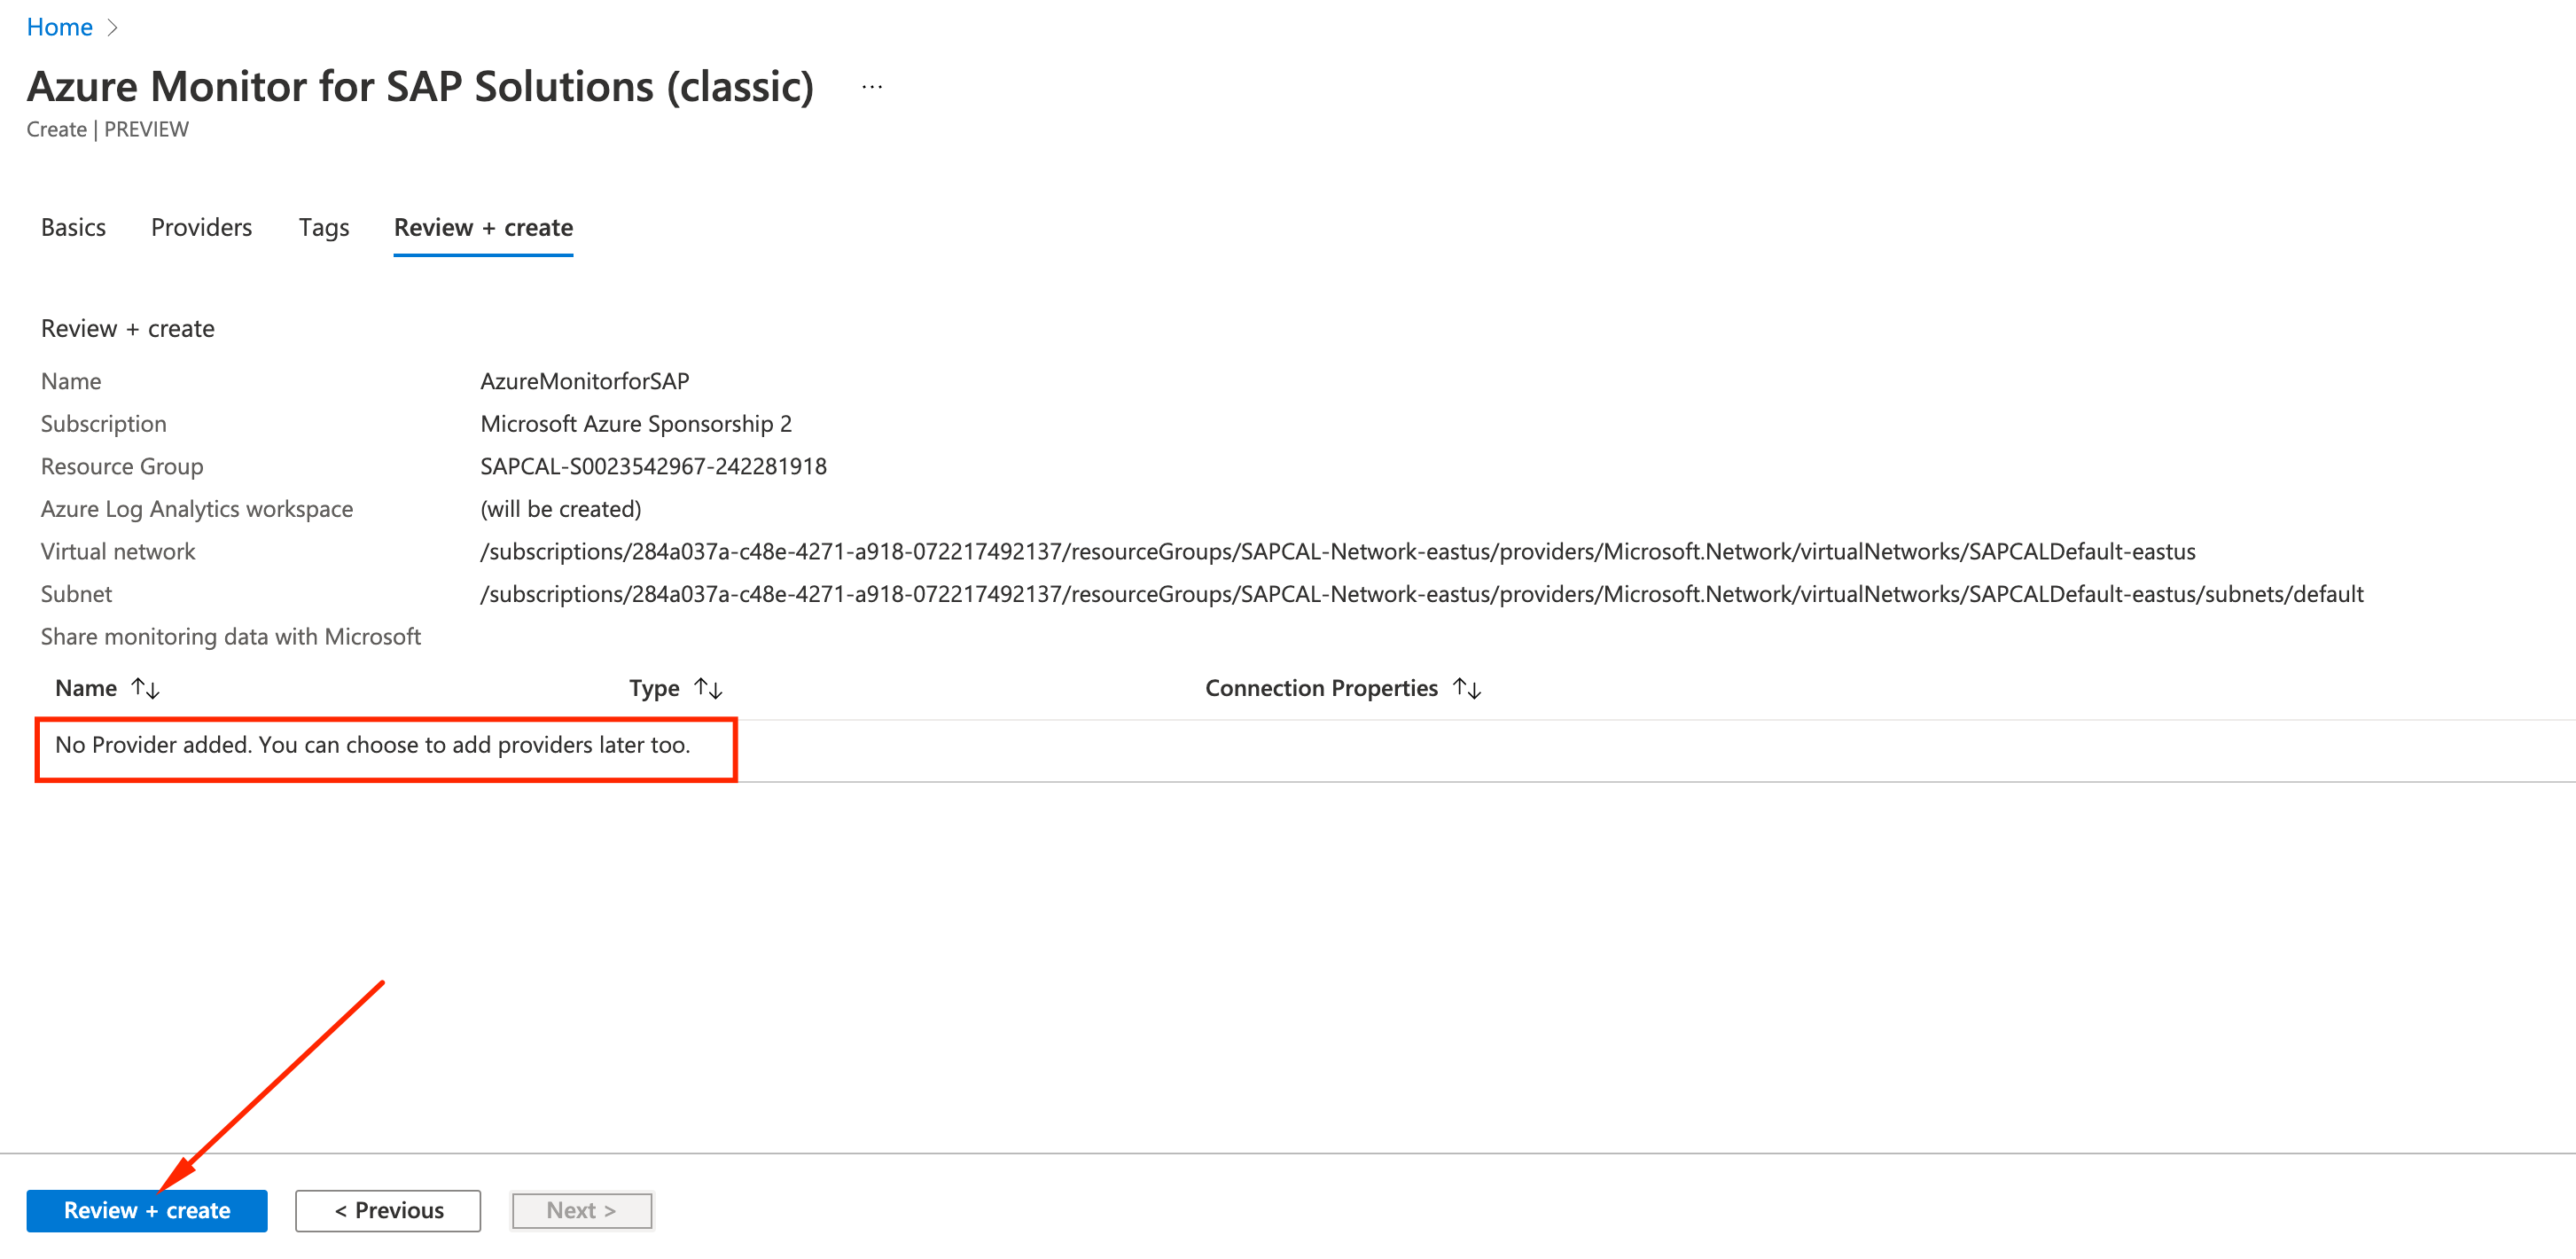
- Create a new instance and provide the required information. Select the same region, vNet and subnet as SAP was deployed:
- Region: East US
- vNET: SAPCALDefault-eastus
- Subnet: default

- Do not worry about defining providers at this moment. Click on **Review + Create **
- Once the deployment is complete Go to Resource and let’s start configuring the data Providers
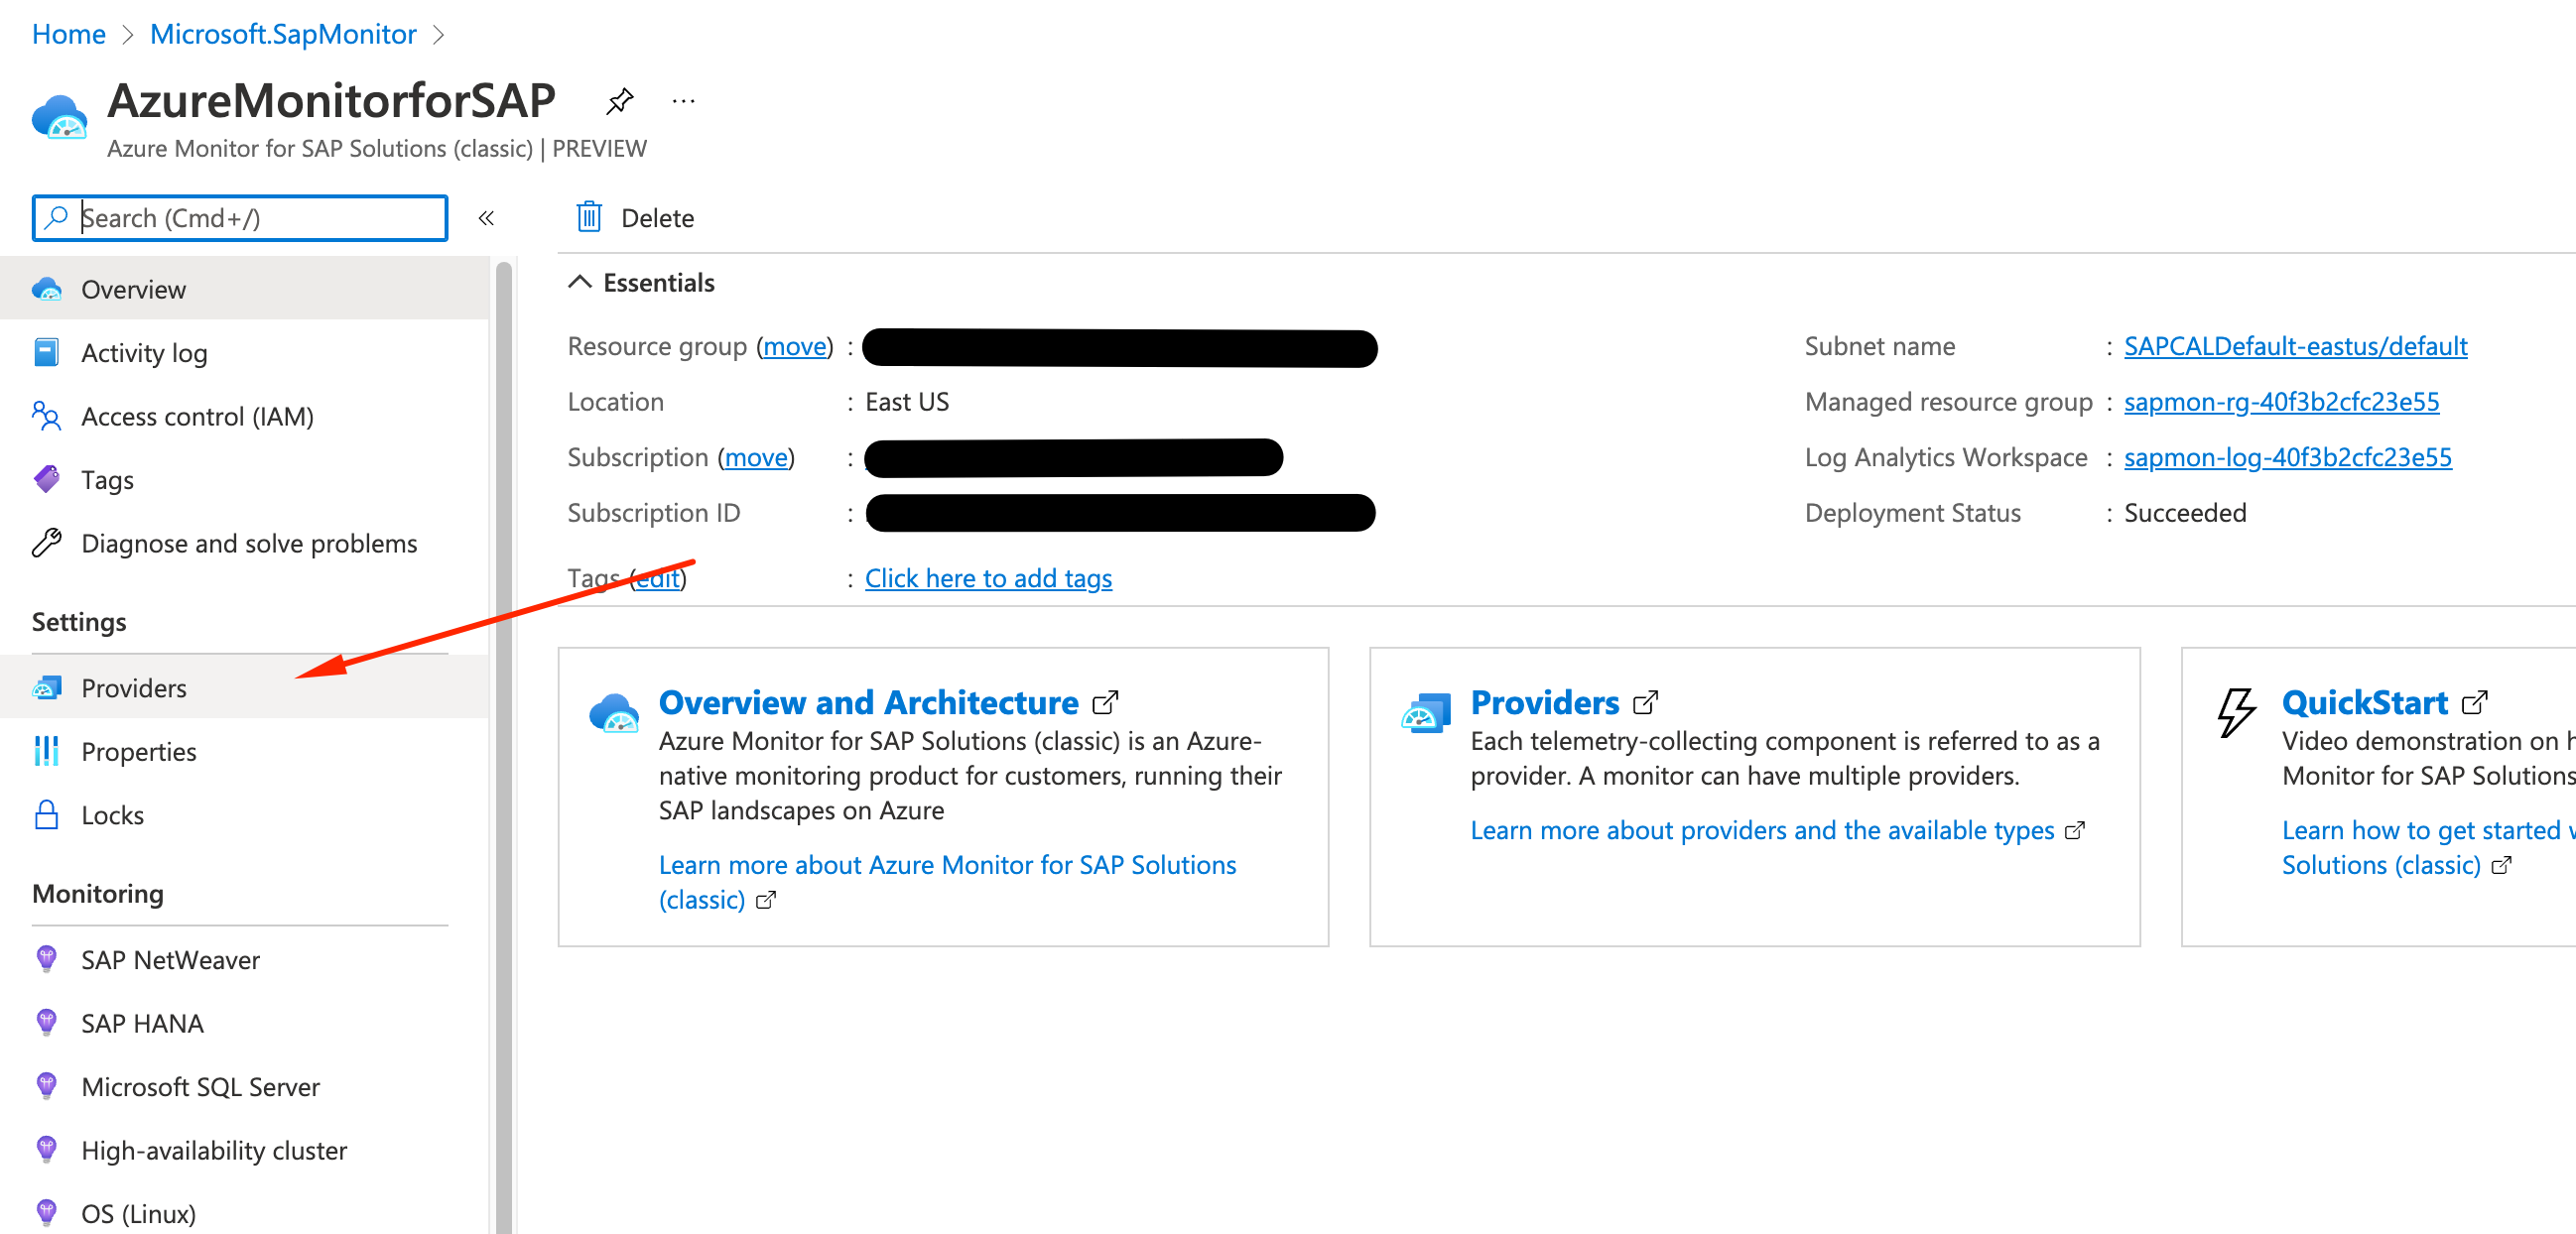
Next steps will be divided by data provider.