Setup Azure Automation for SAP
In order to have Azure Automation gracefully managing SAP Worklaods, we need to setup the Azure Automate and import some runbooks.
This section will show the steps required for that to be accomplished:
Azure Automation Setup
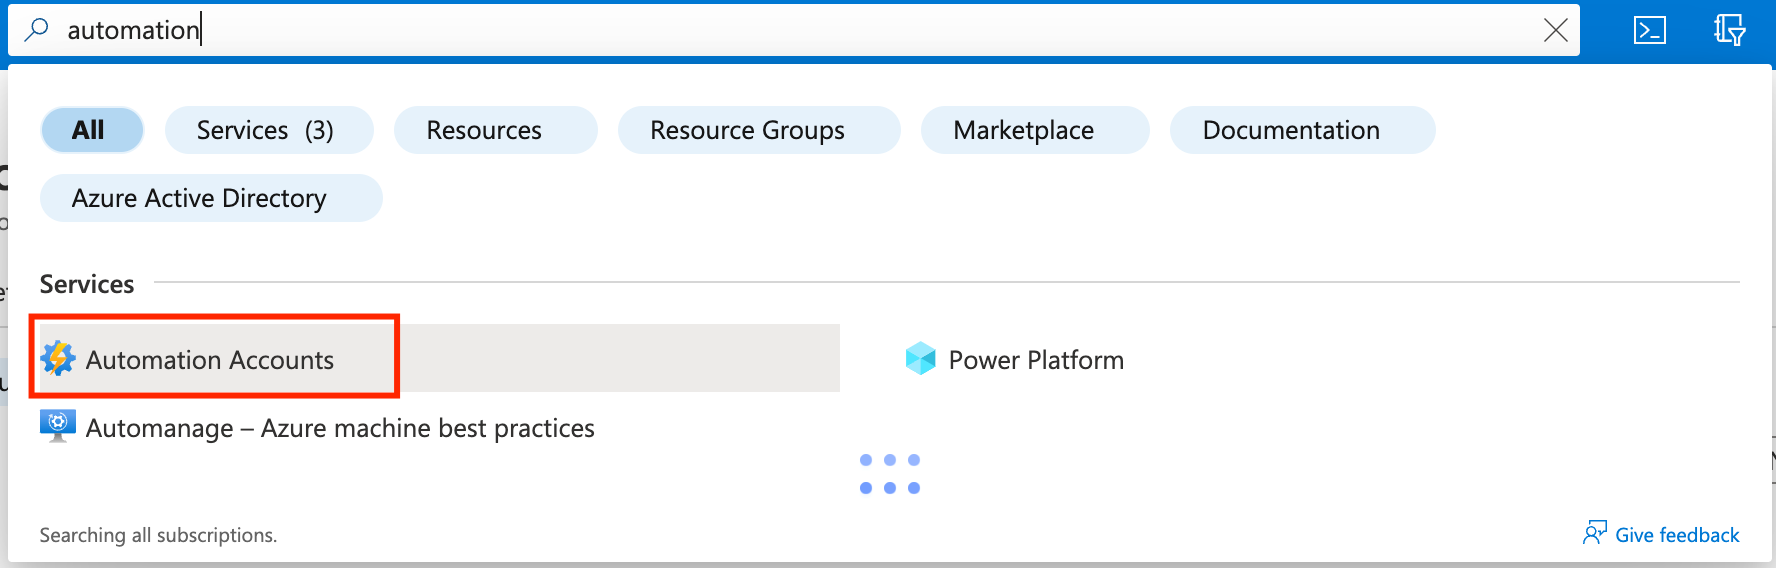
- Log on to the Azure Portal and go to Automation Accounts
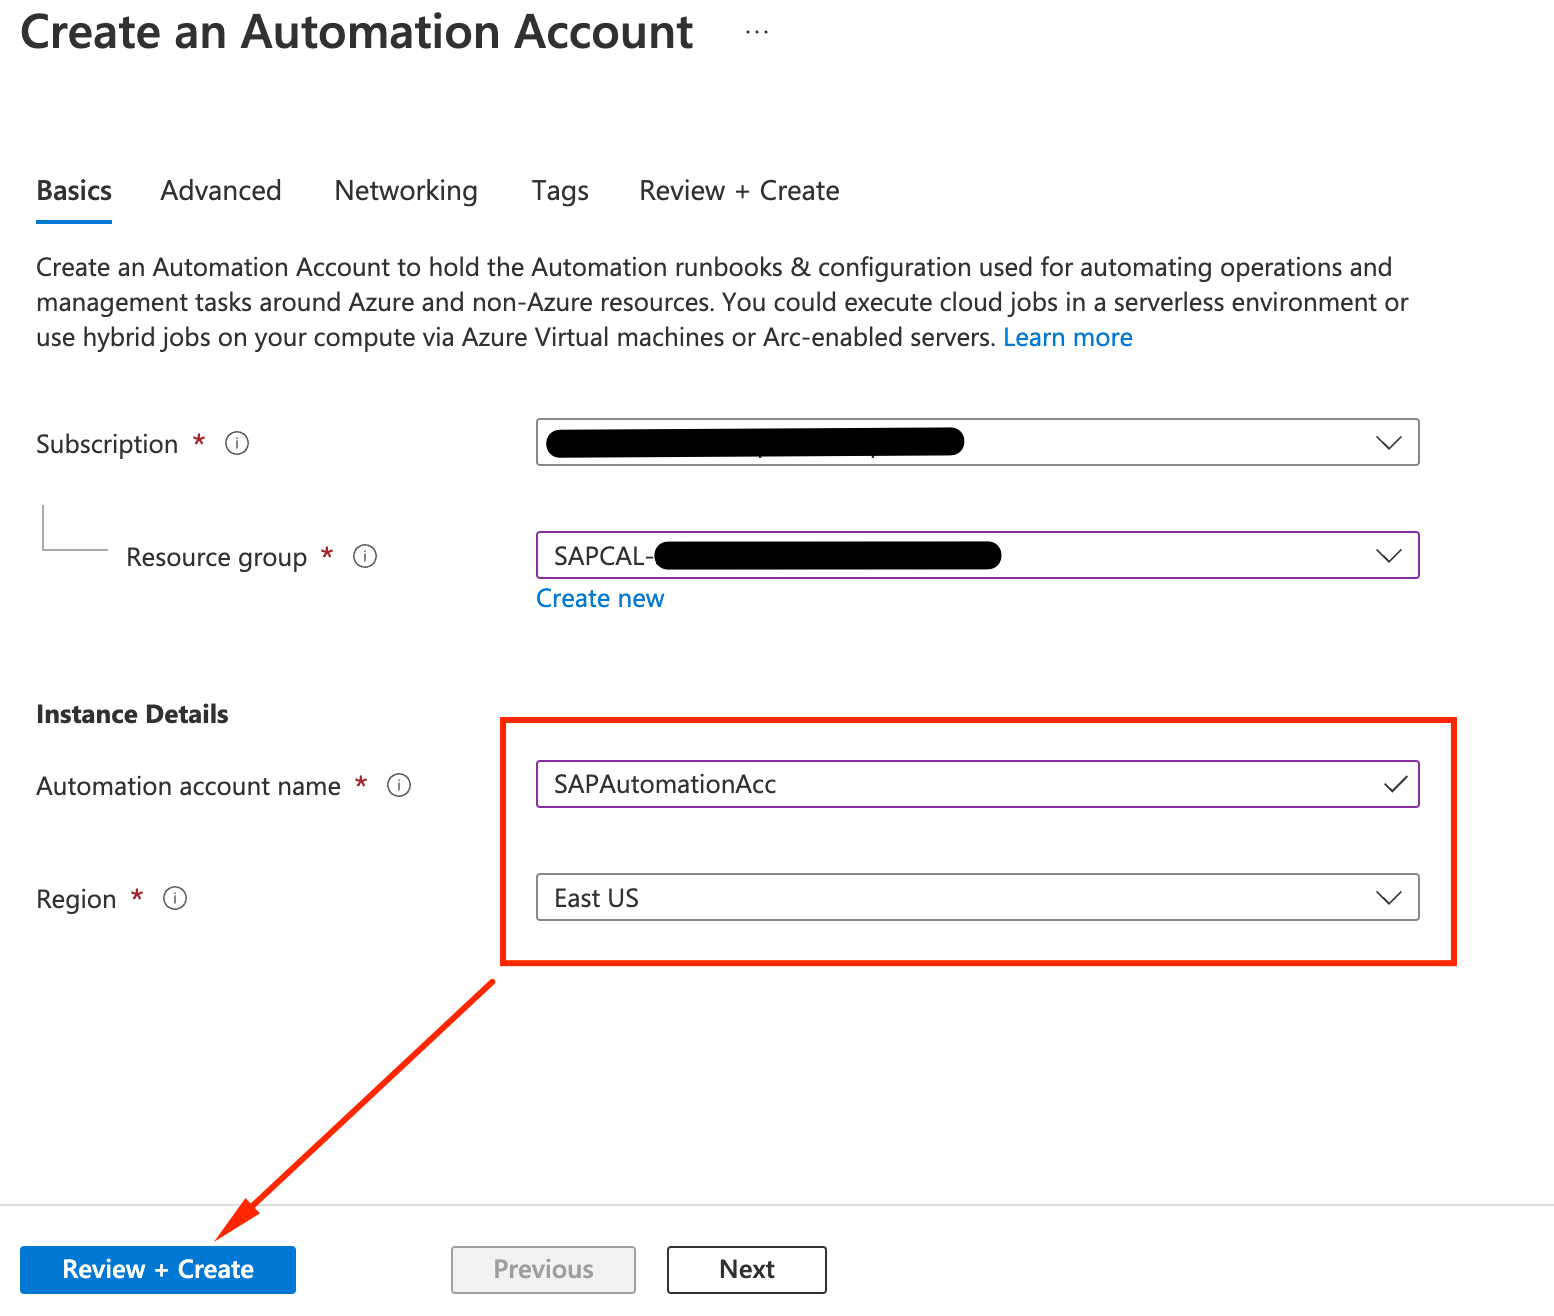
- Create an Automation Account with the following parameters:
- Resource Group: Pick the SAPCAL-XXXXXXXX created by SAP CAL so we can cleanup properly.
- Account Name: SAPAutomationAcc
- Region: East US (same as SAP)
- Click Review and Create and then in Create
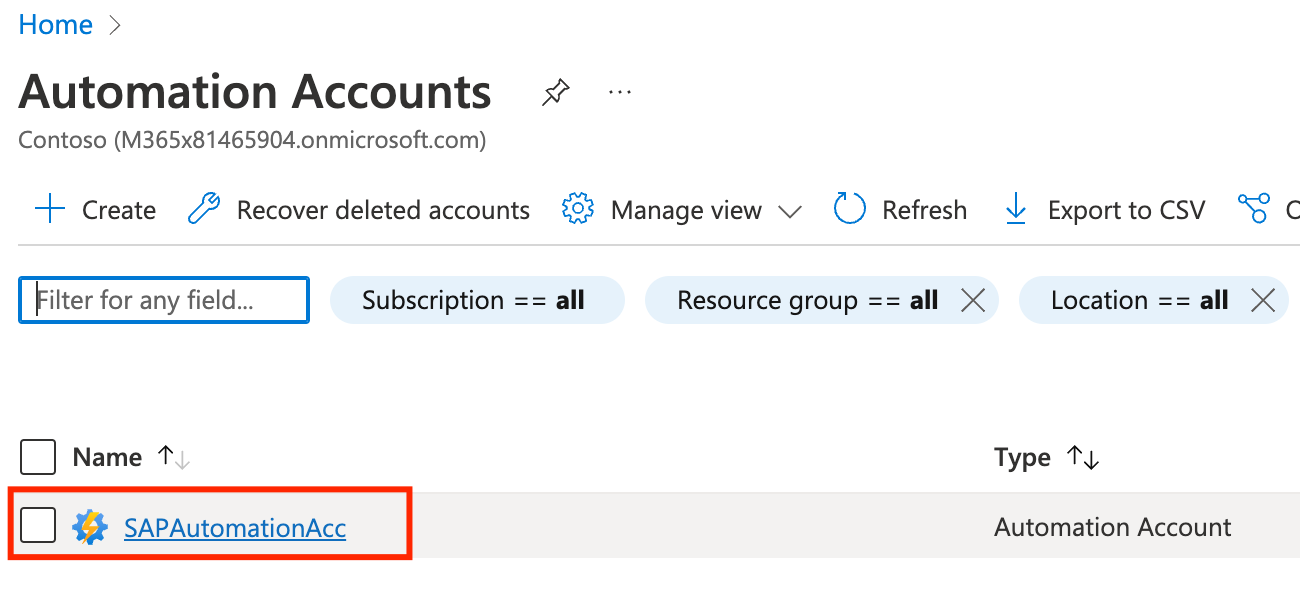
- Go to the newly create SAPAutomationAcc
Importing Modules
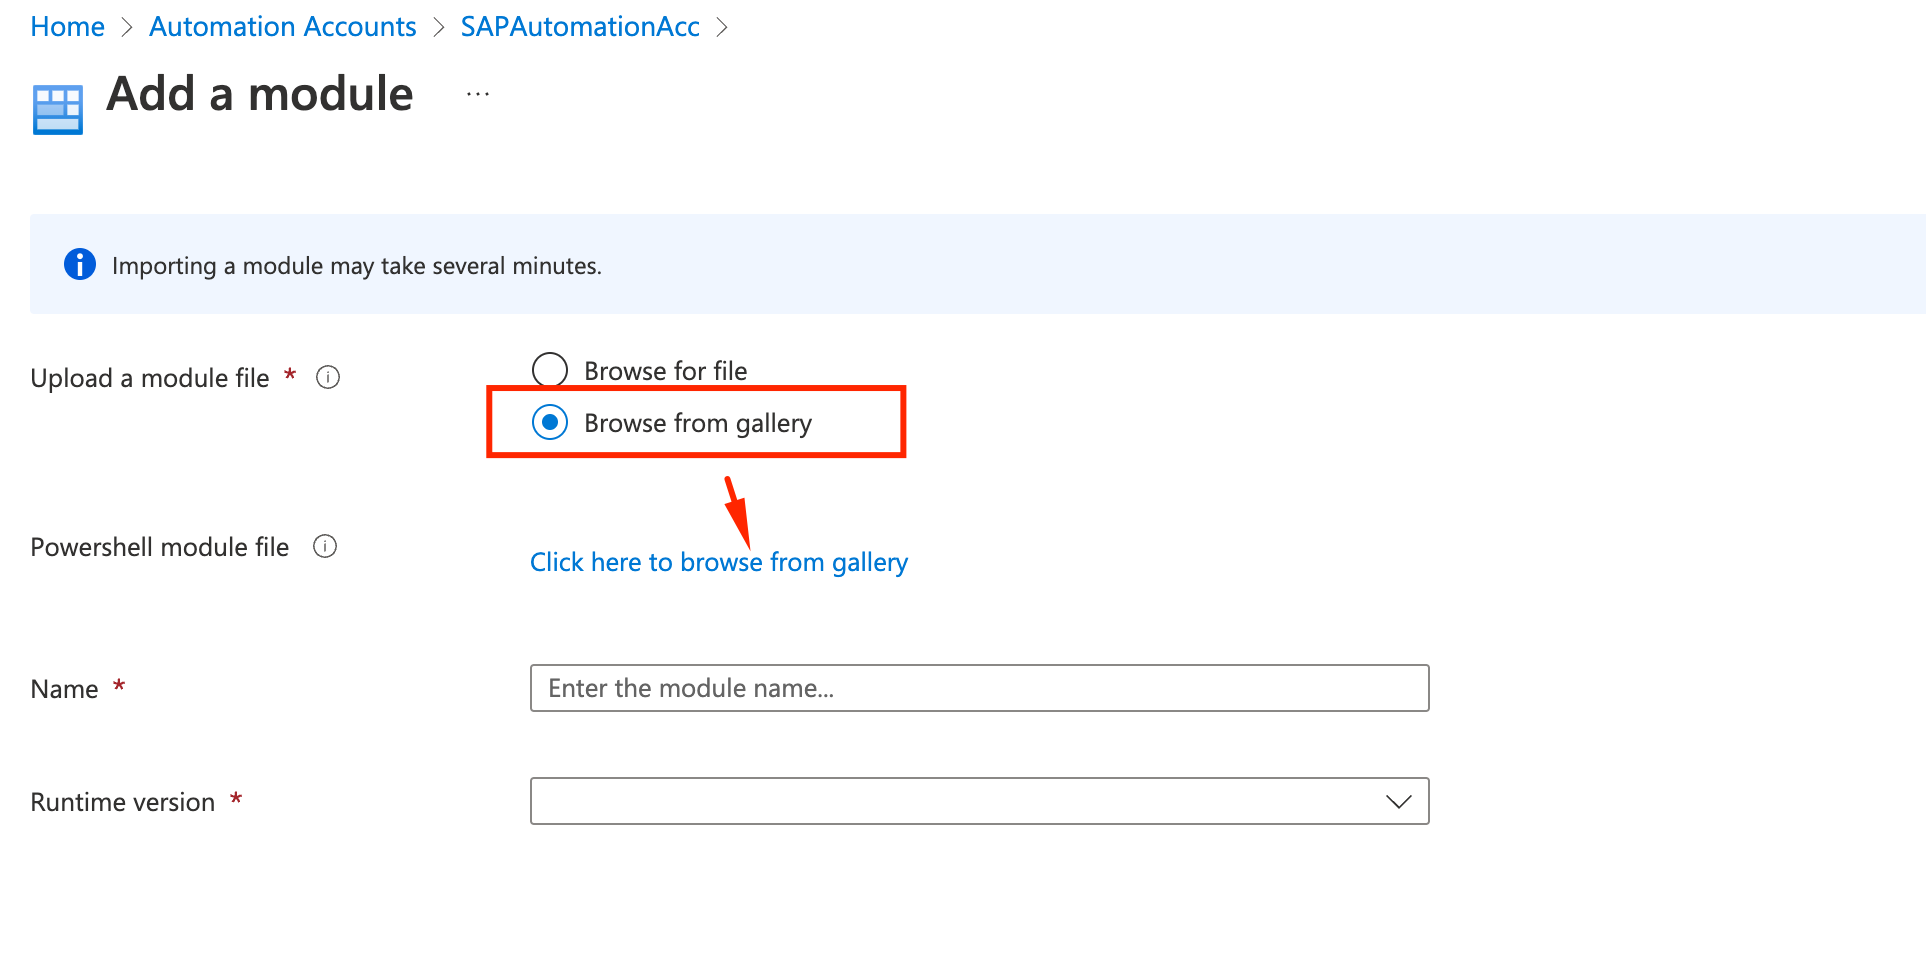
Let’s add a Module to run PowerShell commands with SAP.
- On the left pane click on Modules and Add Module

- Click on Browse from gallery
- Search for SAPAzure and pick SAPAzurePowershellModules
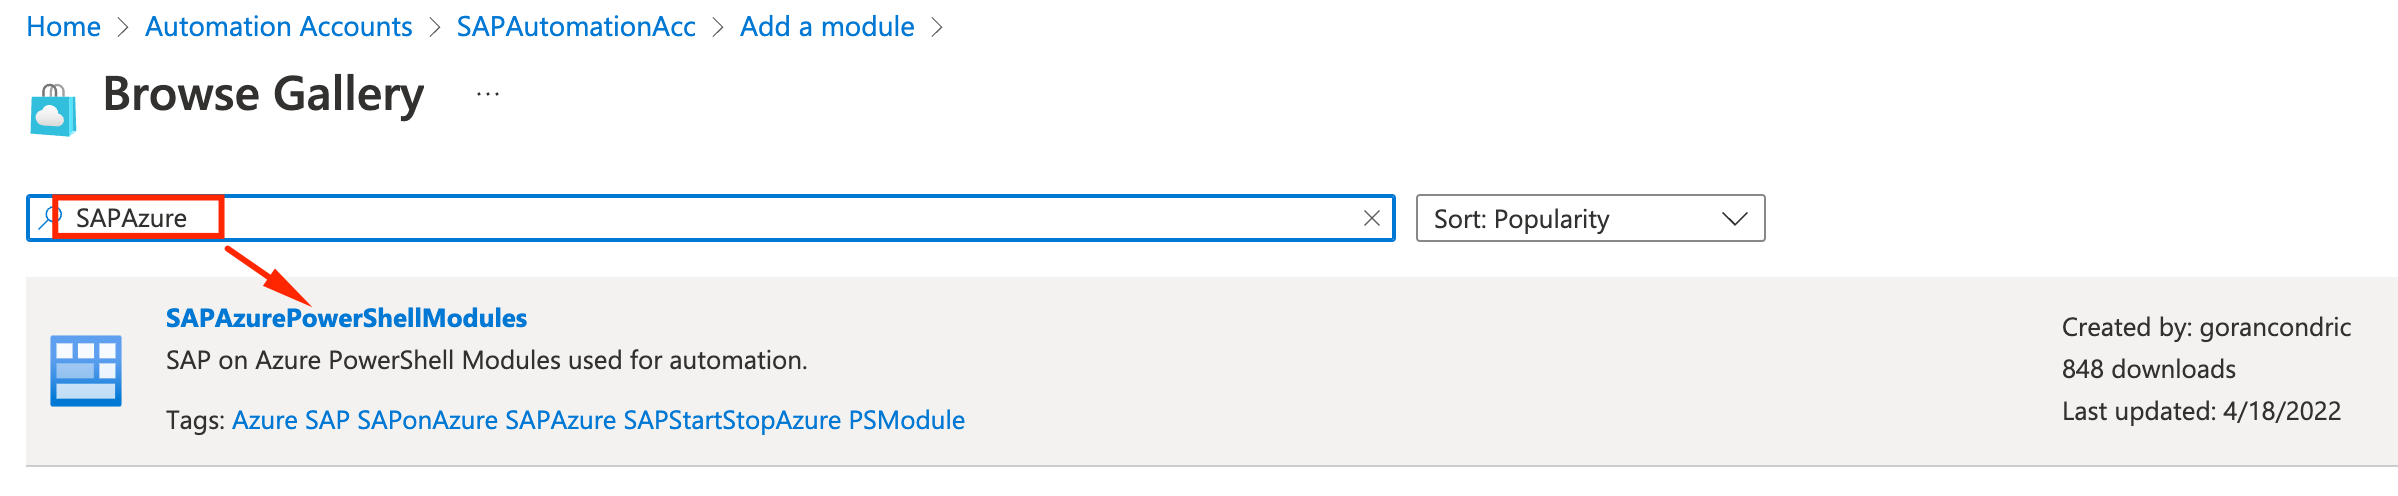
- Click on Select

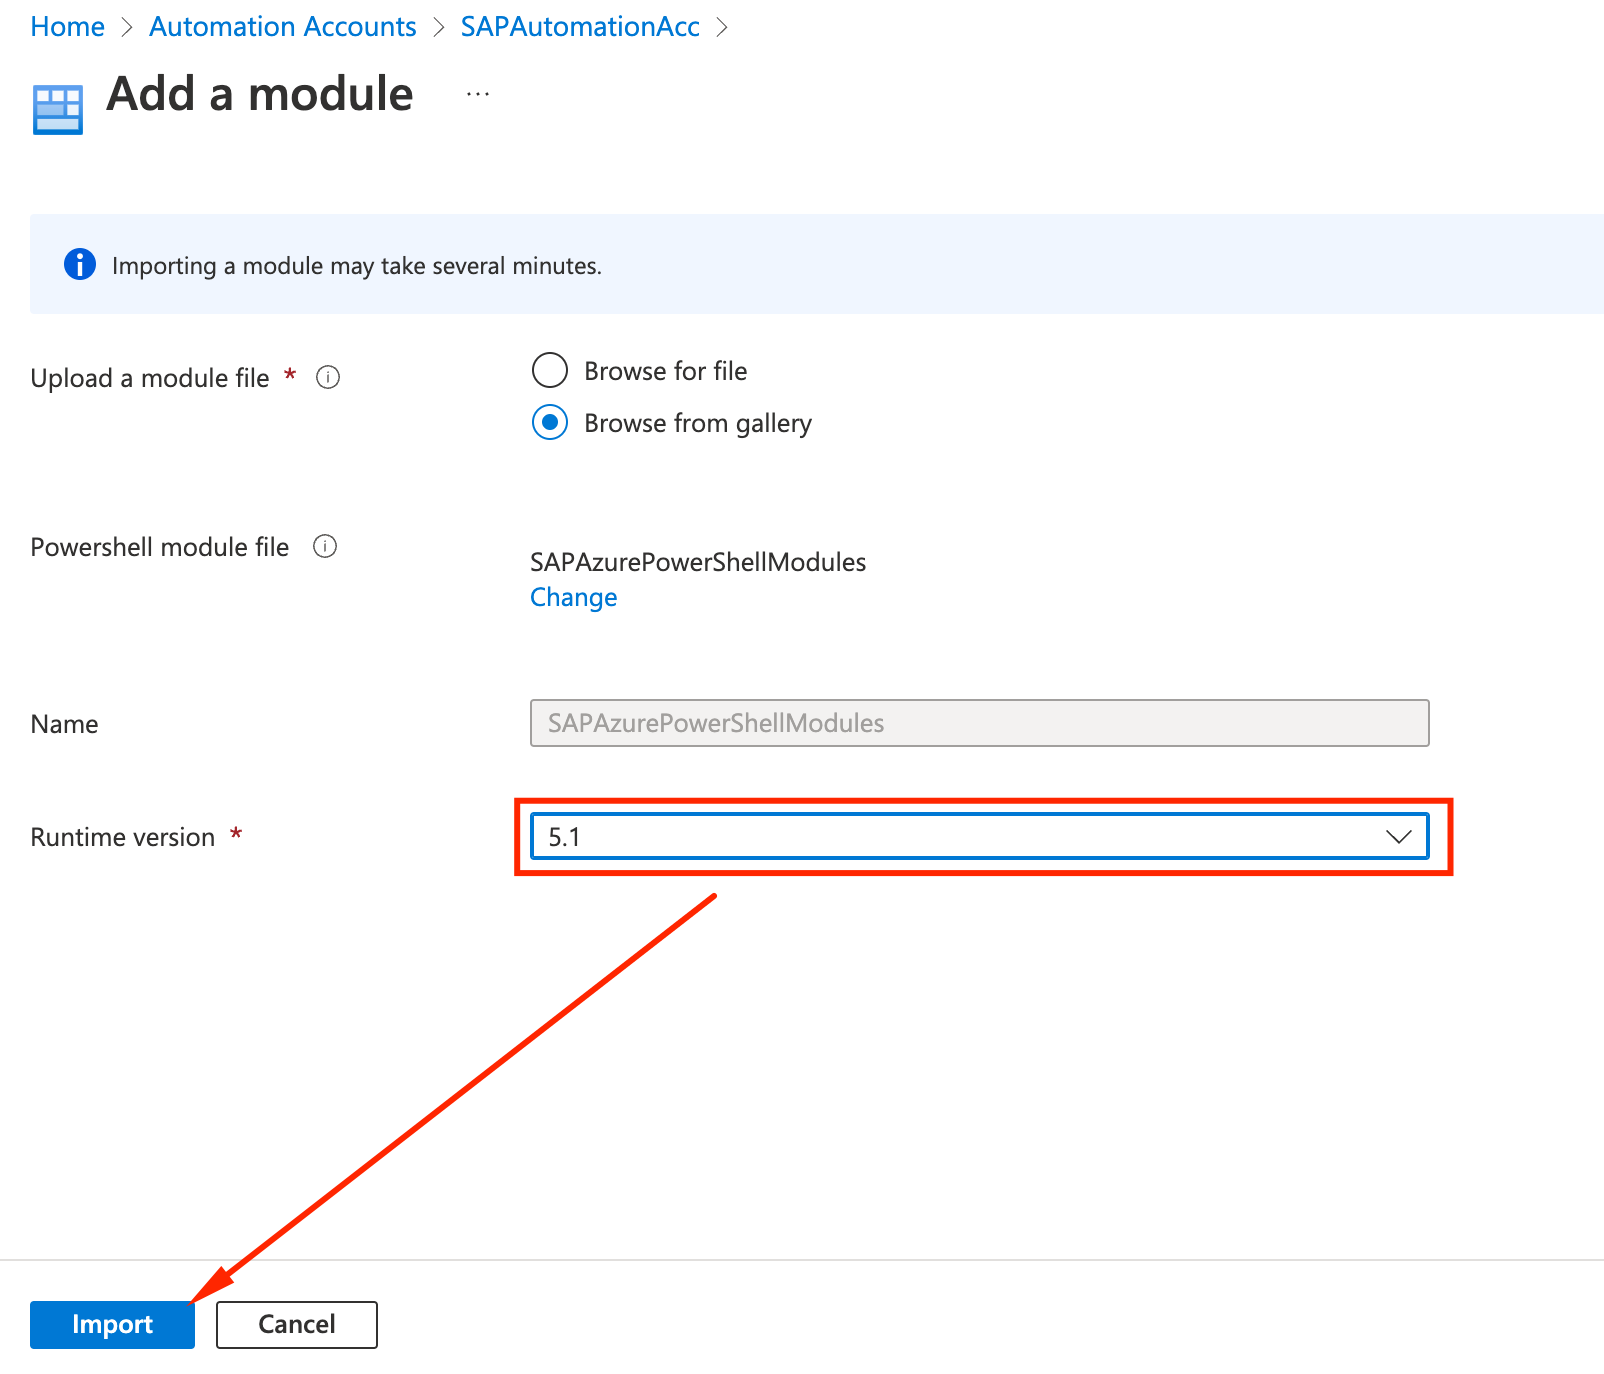
- Pick the Runtime 5.1 and click Import
Importing Runbooks
Now we will import the template runbooks required for automating SAP. There is an extensive list but we will only use the ones required for the SAP CAL deployment model. Other deployment modules mey need additional modules. Please see the complete documentation for more information.
The procedure below will be executed for 8 Runbooks:
- Stop-SAPSystem
- Start-SAPSystem
- List-SAPSystemInstances
- Stop-SAPHANA
- Start-SAPHANA
- List-SAPHANAInstance
- Start-SAPApplicationServer
- Stop-SAPApplicationServer
Please at the end of this procedure, repeat the sequence for the remaining runbooks
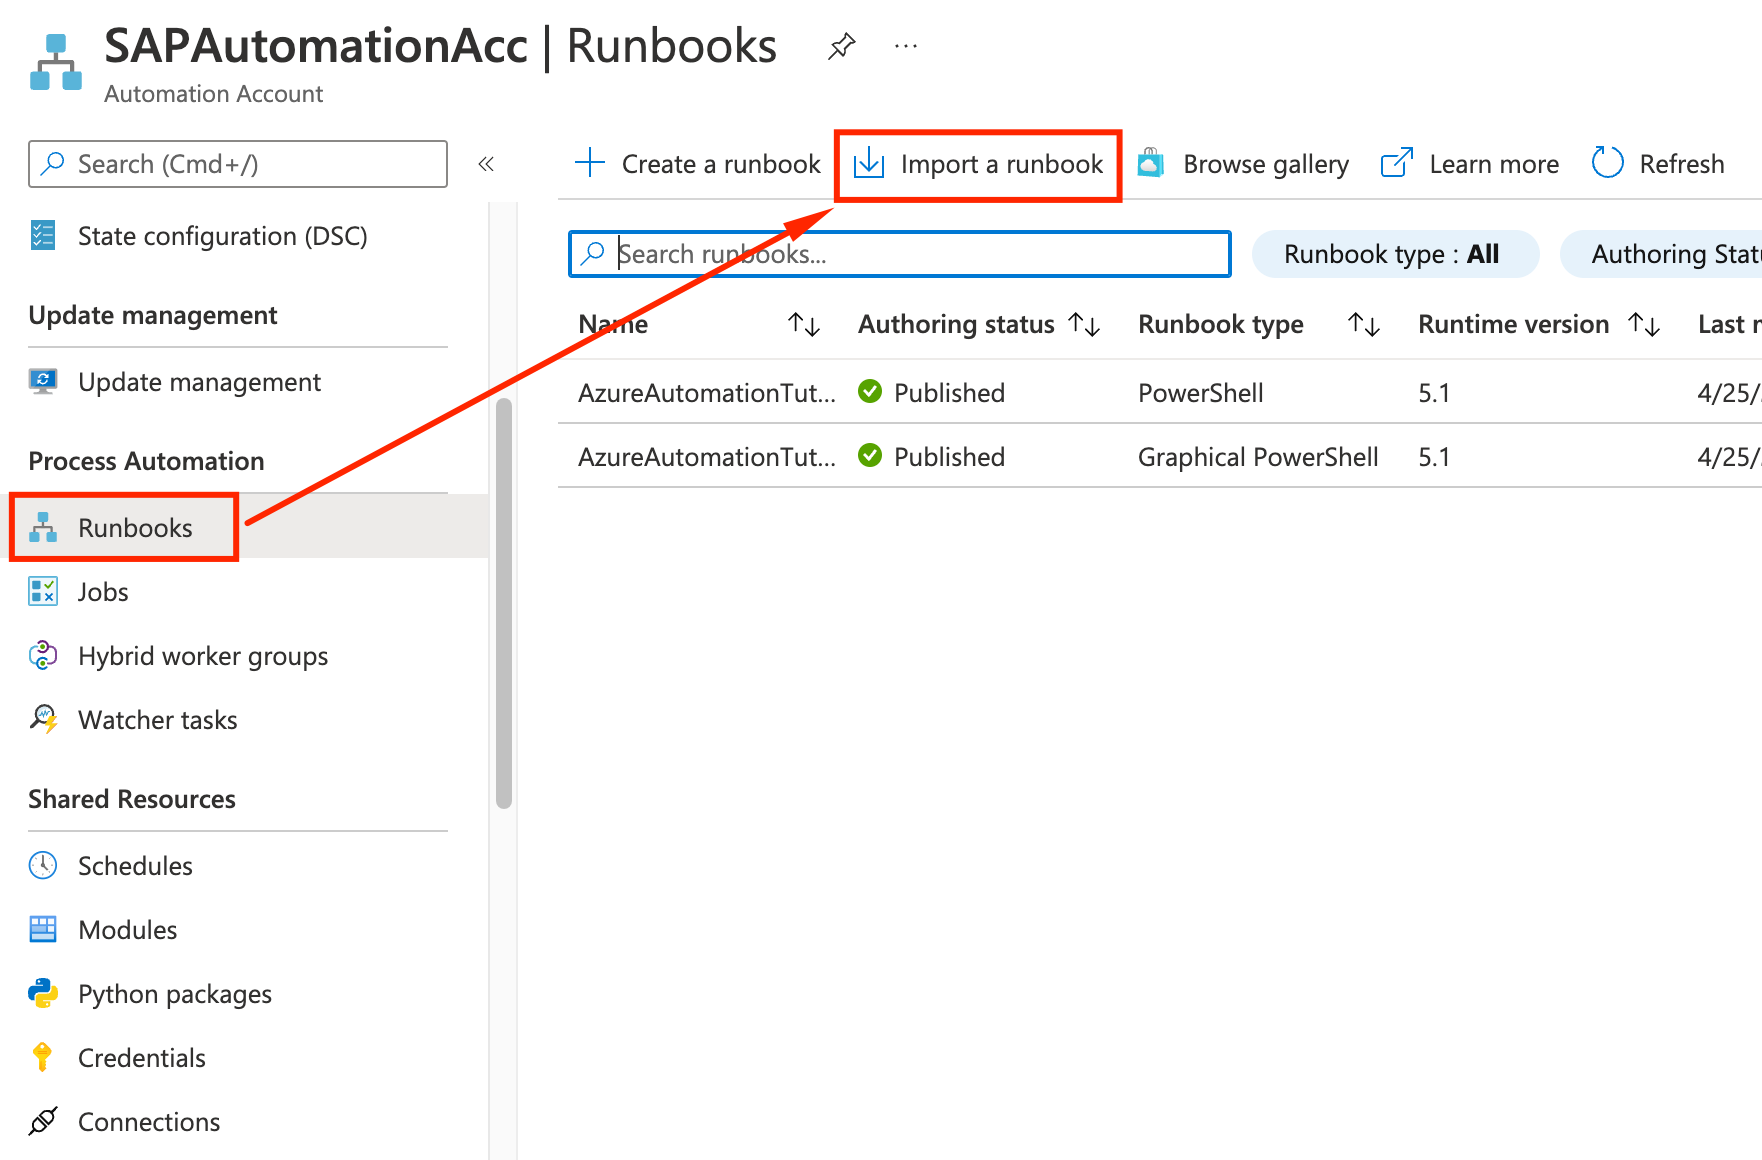
- On the left pane click on Runbooks and Import a Runbook
- Go to Browse from gallery
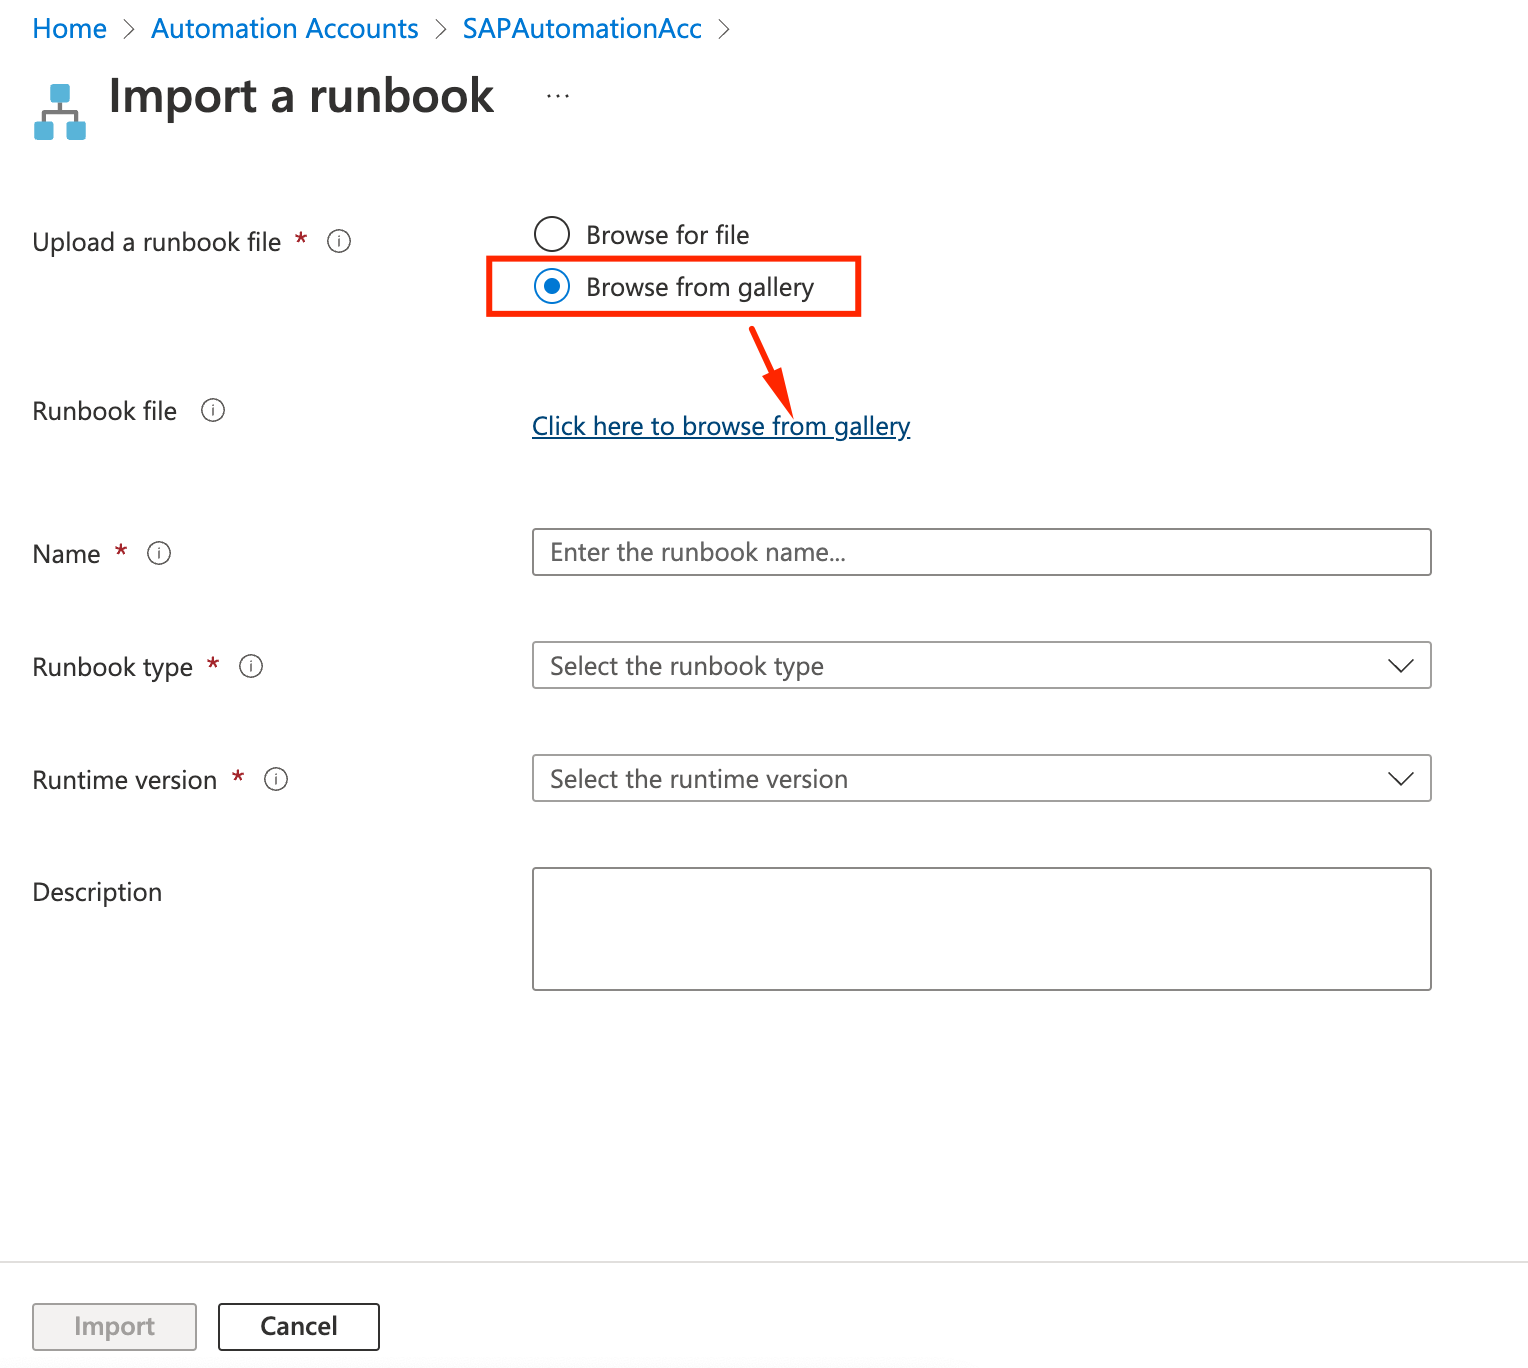
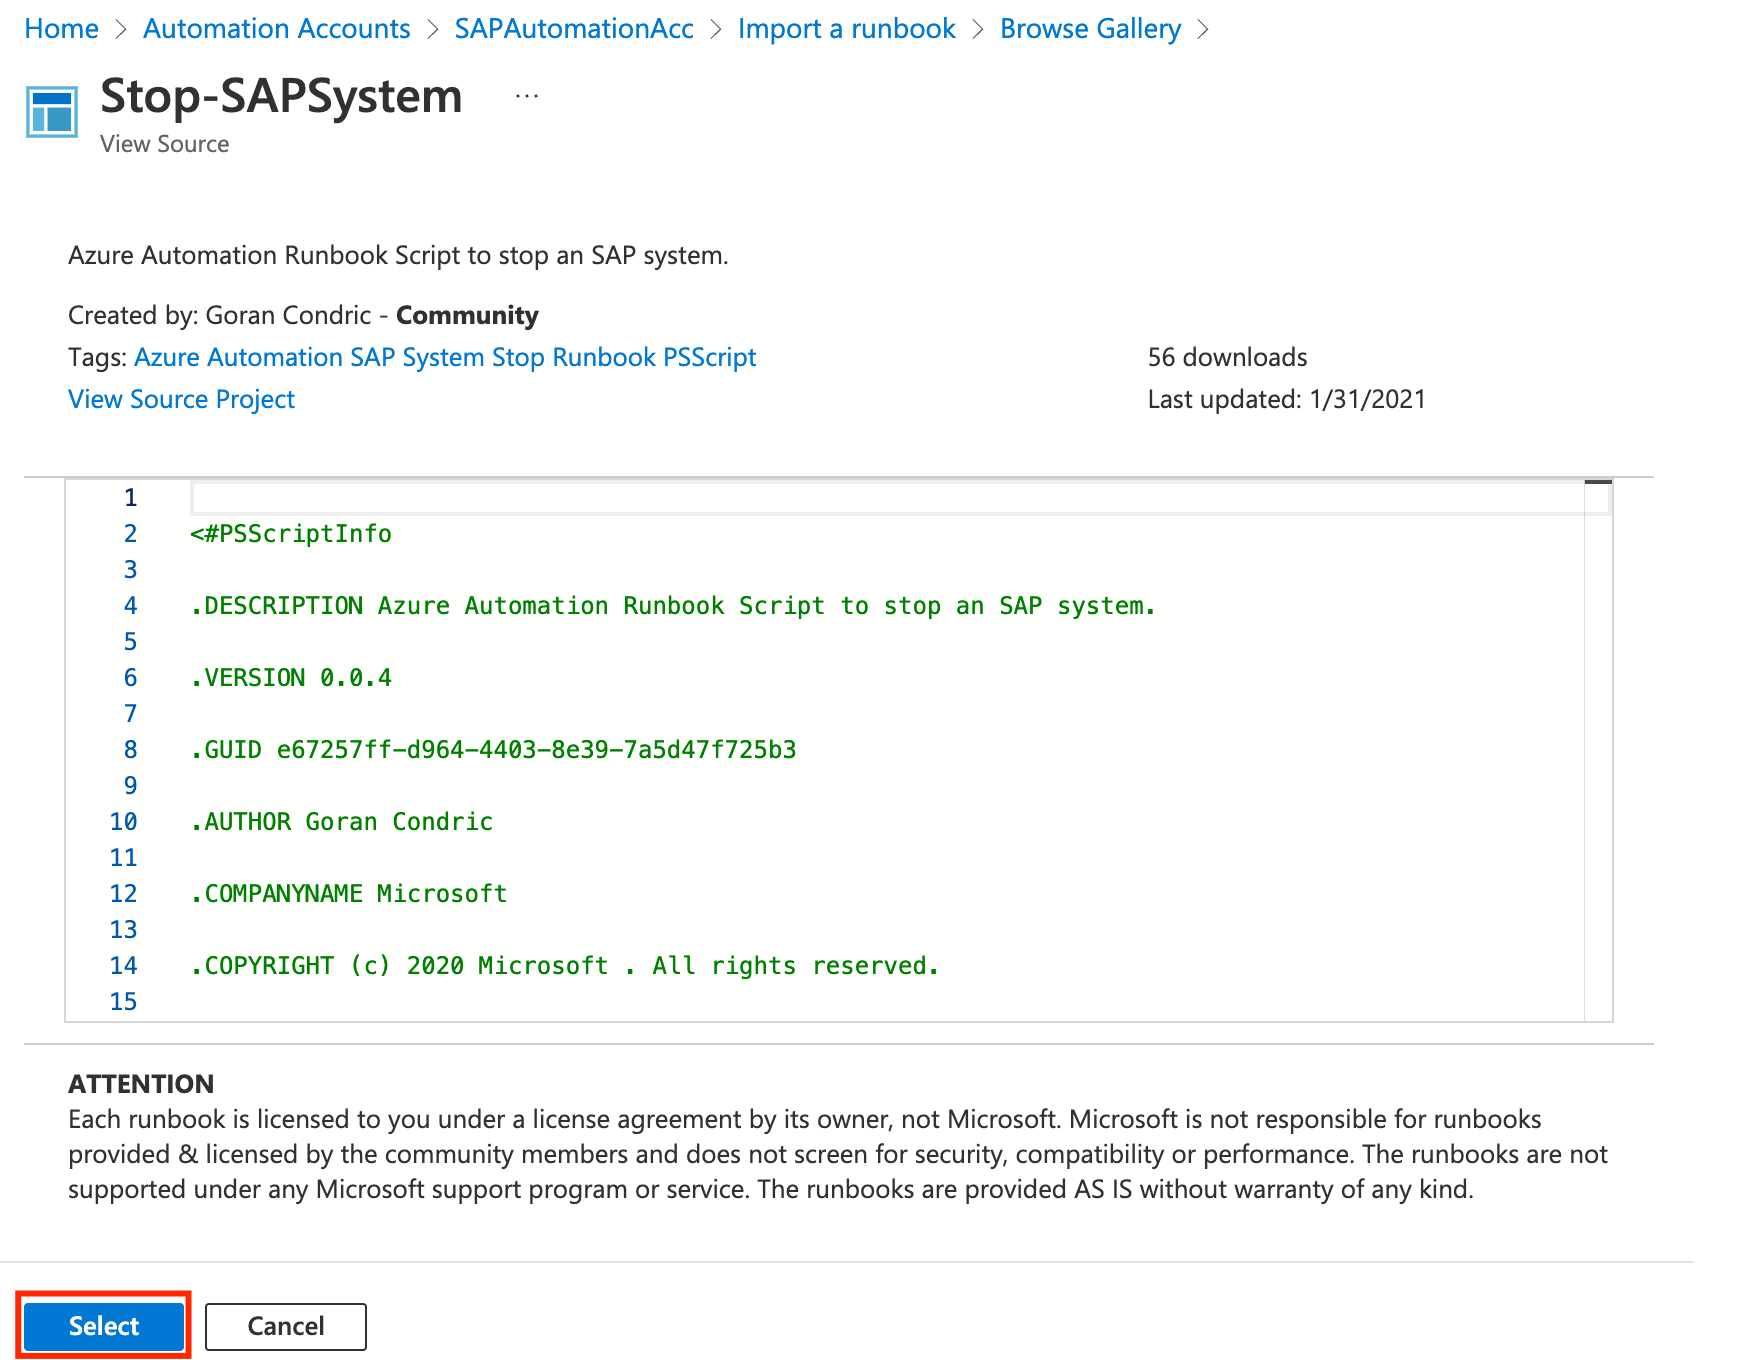
- Search for the Runbook Name from the list above and pick Source: Powershell Gallery. In this example we are searching for Stop-SAPSystem but you will do the same procedure for all the 8 Runbooks required.

- Click Select
- Use the same namefrom the template, pick runtime 5.1 and click Import

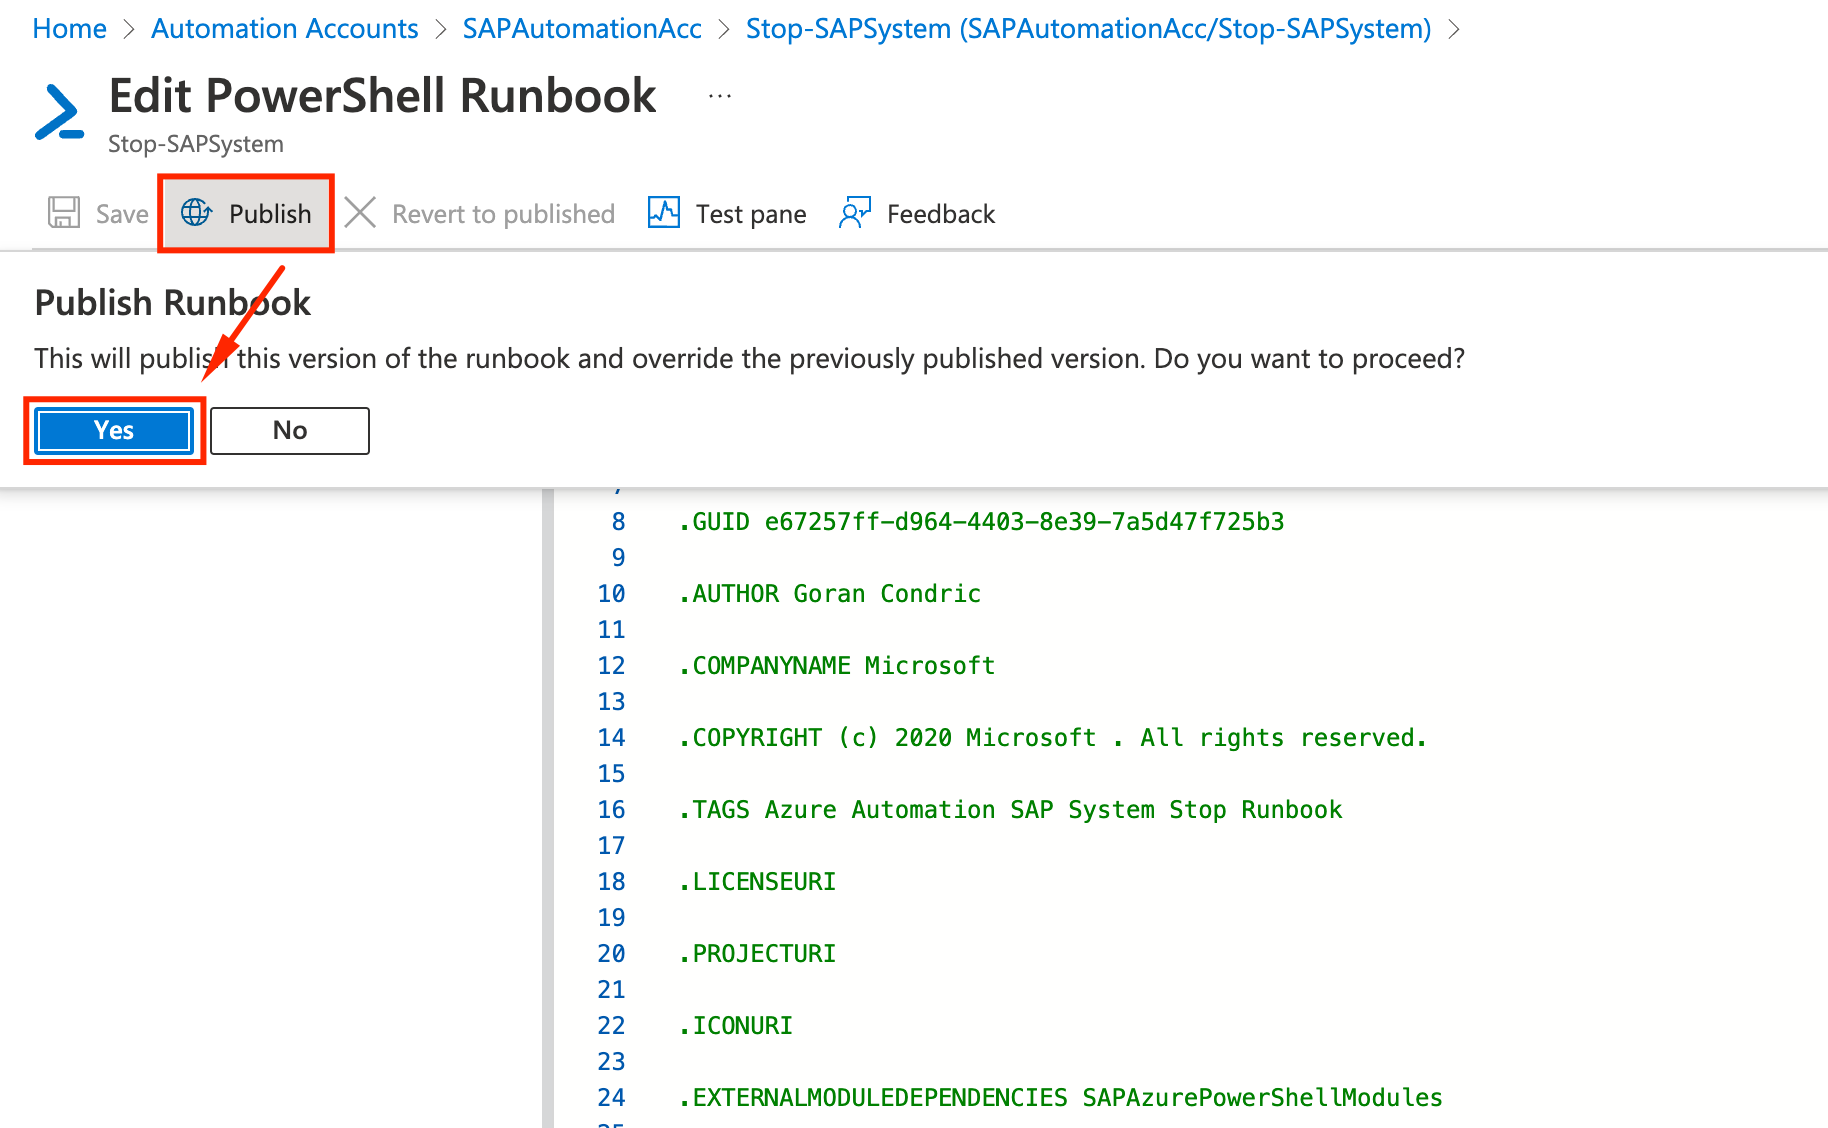
- Click on Publish and Yes
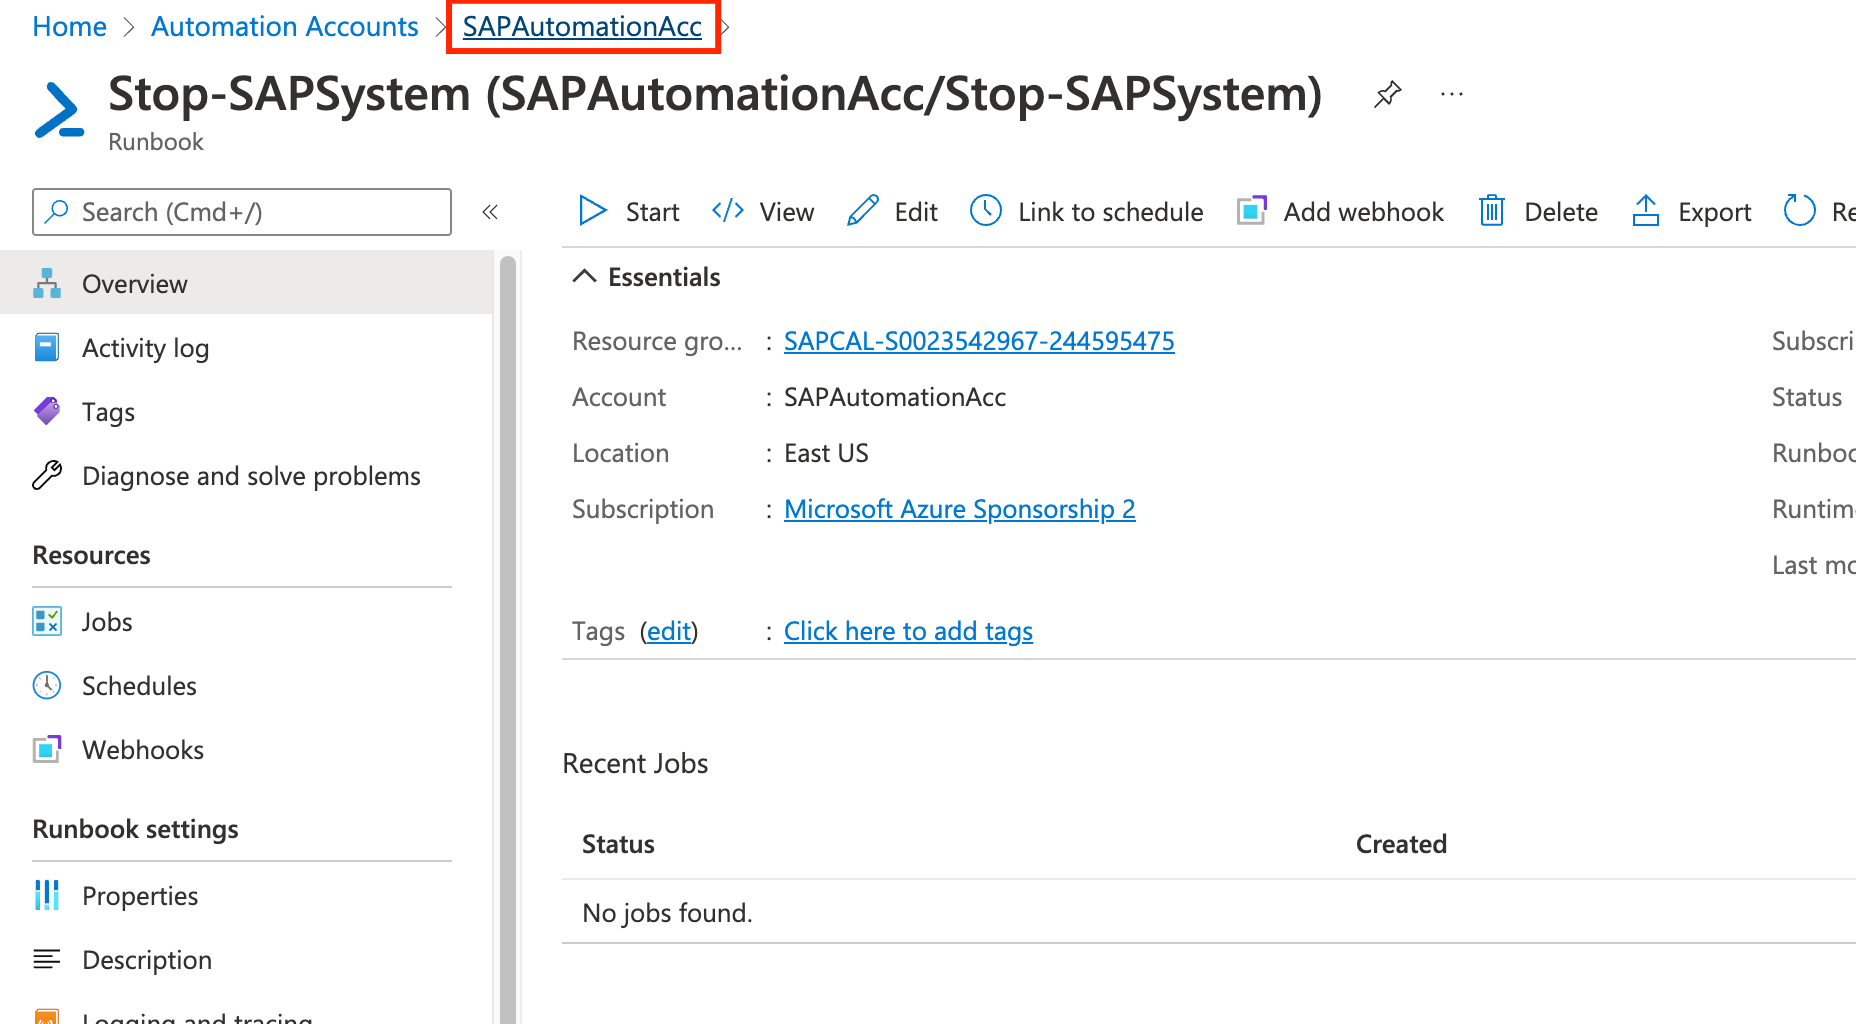
- Go back to SAPAutomationAcc by clicking on the top link
- Repeat the process for all the other runbooks.
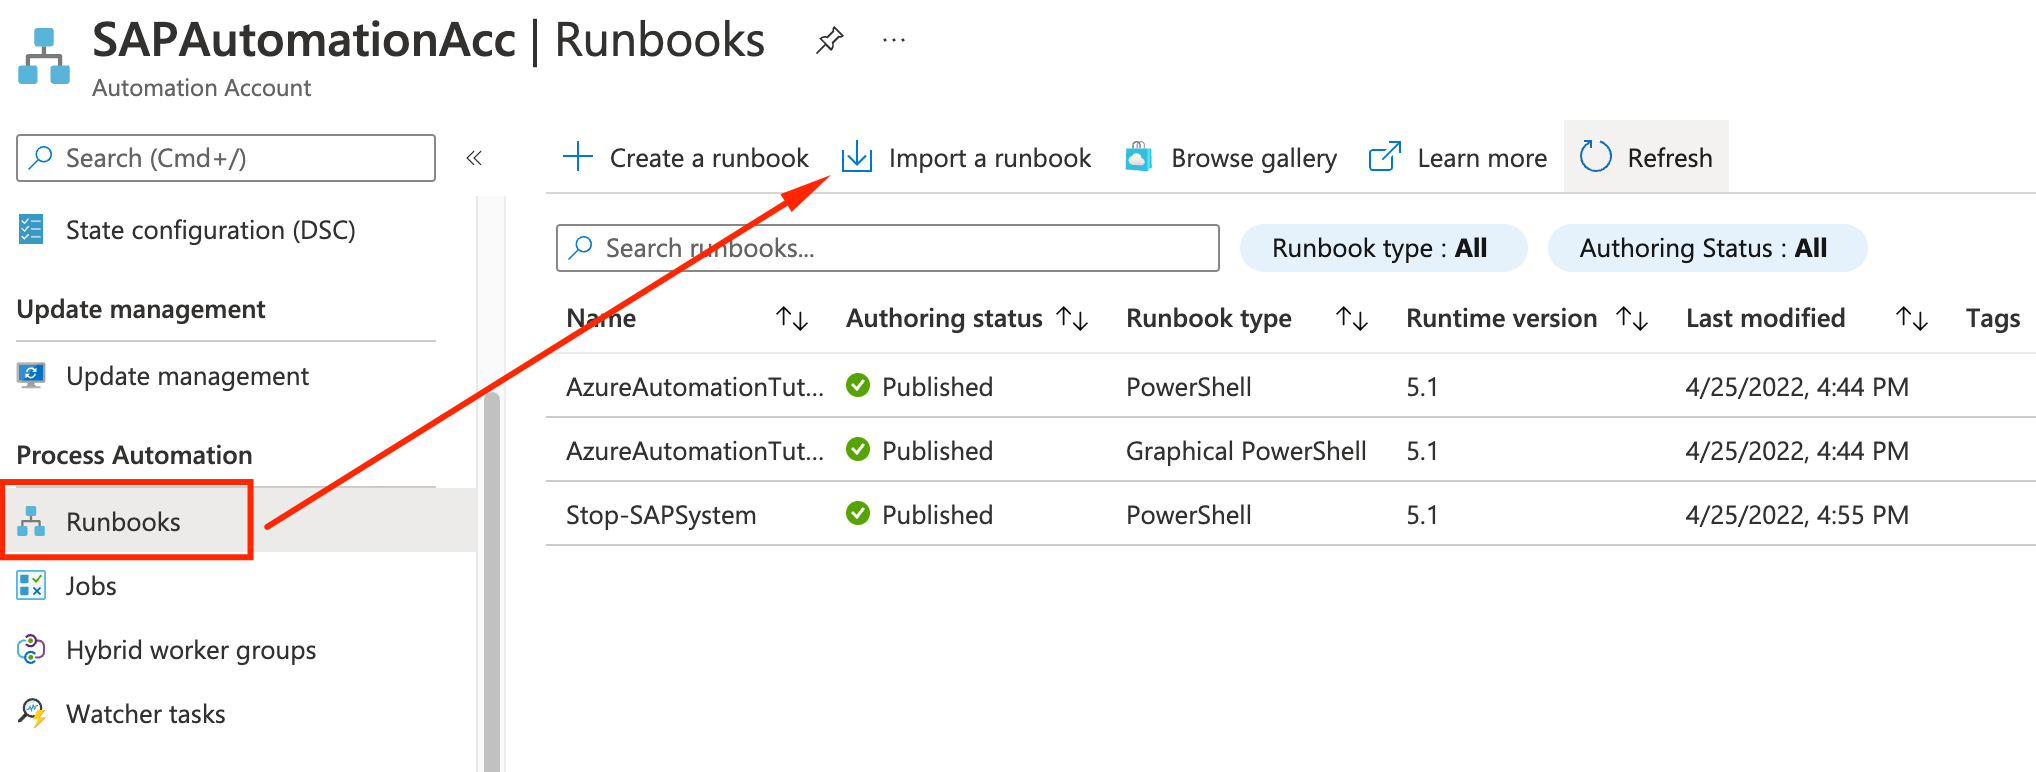
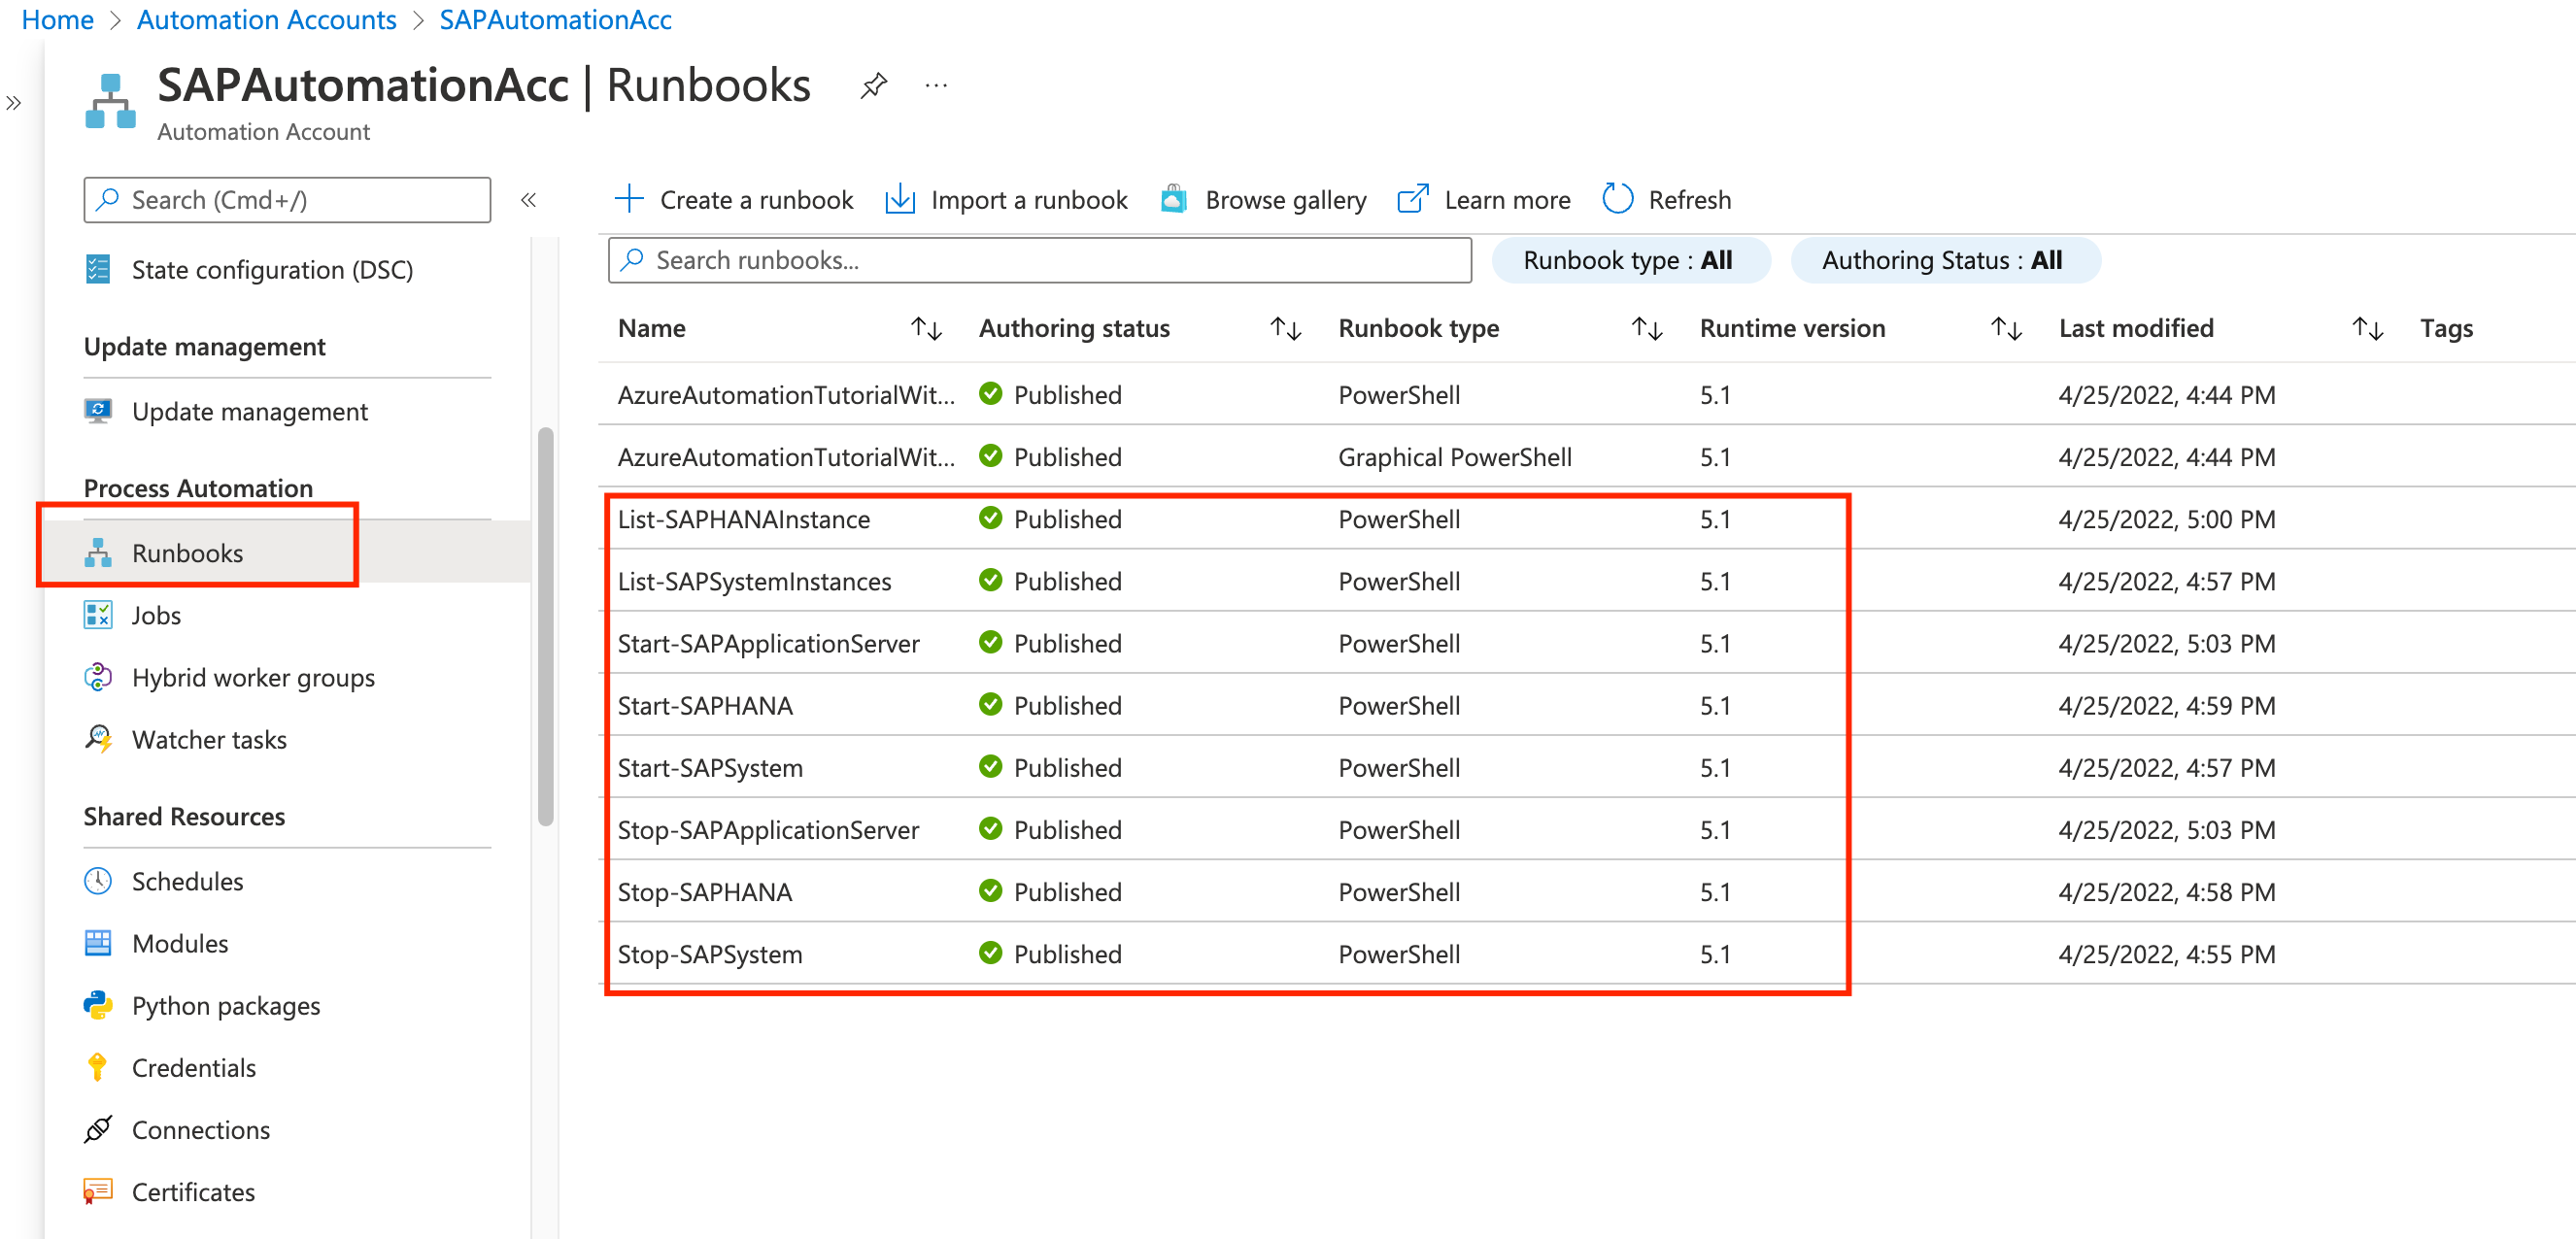
At the end your SAPAutomationAcc screen should look like this, with all the 8 runbooks imported:
Adding Execution Permissions (Run As Accounts)
In order to start and stop SAP, Azure Automation needs to log in as root to those VMs. Let’s give it the permissions for this:
- Go back to the SAPAutomationAcc, scroll down the left panel and select Run as accounts. Click on Azure Run As Accounts
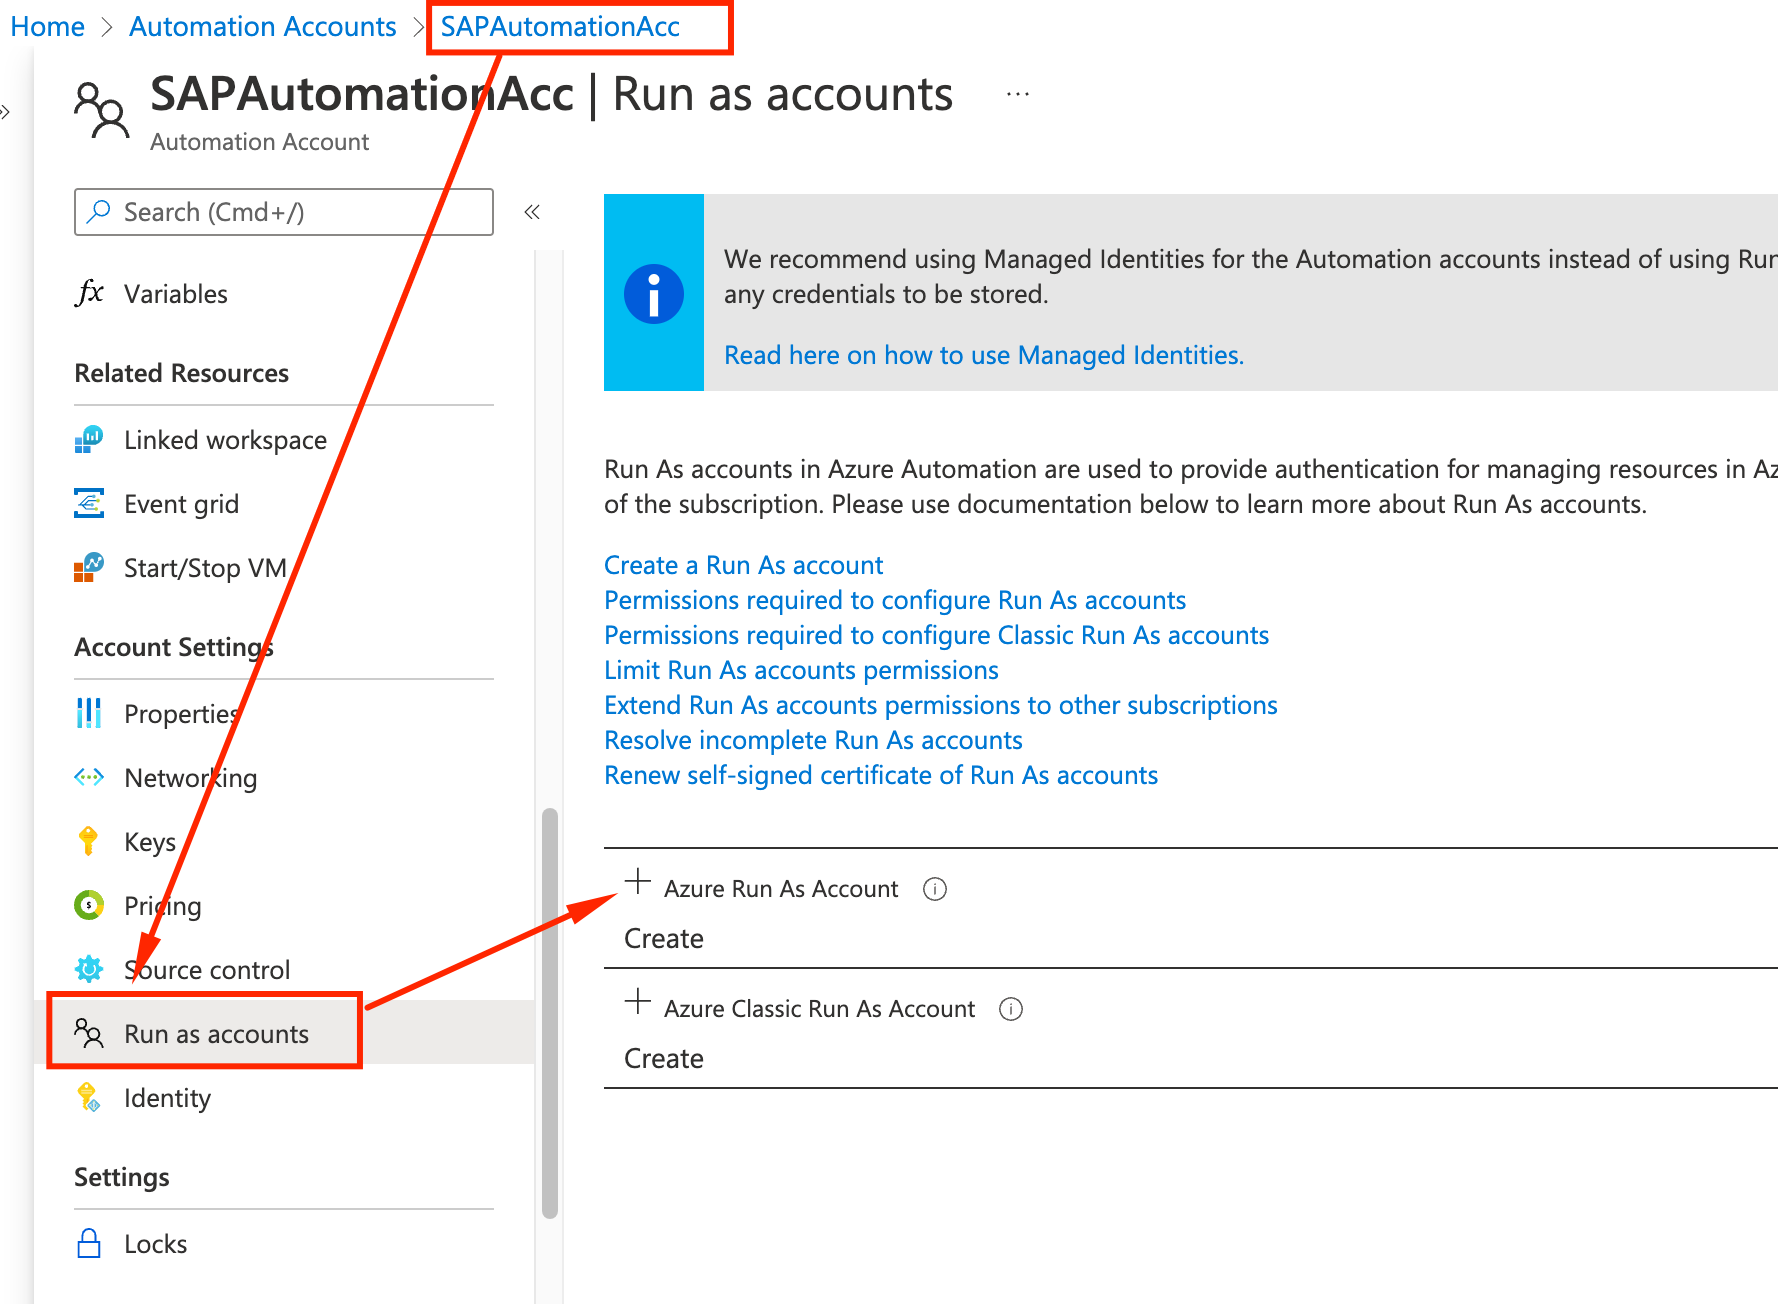
- Wait until the green checkmark is added to the option. This will expire in 365 days.

Congratulations, you have configured the Azure Automation and imported the required runbooks.Now let’s move to the next section and add Tags to our VMs so the script can identify the VMs properly.