Extracting data
Let’s add some steps on our pipeline to extract data to the Blob Storage:
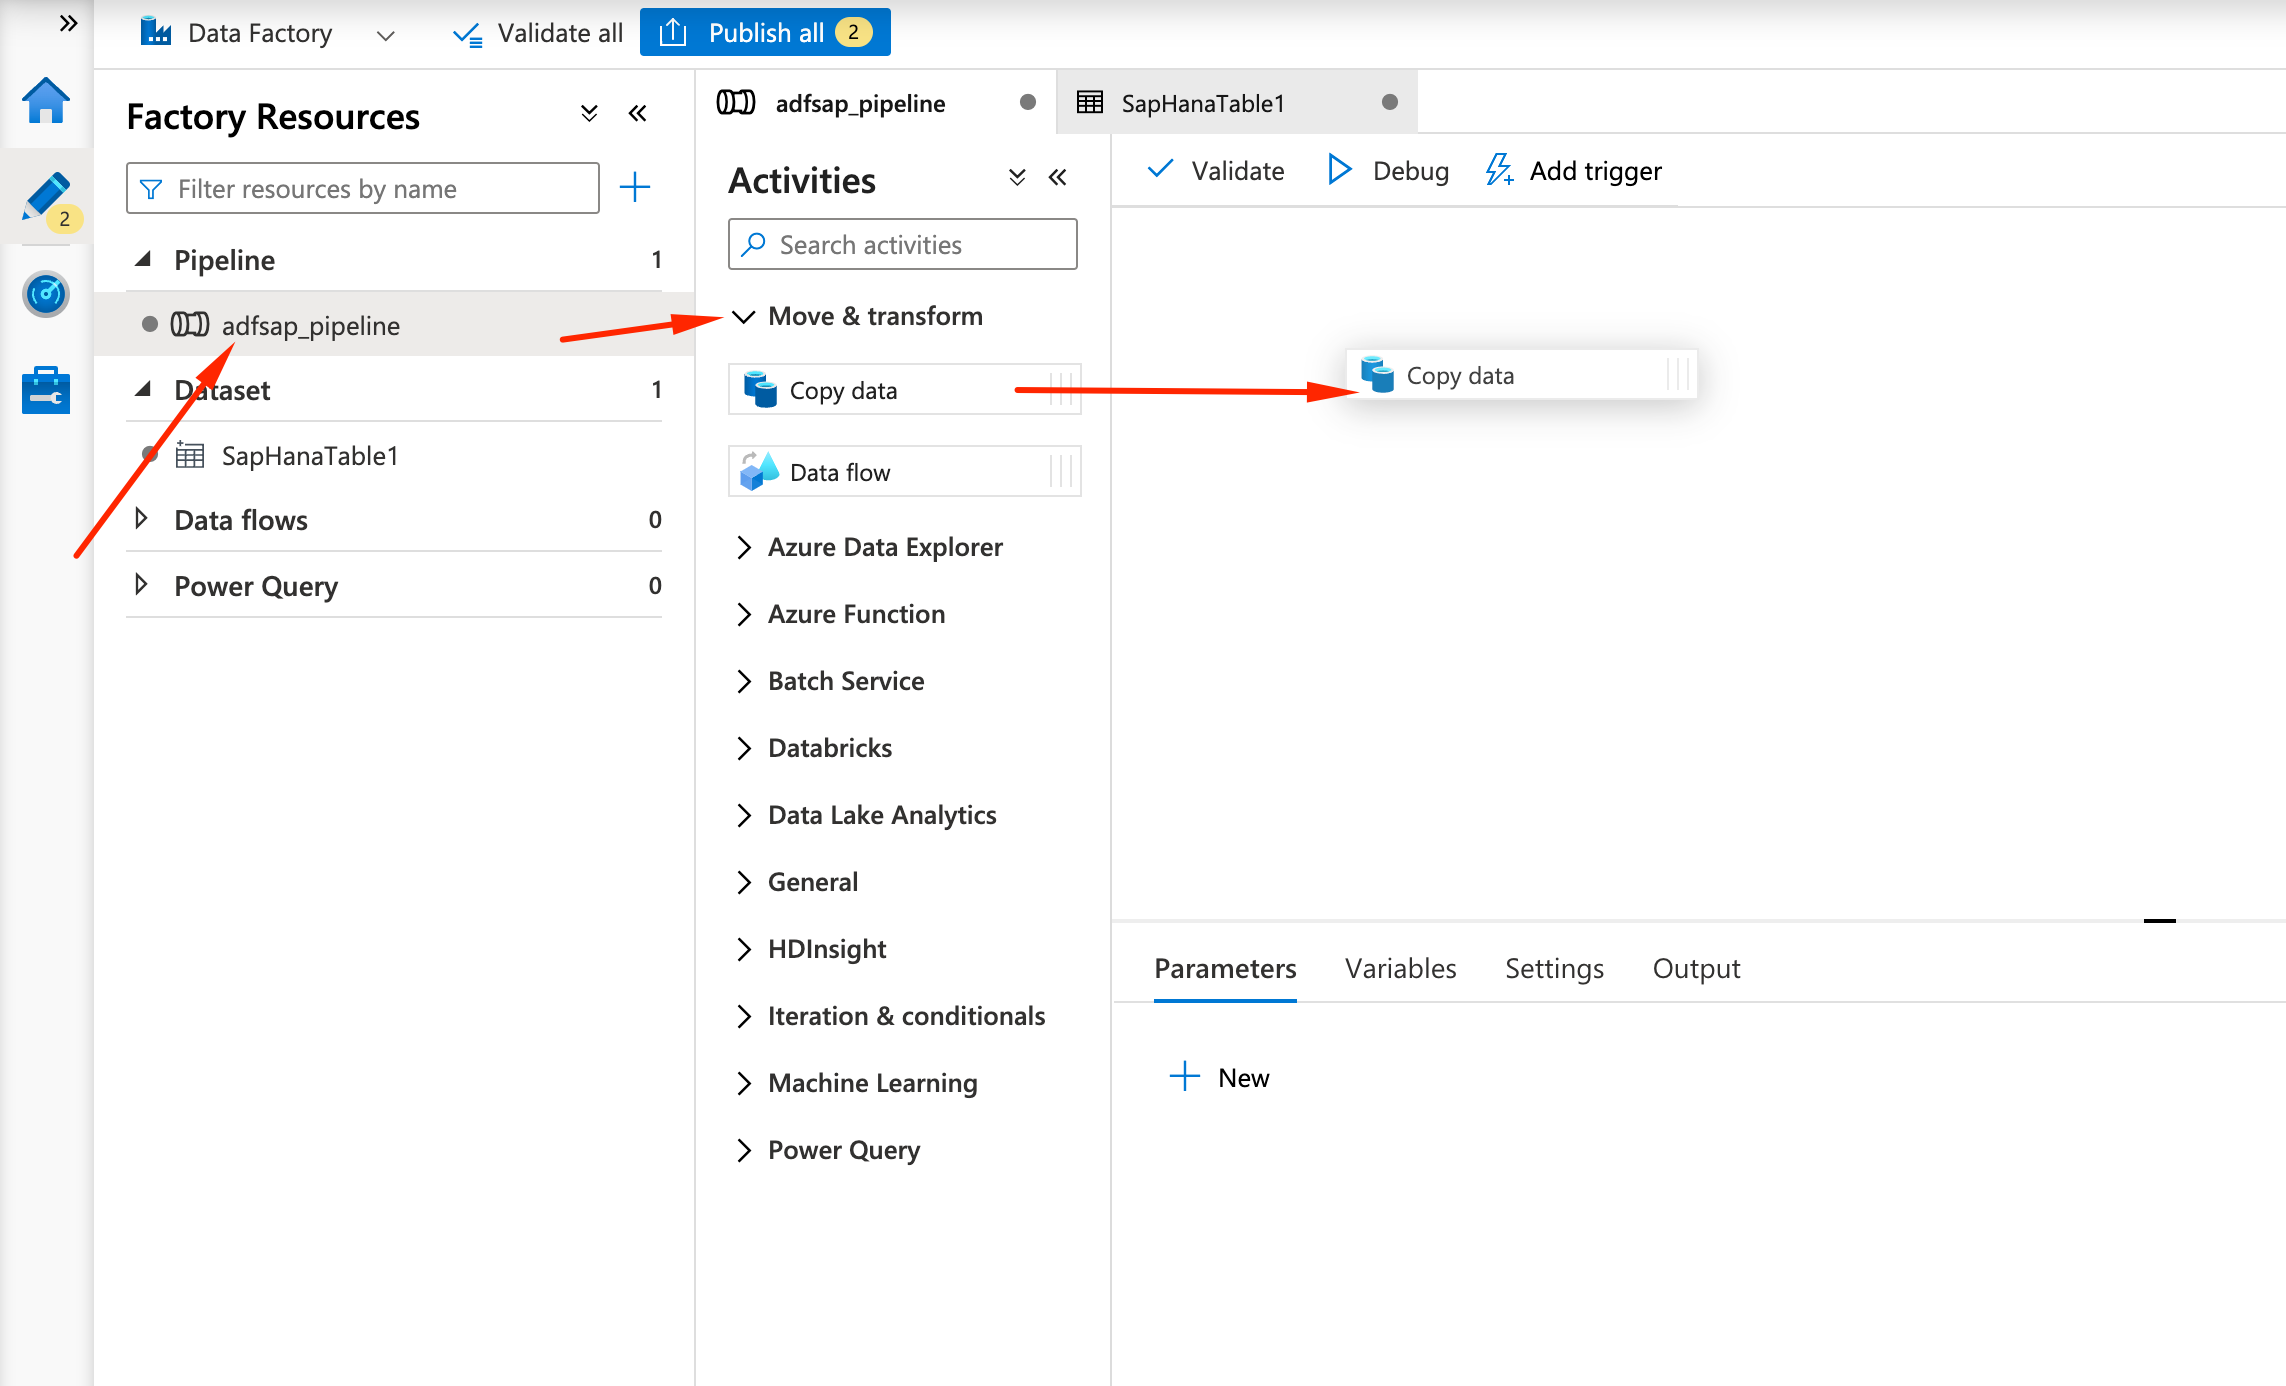
- On the Data Factory Studio, click on the adfsap_pipeline on the left, open the Move & Transform activity, and drag Copy data to the main panel:
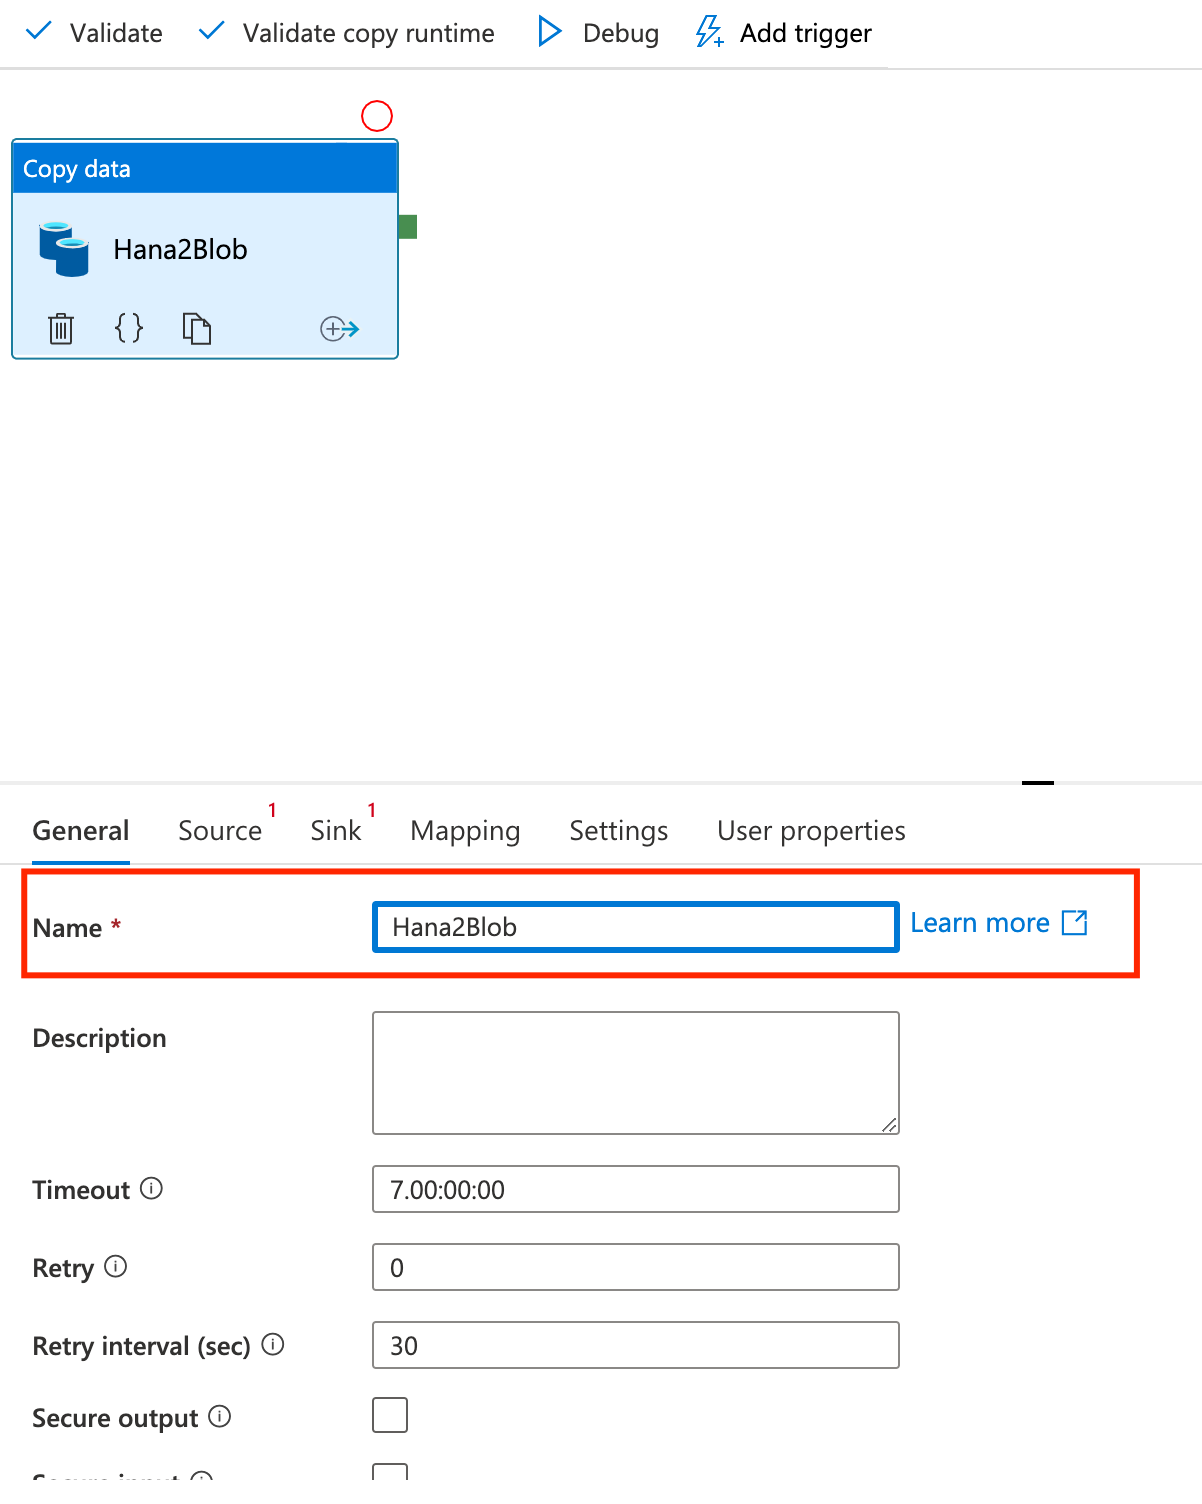
- For the Copy data activity, we will name it Hana2Blob, under General tab:
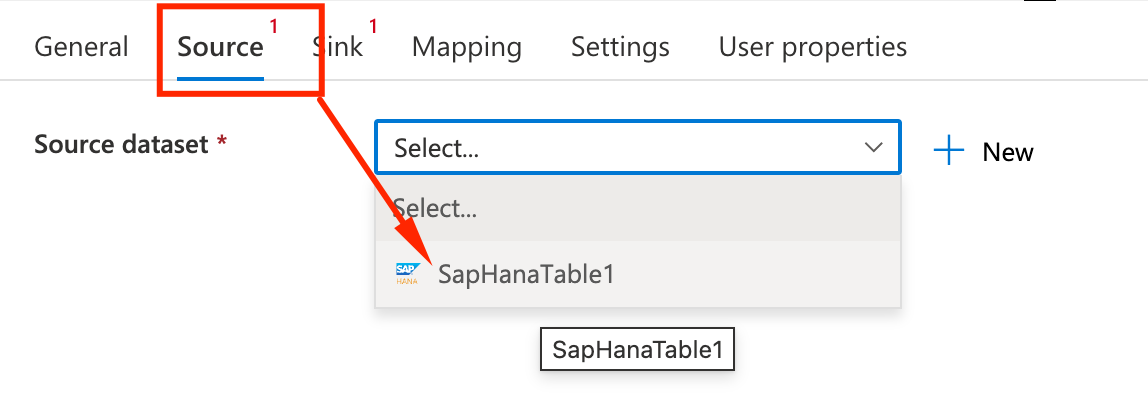
- On the Source tab we will select the dataset we want to read data from. In this example the HANA one, but it could be the SAP Table one as well.
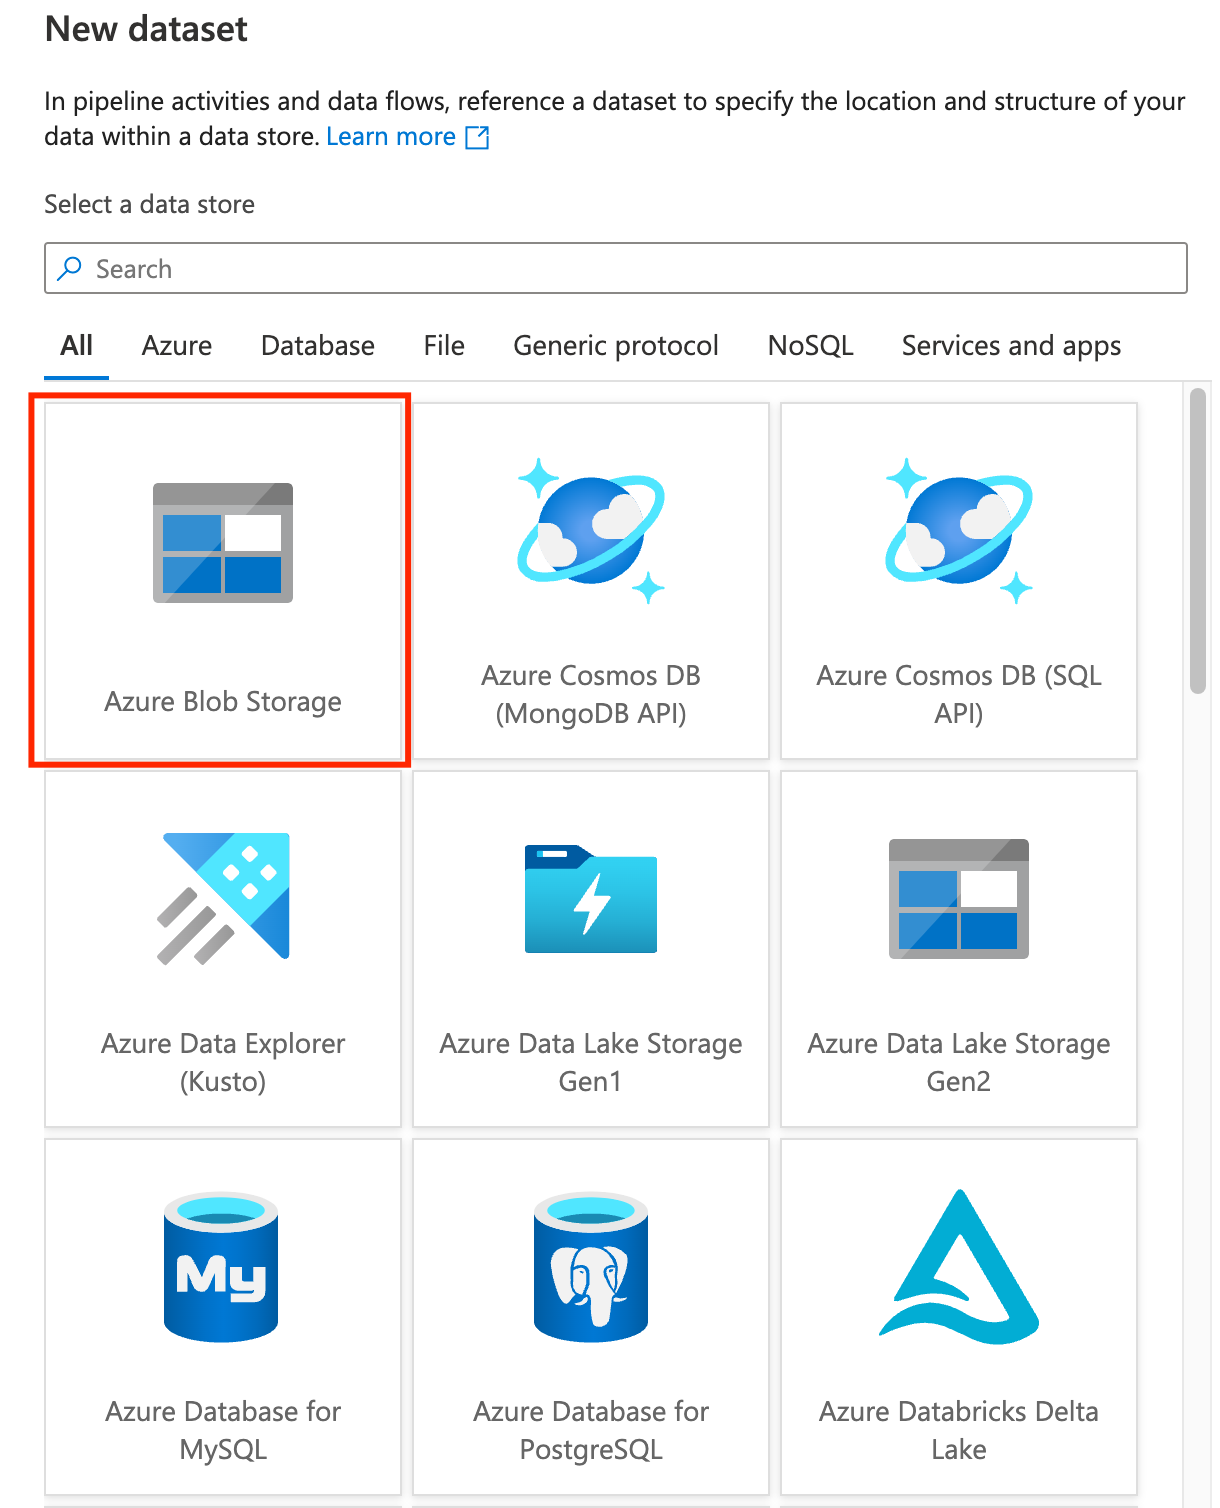
- For the Sink (destination) dataset, we will create a new one:

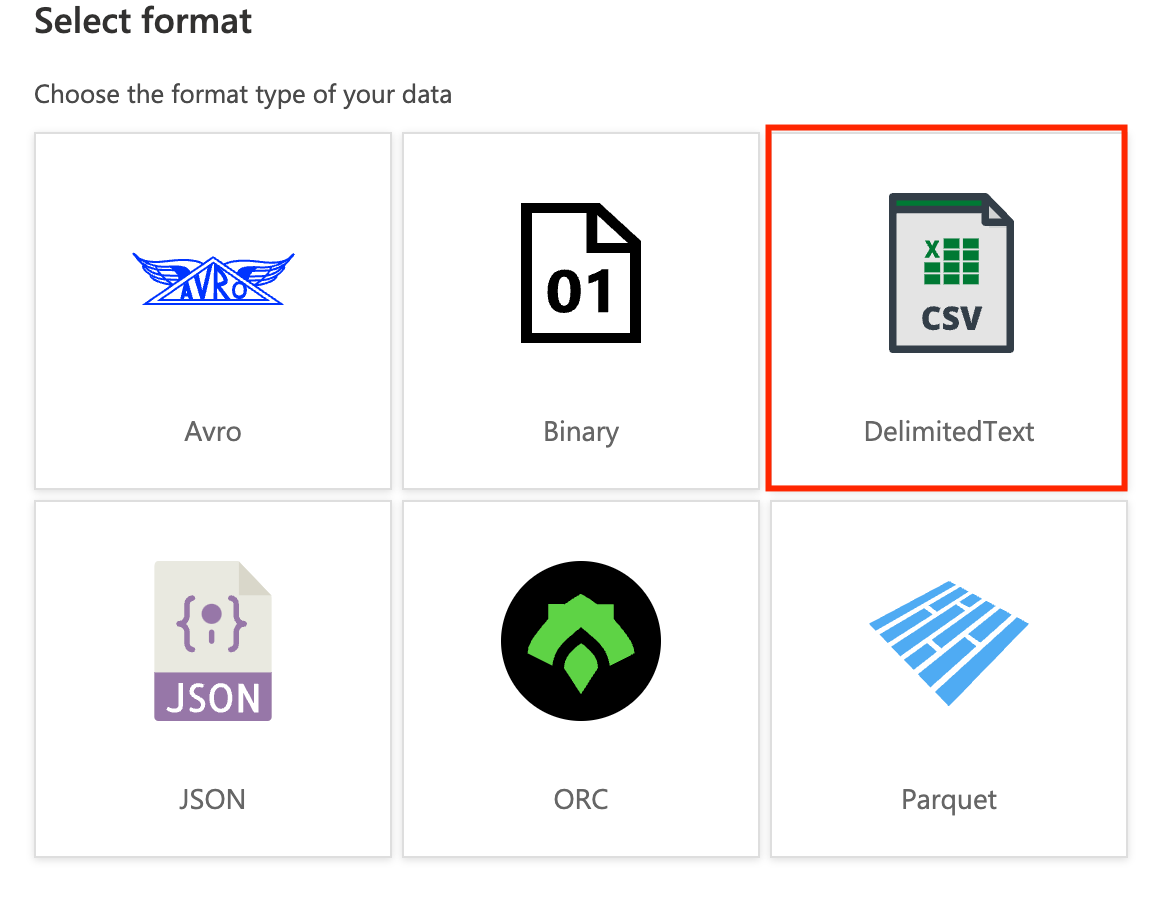
- We will select Azure Blob Storage as the dataset type:
- As Output format, we will select DelimitedText for the sake of visualization. For datalakes you will probably use other formats like Parquet that are more space efficient.
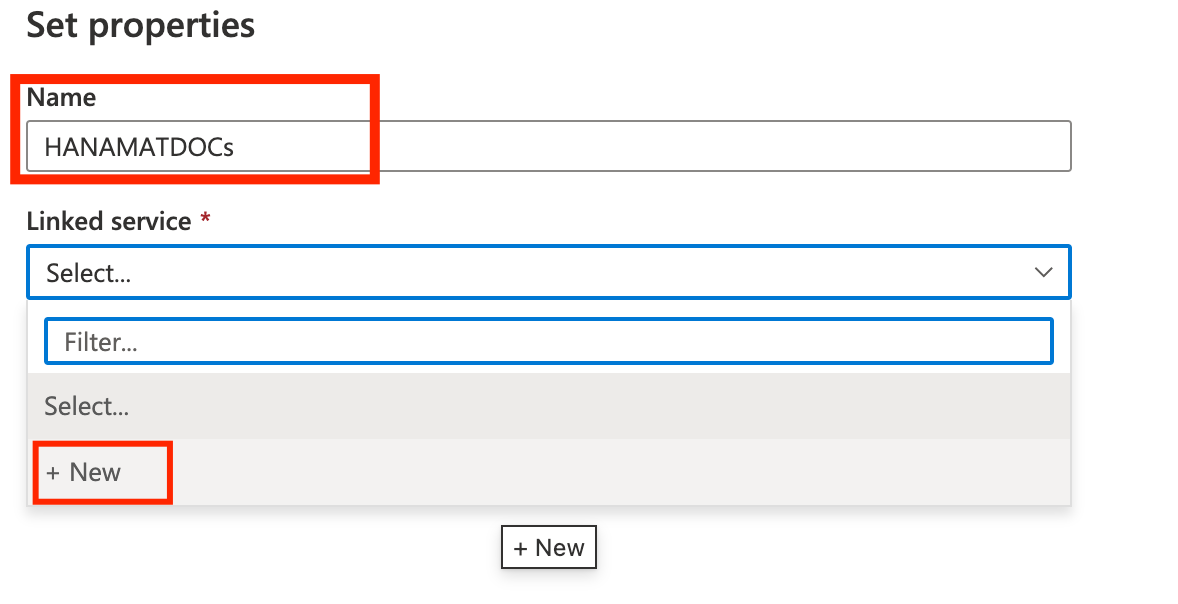
- Name the dataset HANAMATDOCS and click on New under Linked Services.
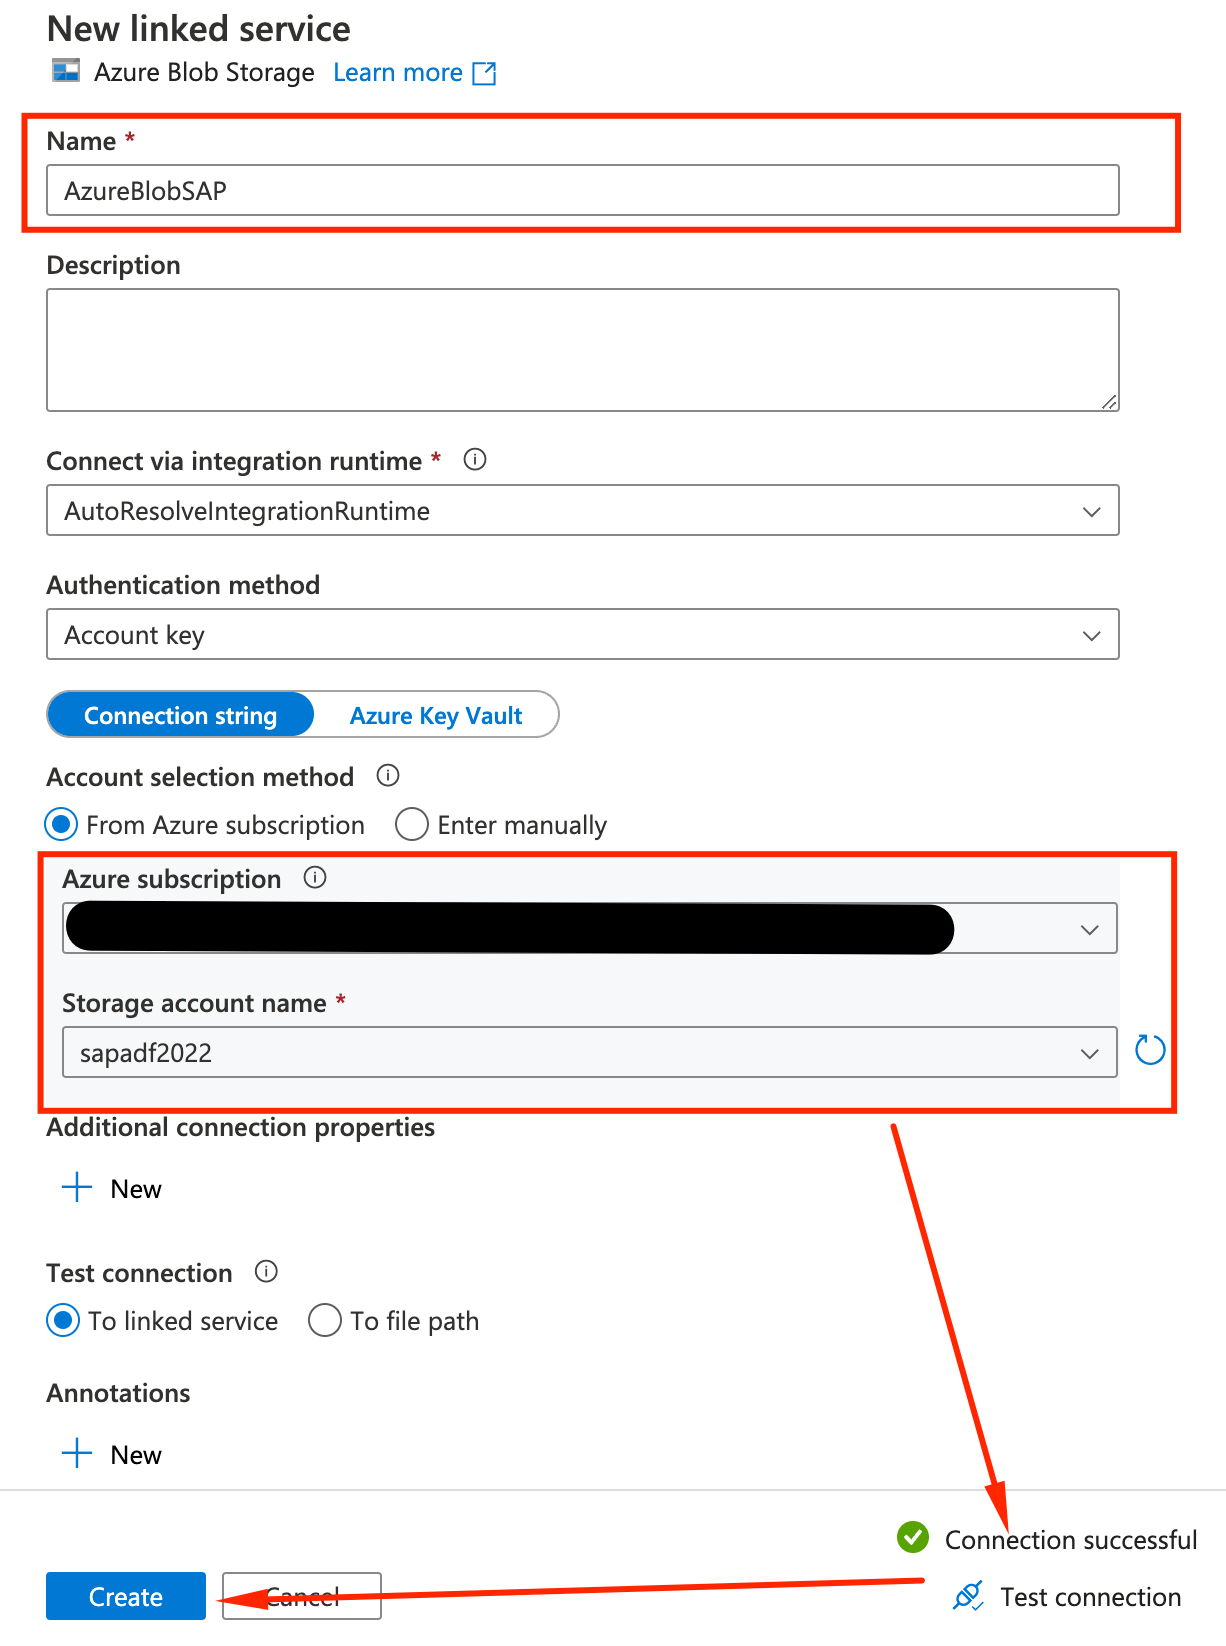
- We will link this dataset with our Storage Account created on step #1. Fill the required data for the linked service:
- Name: AzureBlobSAP
- Integration Runtime: AutoResolveIntegrationRuntime
- Authentication Method: Account Key
- Subscription: Select your current subscription
- Storage Account Name: sapadfXXXX
- Click on Test connection and if successful, click on Apply
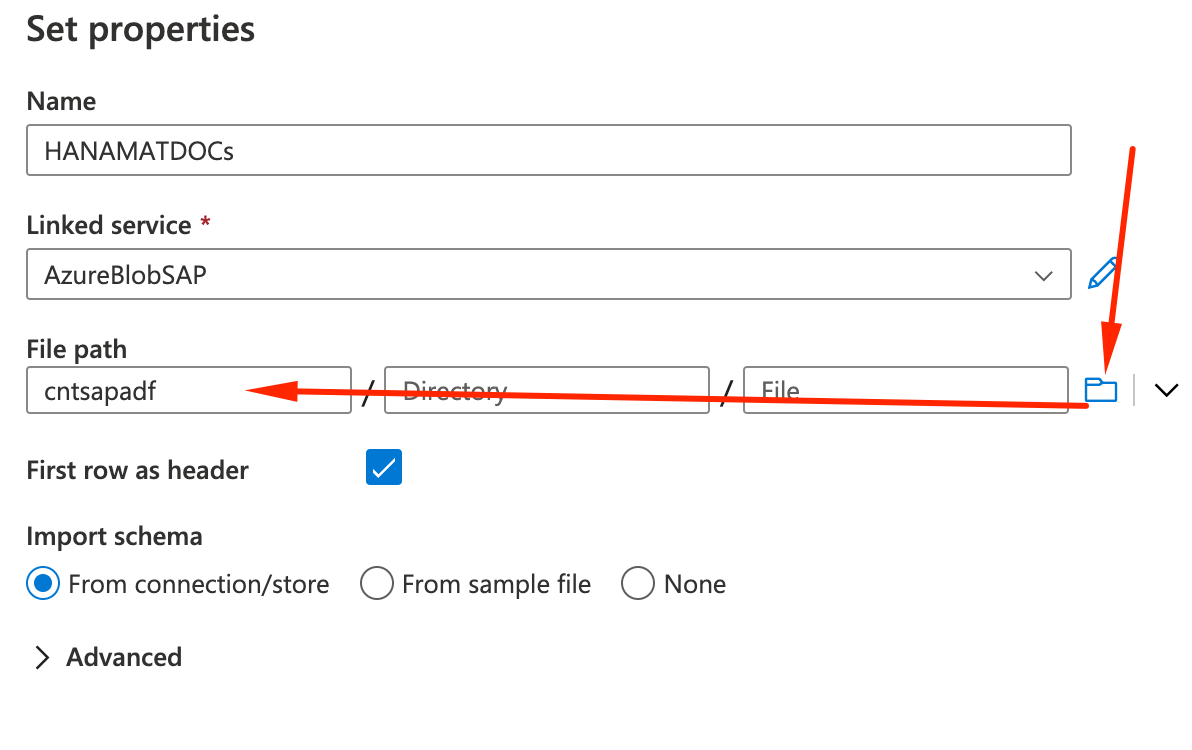
- Back on the properties screen, make sure the Linked service is AzureBlobSAP and that filepath is cntsapadf which is the name of the container we created on step #1. You can use the folder button and navigate to the container itself. Make sure other options match the picture:
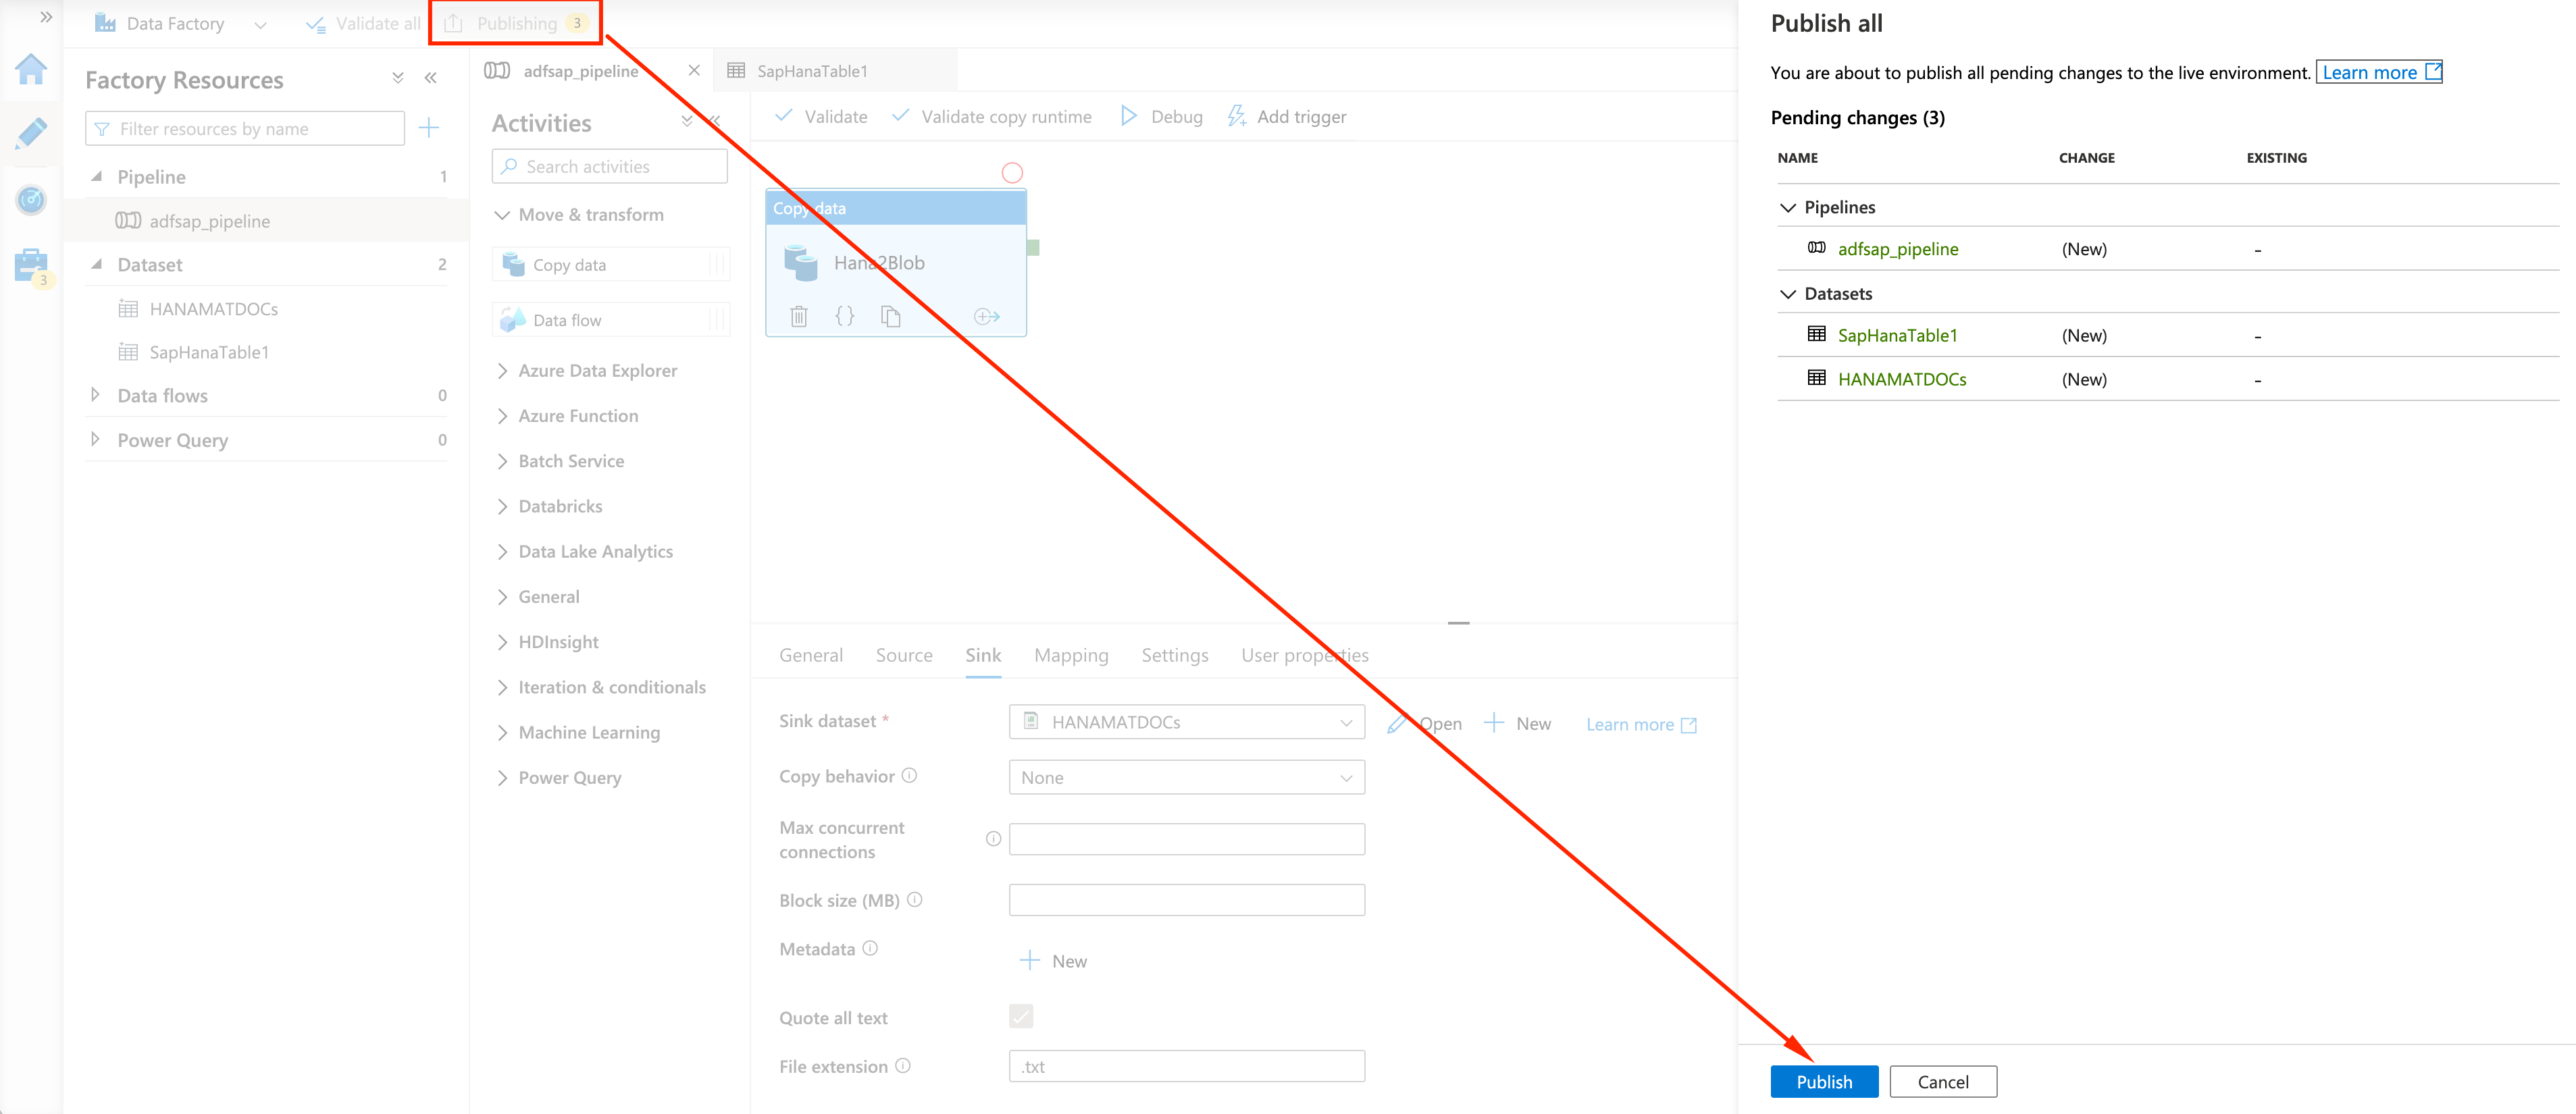
- Our simple pipeline, with one step, is ready. Let’s Publish it so we can run it. On the top of the page, click on Publish and on the right panel Publish again:
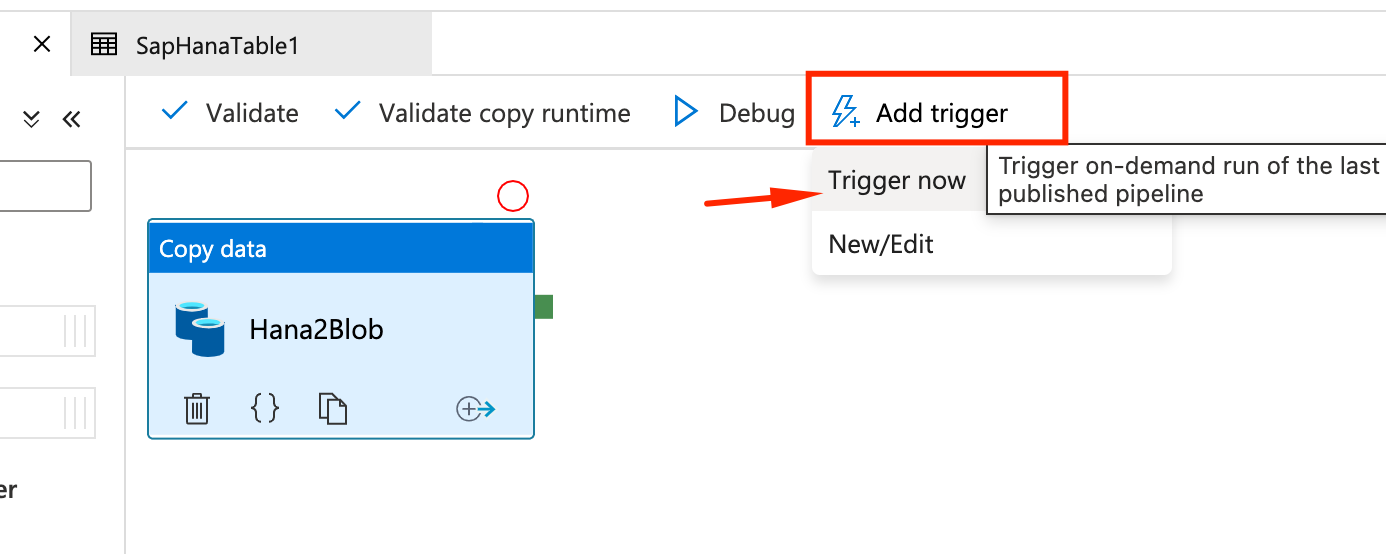
Let’s run the Pipeline manually for testing:
- On the Data Factory Studio, click on the adfsap_pipeline on the left, and select AddTrigger/Trigger now on the main panel:
- You can monitor the run, by selecting the speed meter icon on the left, then Pipeline runs and refreshing for Status = Succeedded

Let’s see the output !
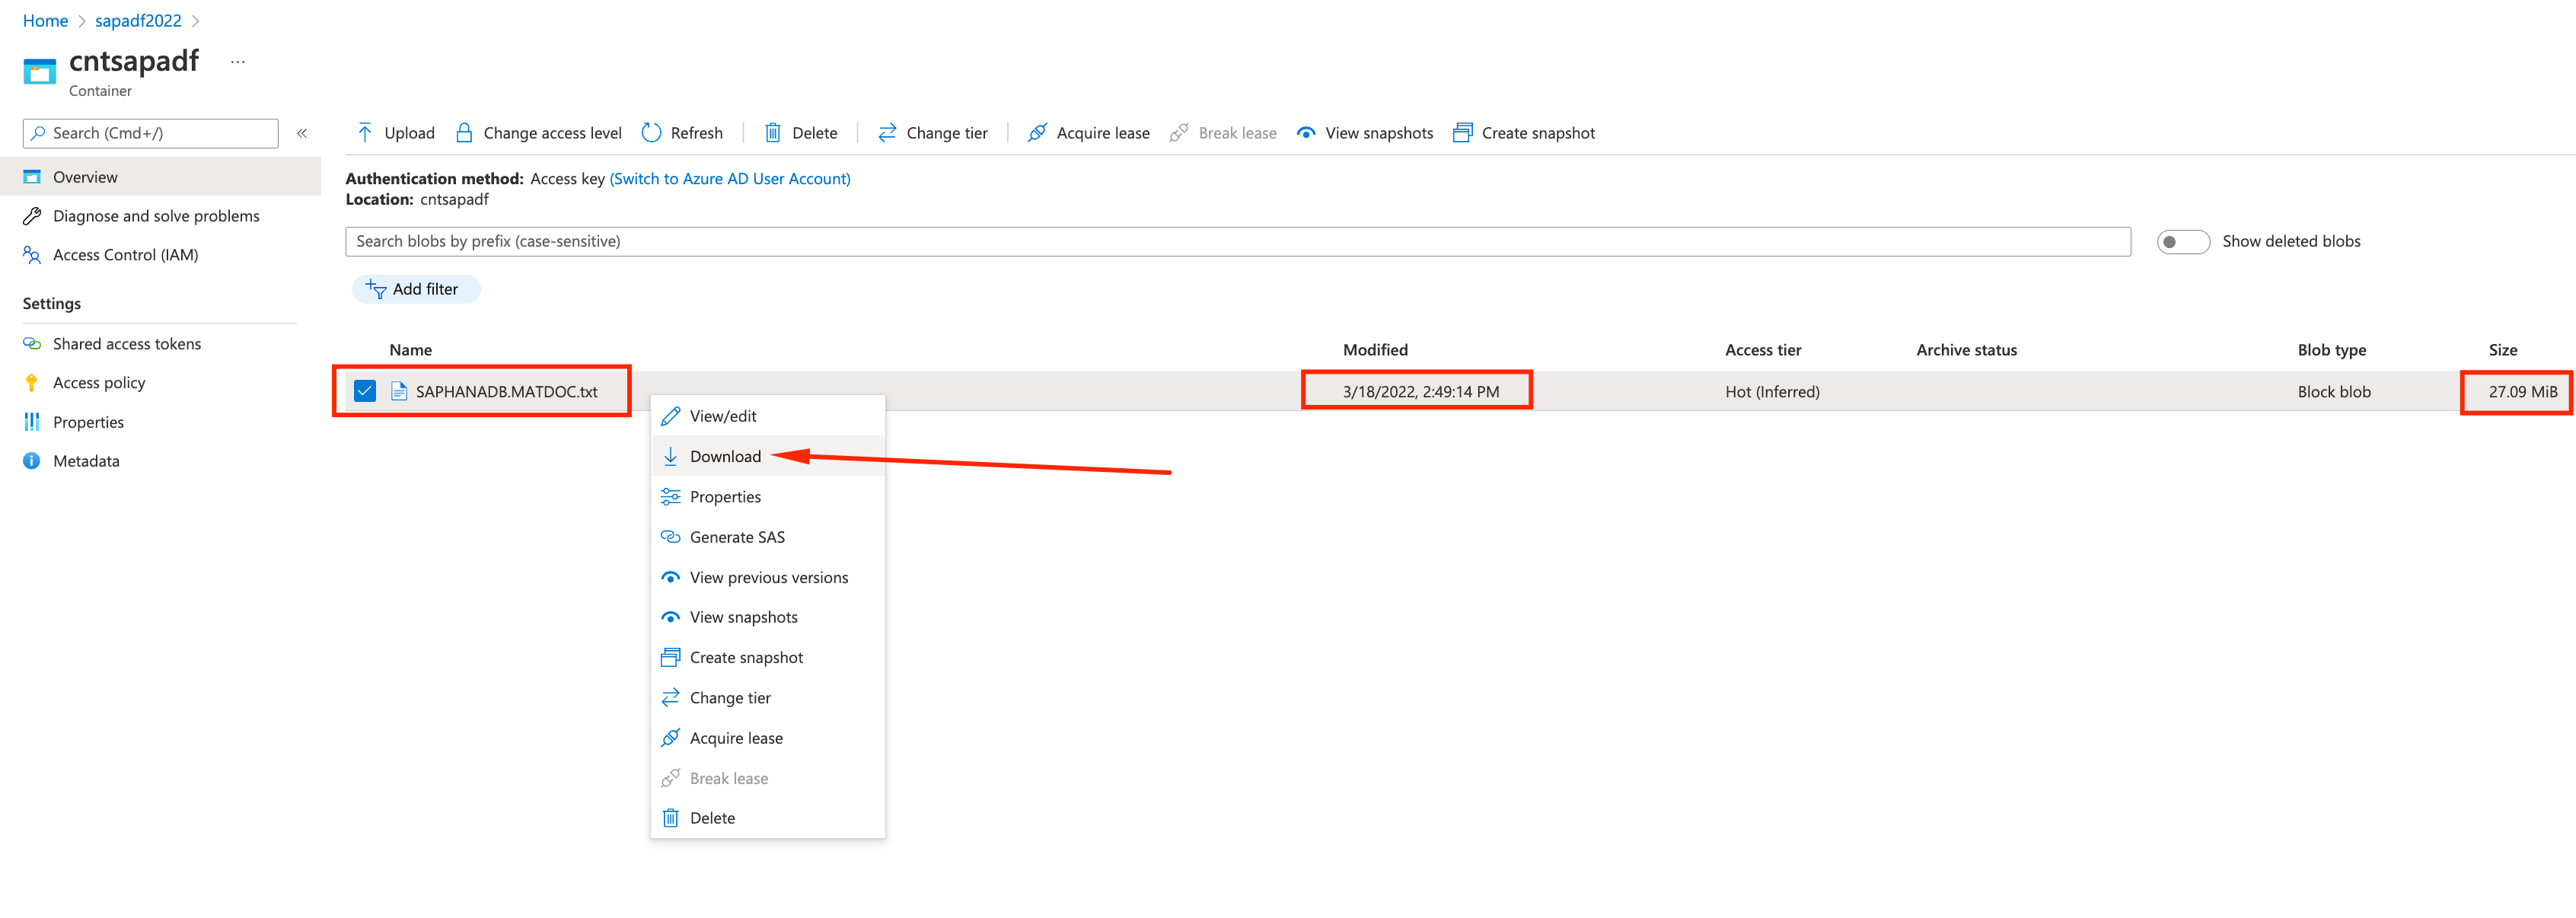
- On the Azure Portal, go back to the sapadfXXXX Storage Account you created on step #1. There should be a container called cntadfsap. Click on it.

- Inside the container we can see a newly created txt file with ~28MB, named after the table we used to extract the data. Right click it and select Download
- Open the downloaded file on your editor of choice (aka Visual Code :) ) and check the file contents:
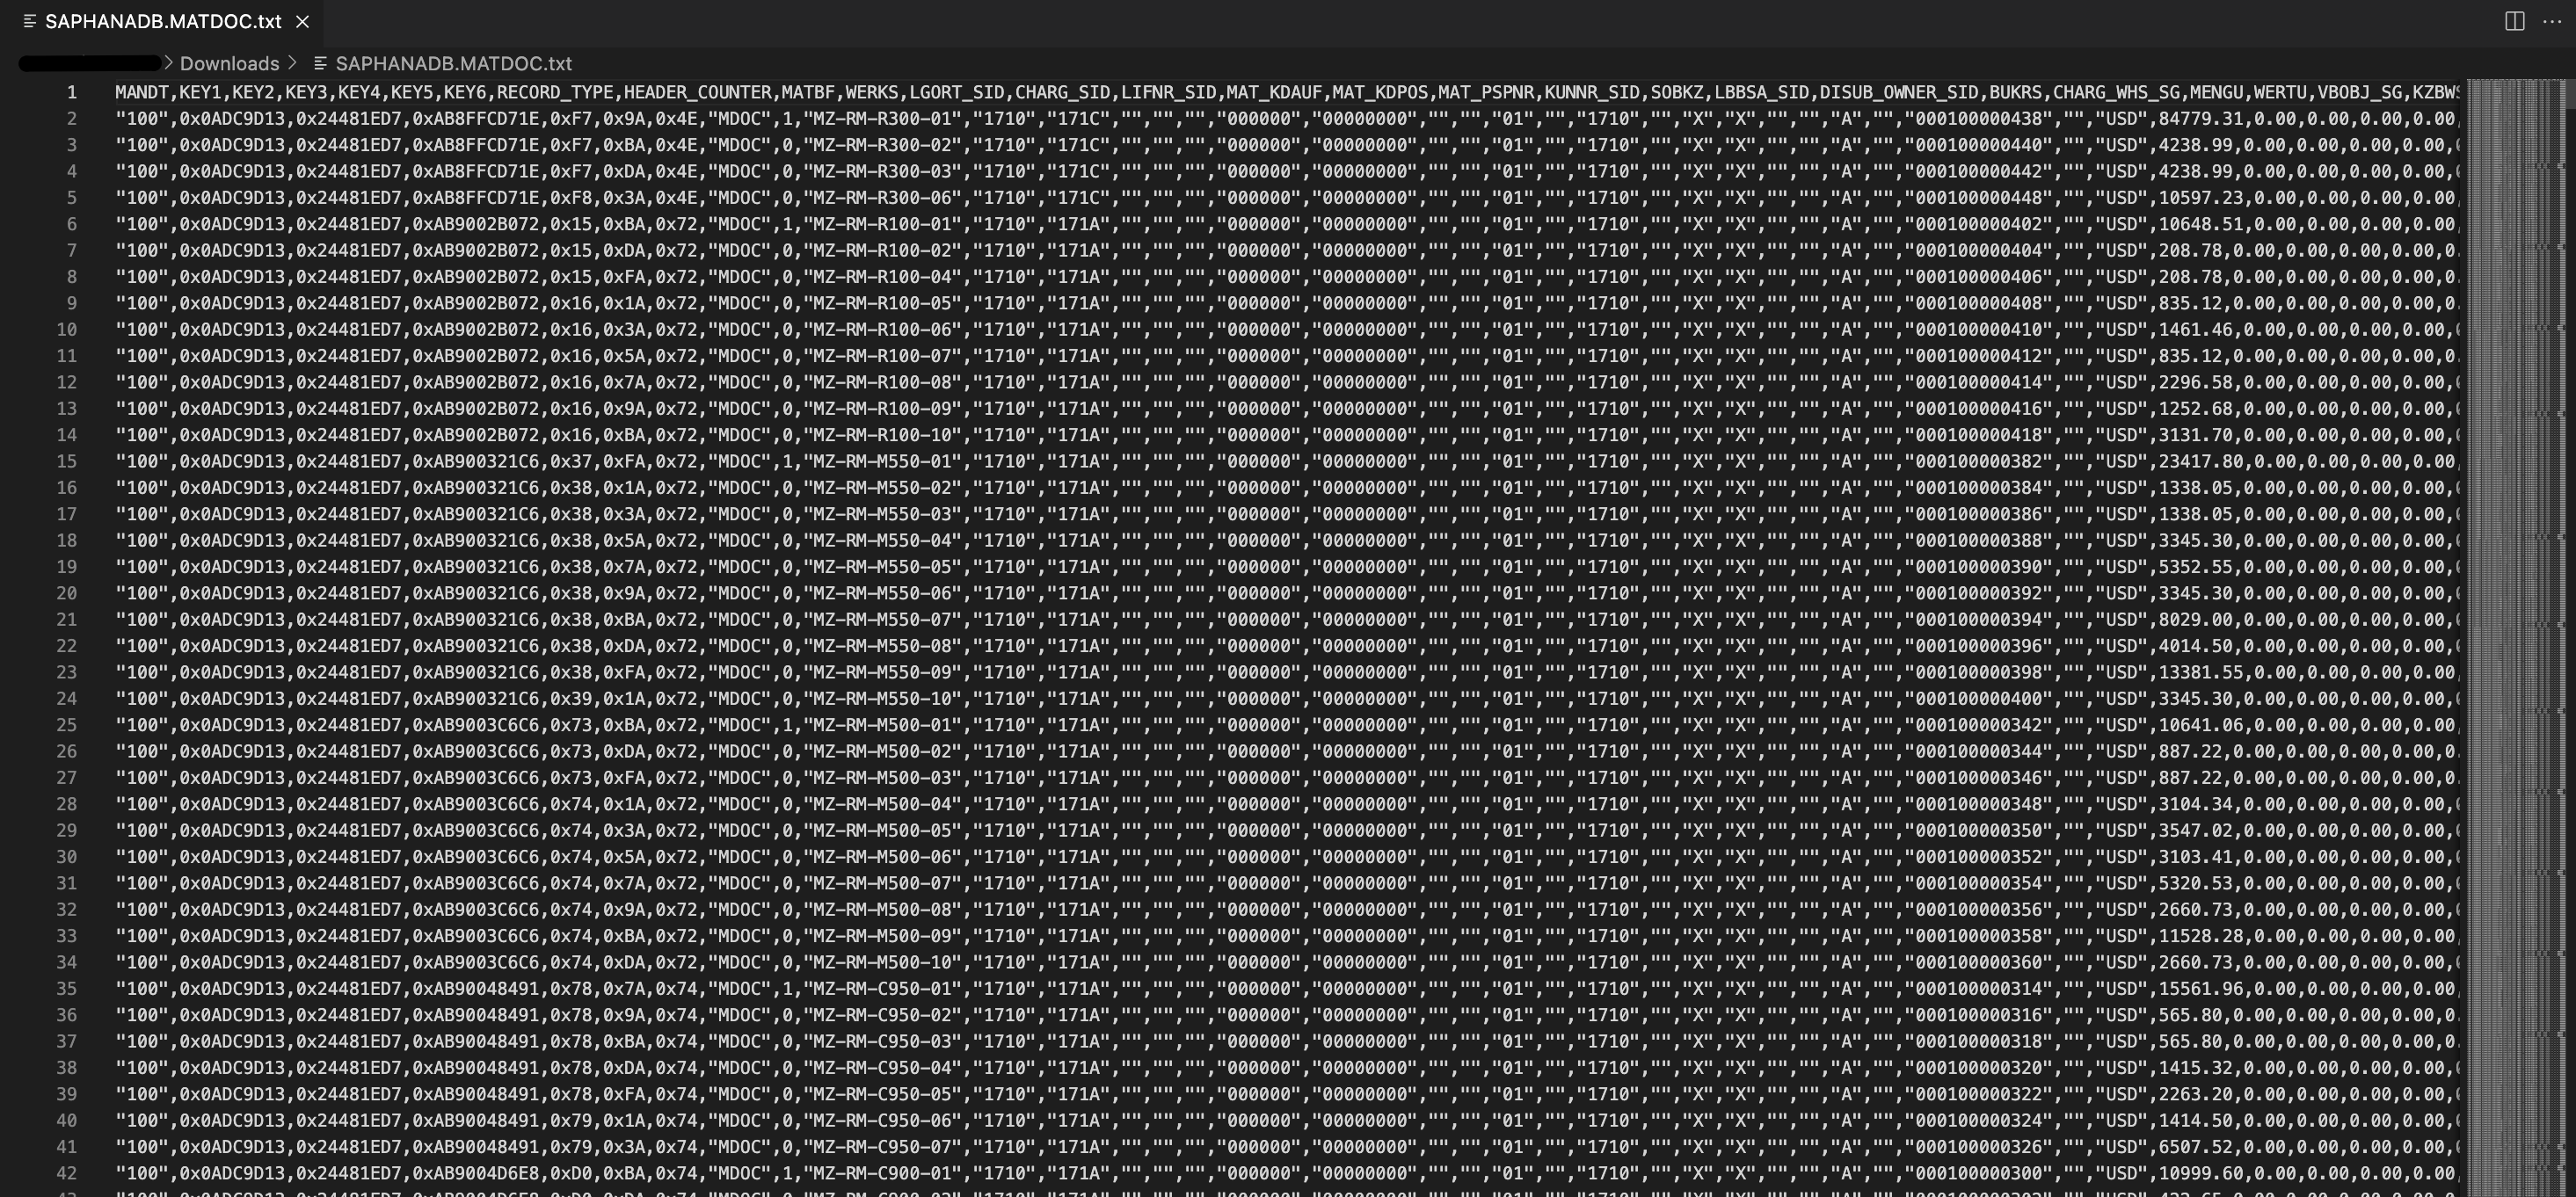
- If you used the SAP TABLE provider (step 3), you should see a file named MATDOC.txt. Follow steps 2 & 3 and open this file instead.

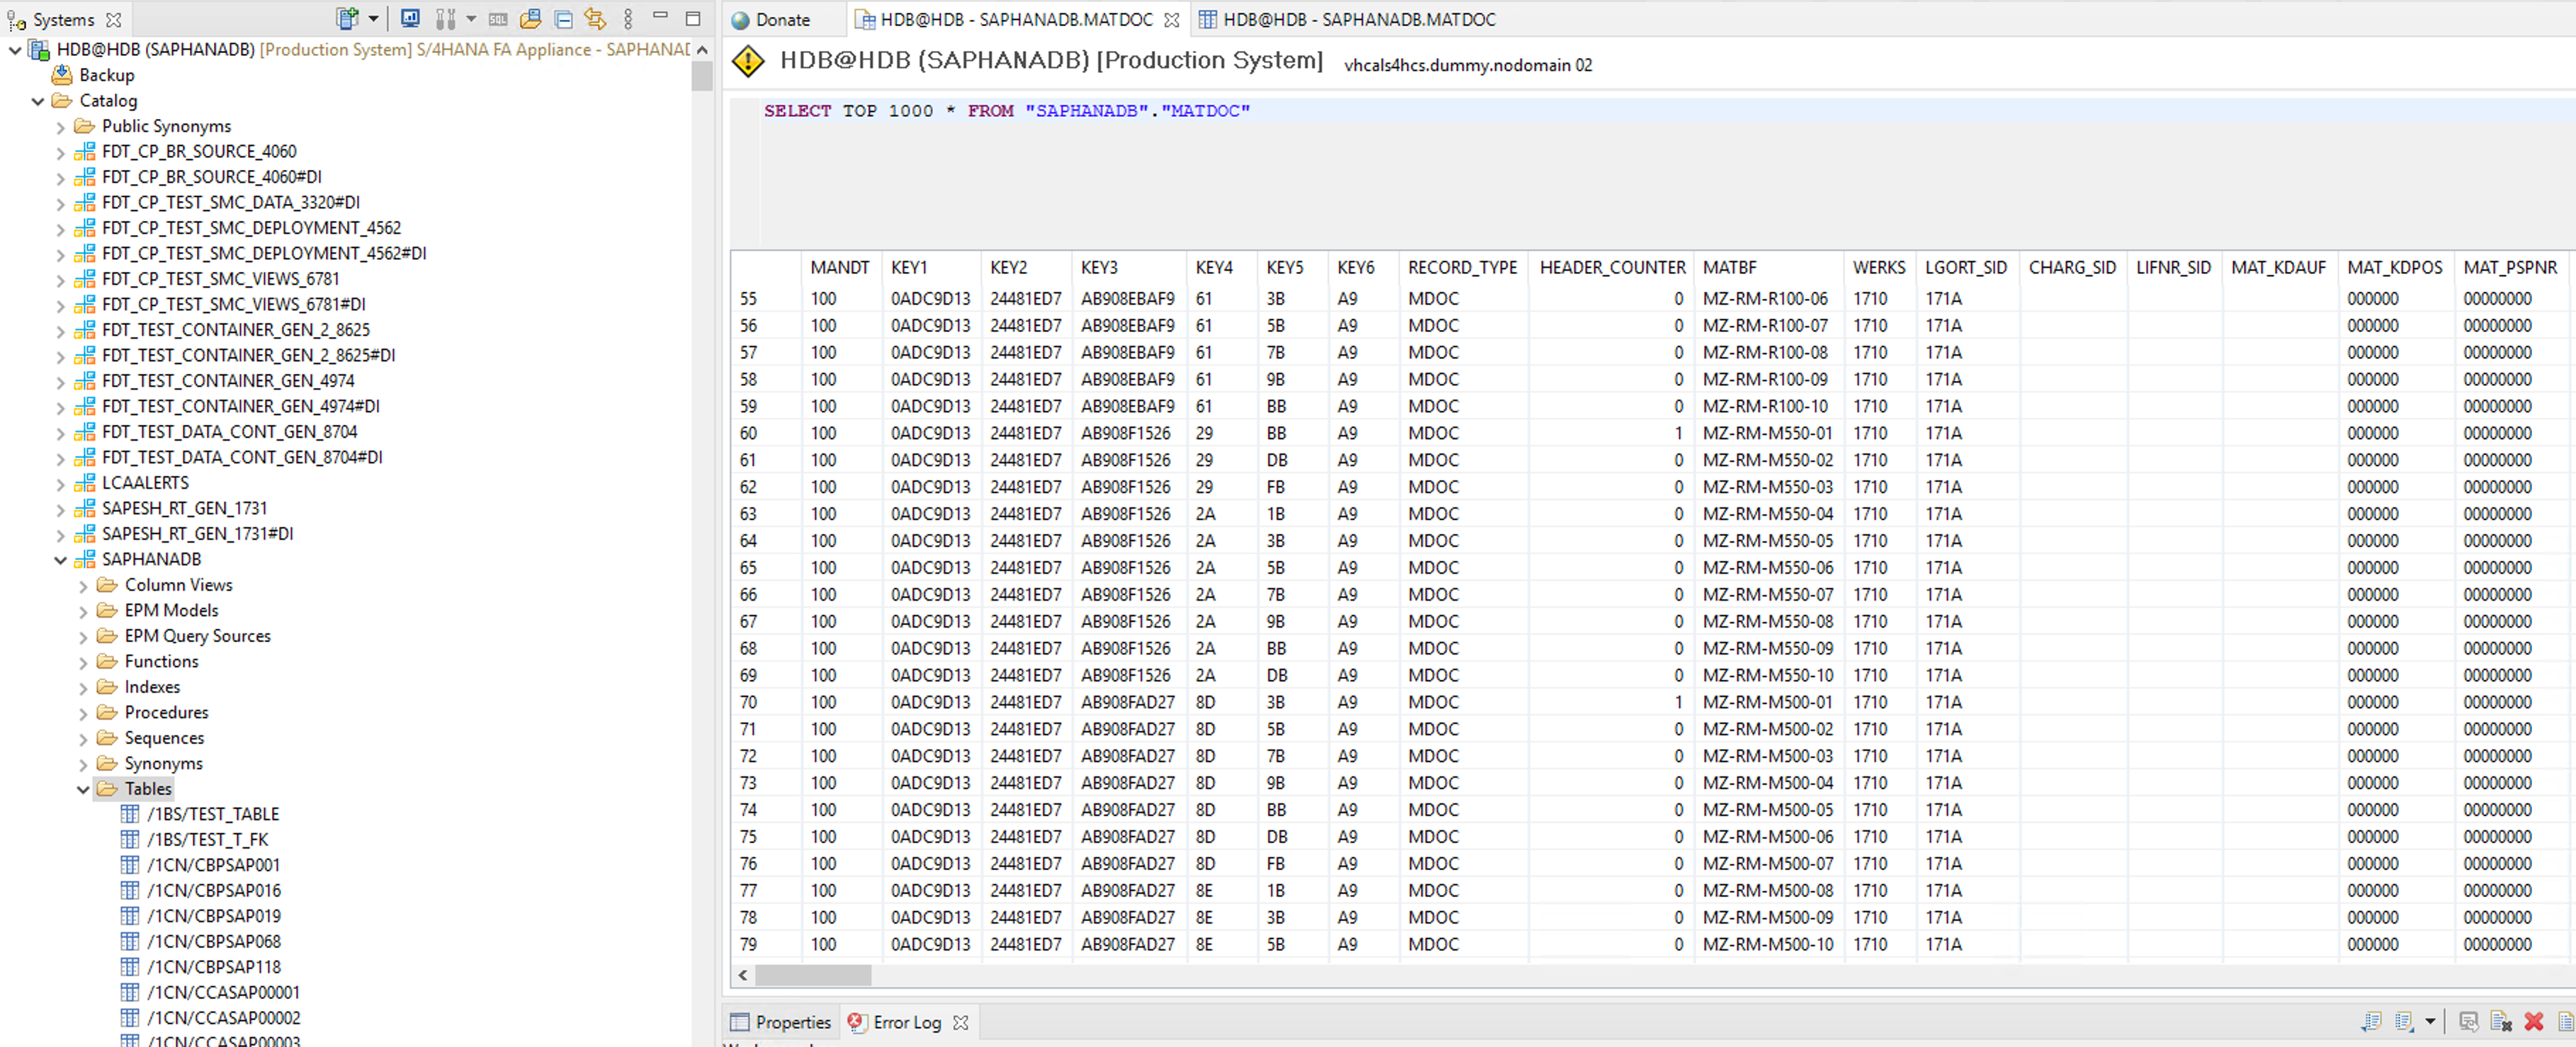
- Compare the extracted data with the content from HANA Studio, on the Bastion Host. Open HDB, go to Catalog, under SAPHANADB select Tables and run a query like ‘SELECT TOP 1000 FROM “SAPHANADB”.“MATDOC”’
Congratulations, you just learned how to integrate SAP with Azure Data Factory and include it in your pipelines.