Create Power App
In this step we will create a an App from scratch and consume data from SAP APIs via the Custom Conenctor from step #1.
The steps required are:
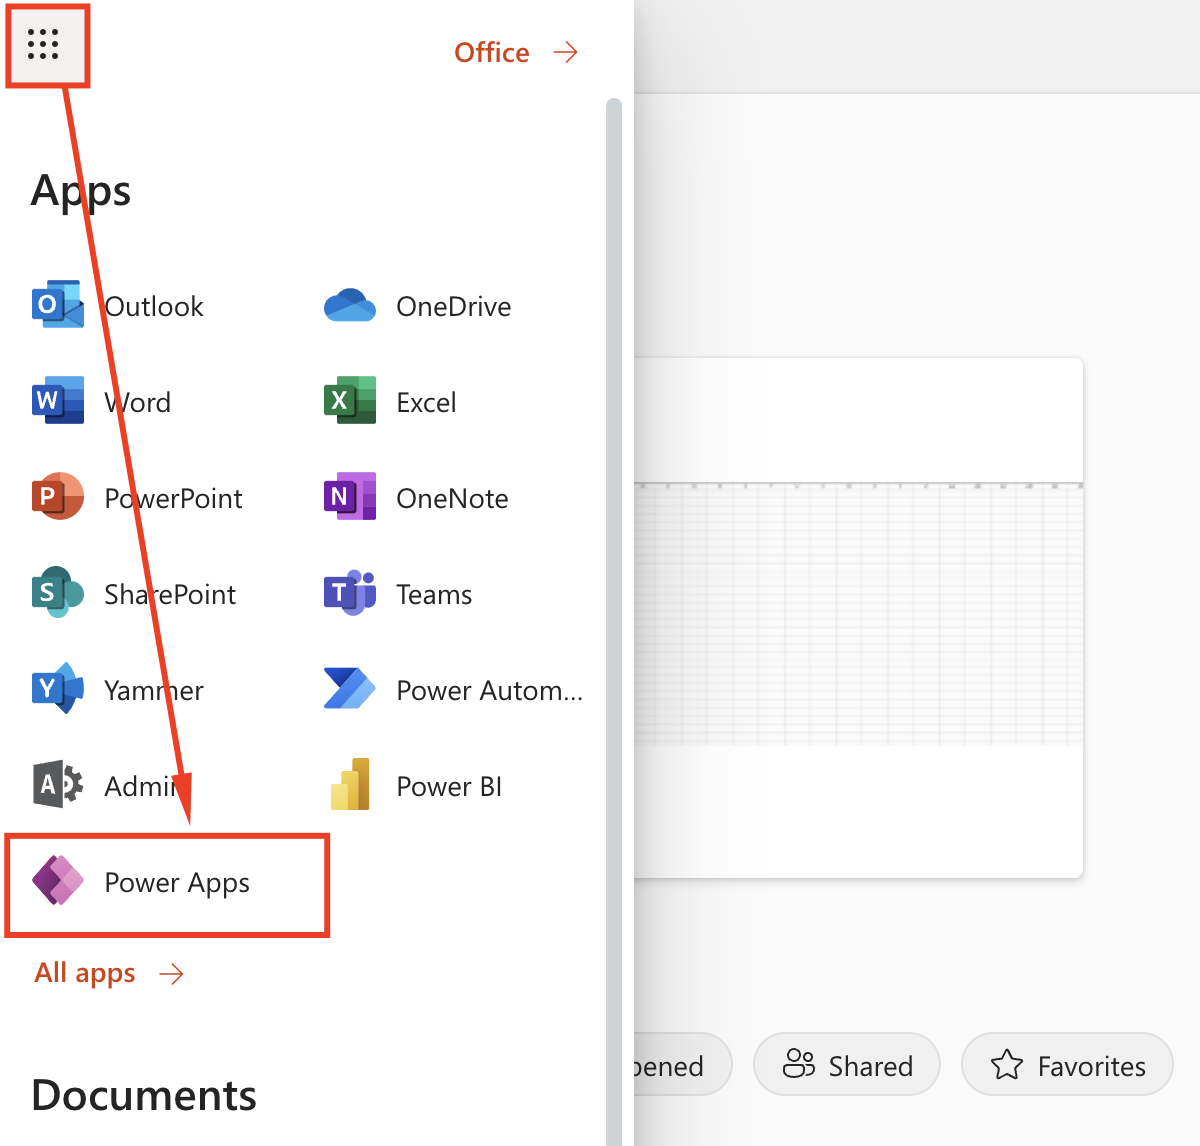
- Go to Office.com.
- Click on the 9 dots Icon on the Top Left
- Select Power Apps (it can also be found under All Apps)
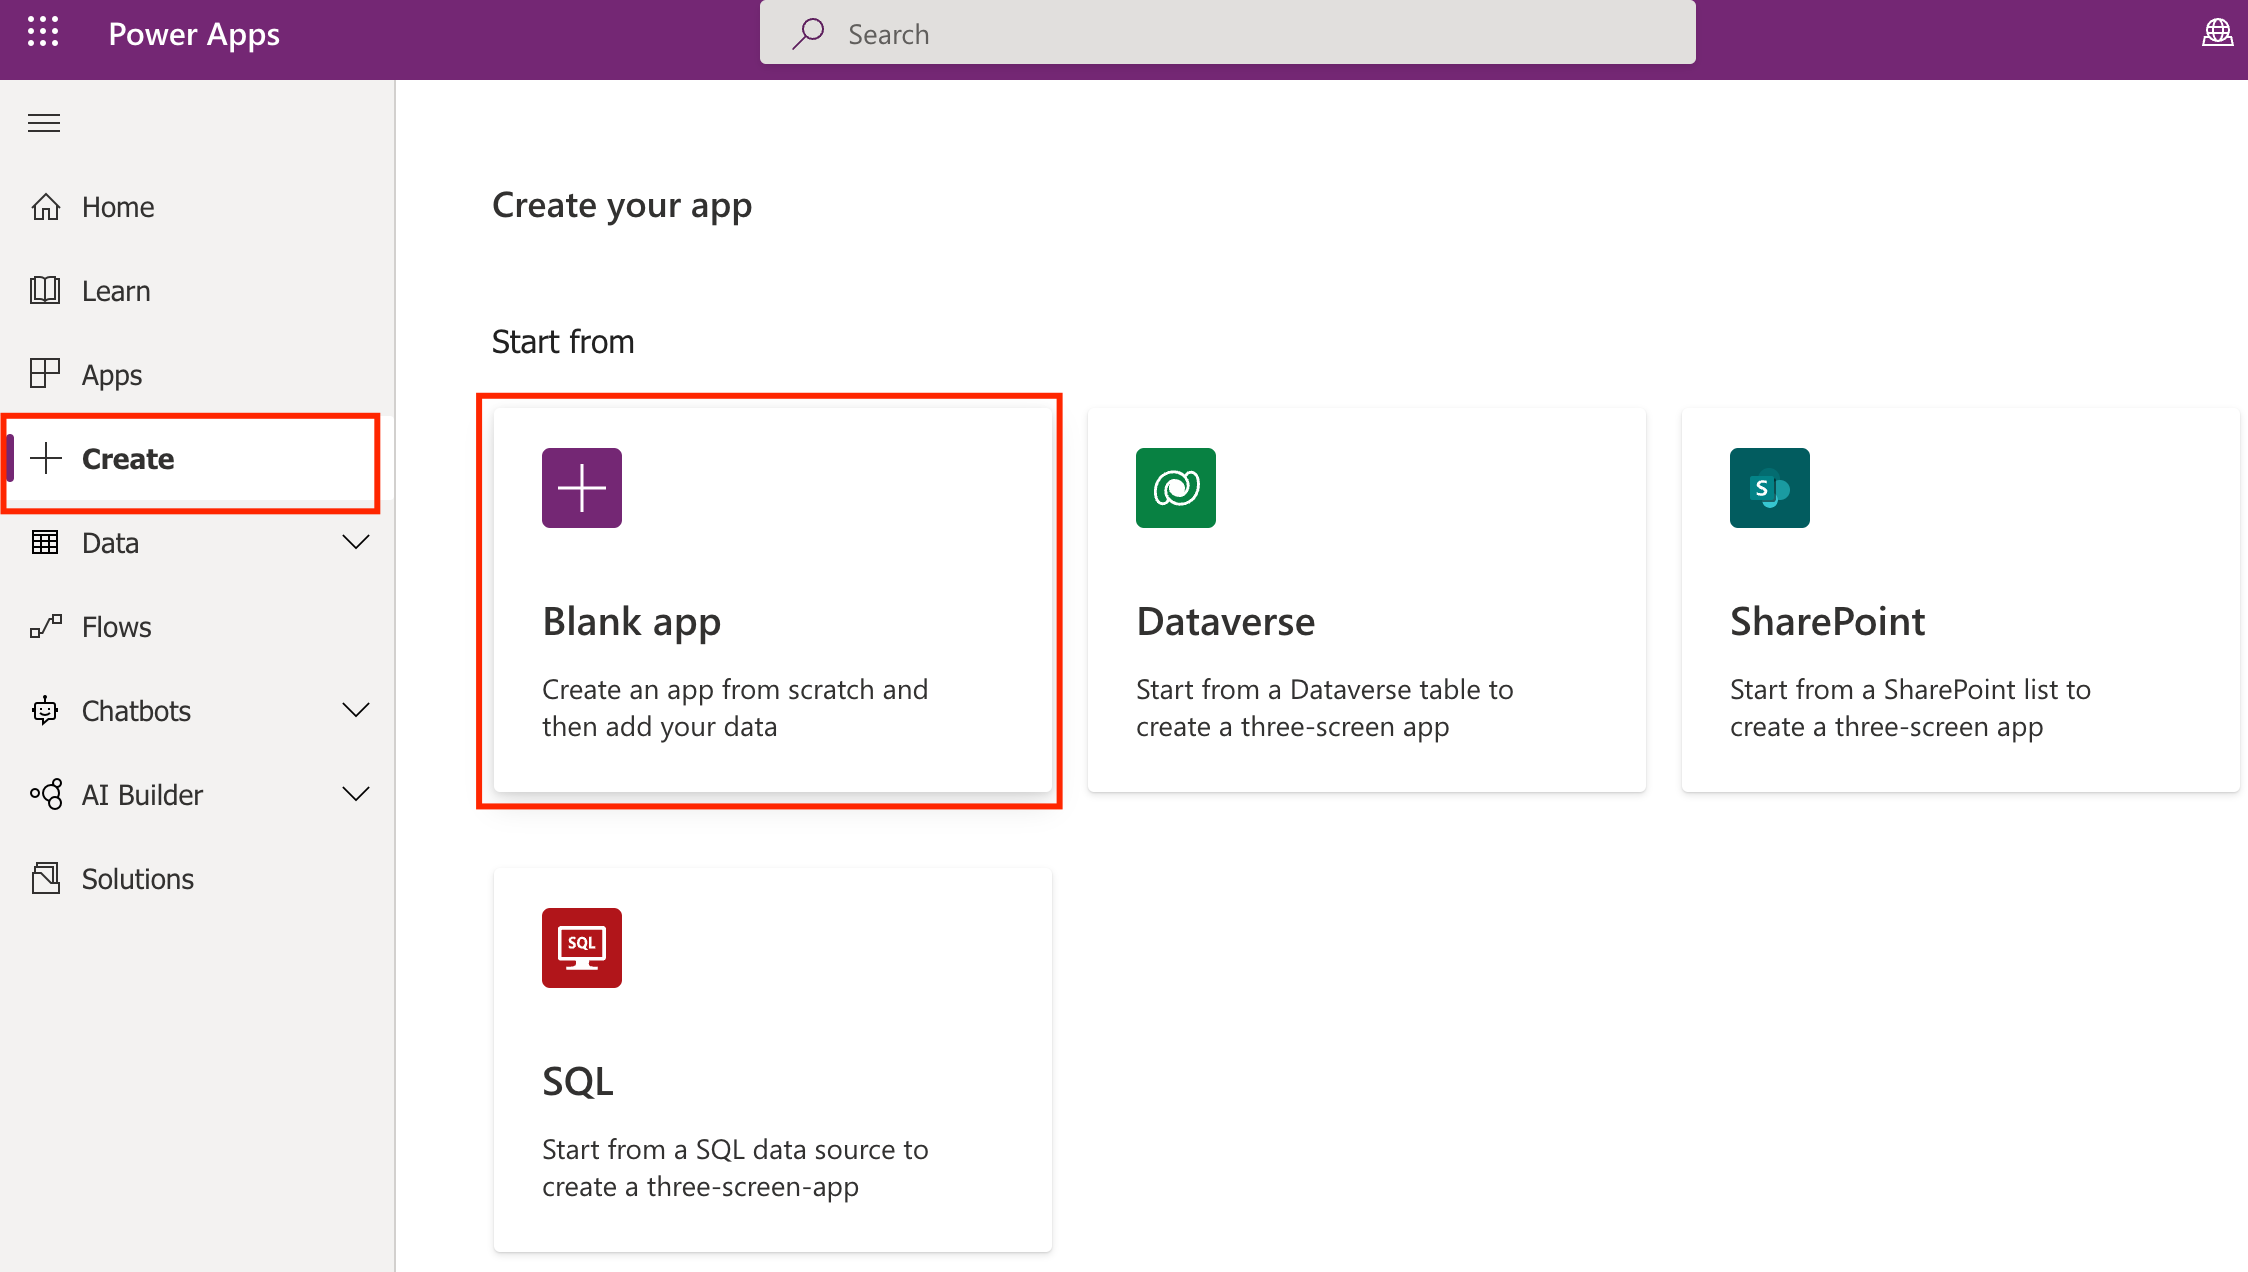
- In Power Apps, click on Create and select Black app
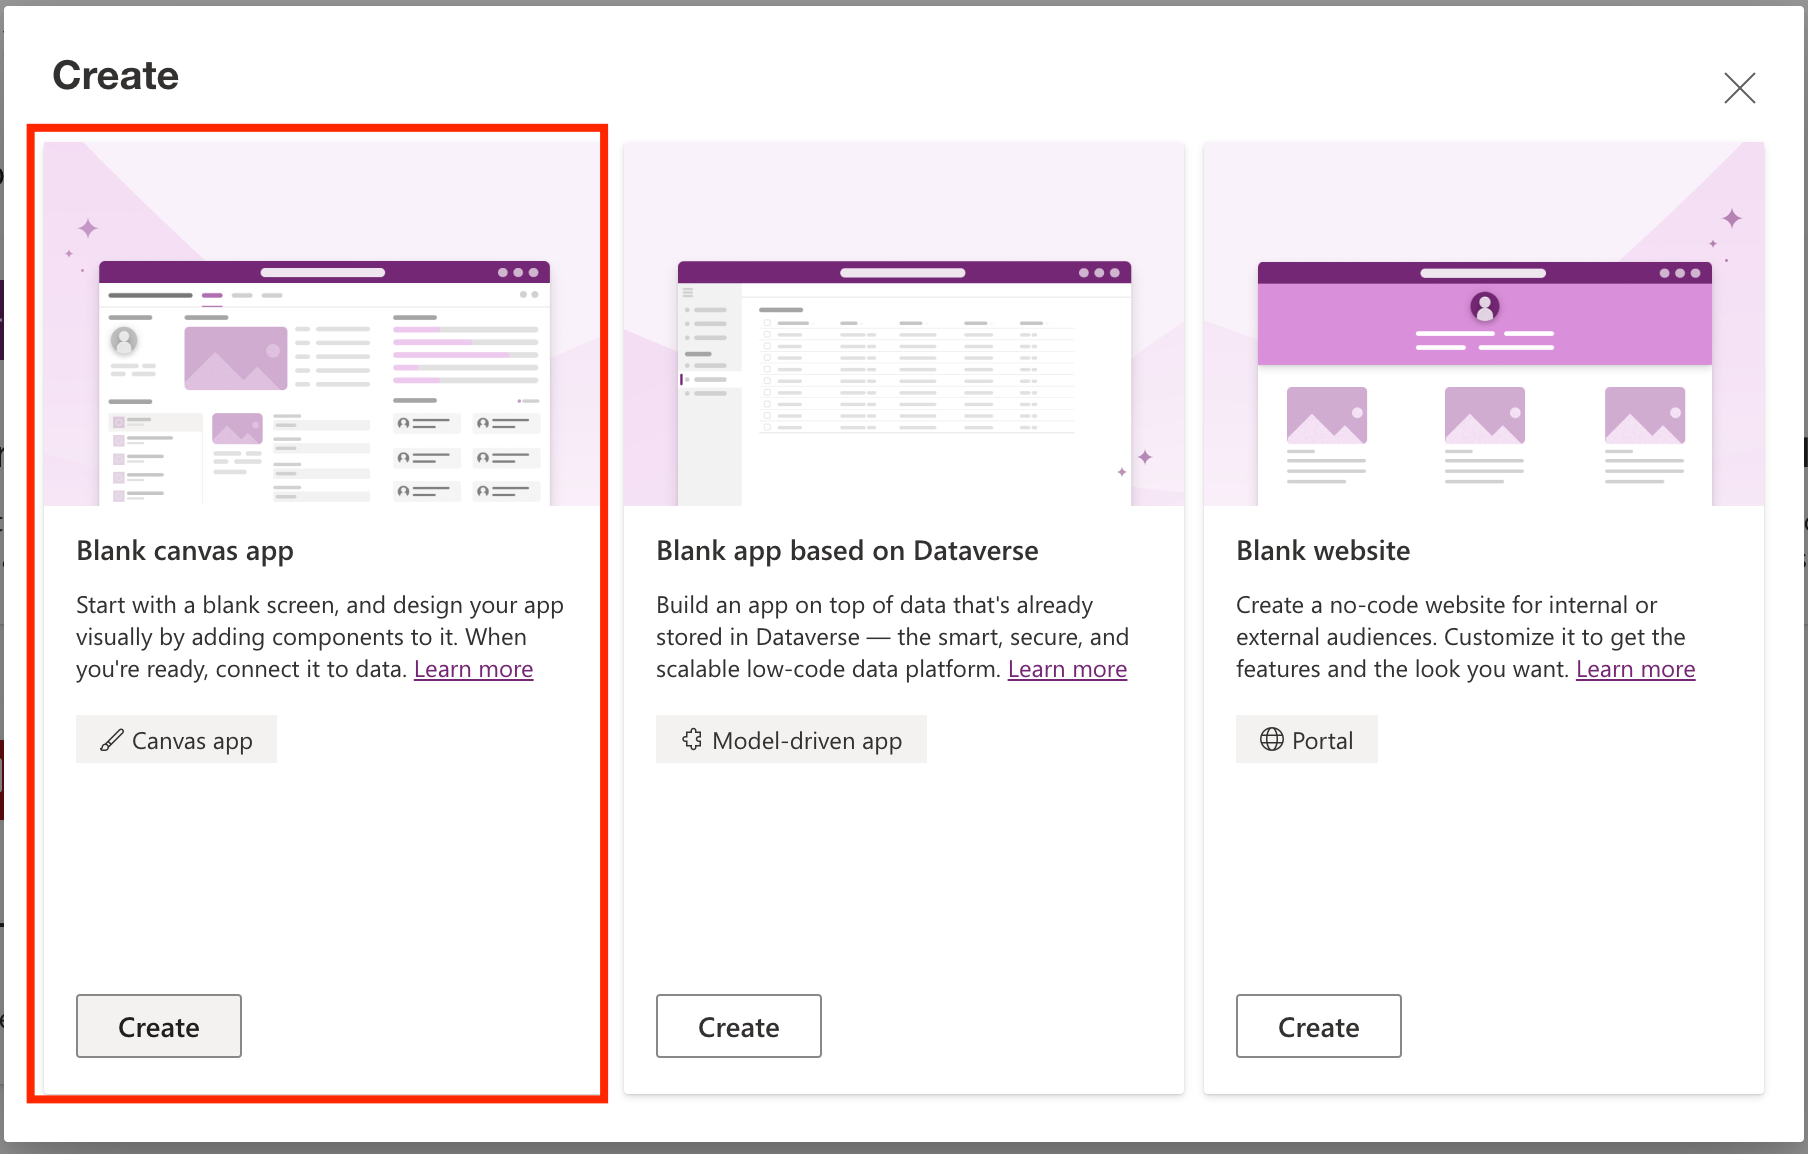
- Select Blank Canvas App
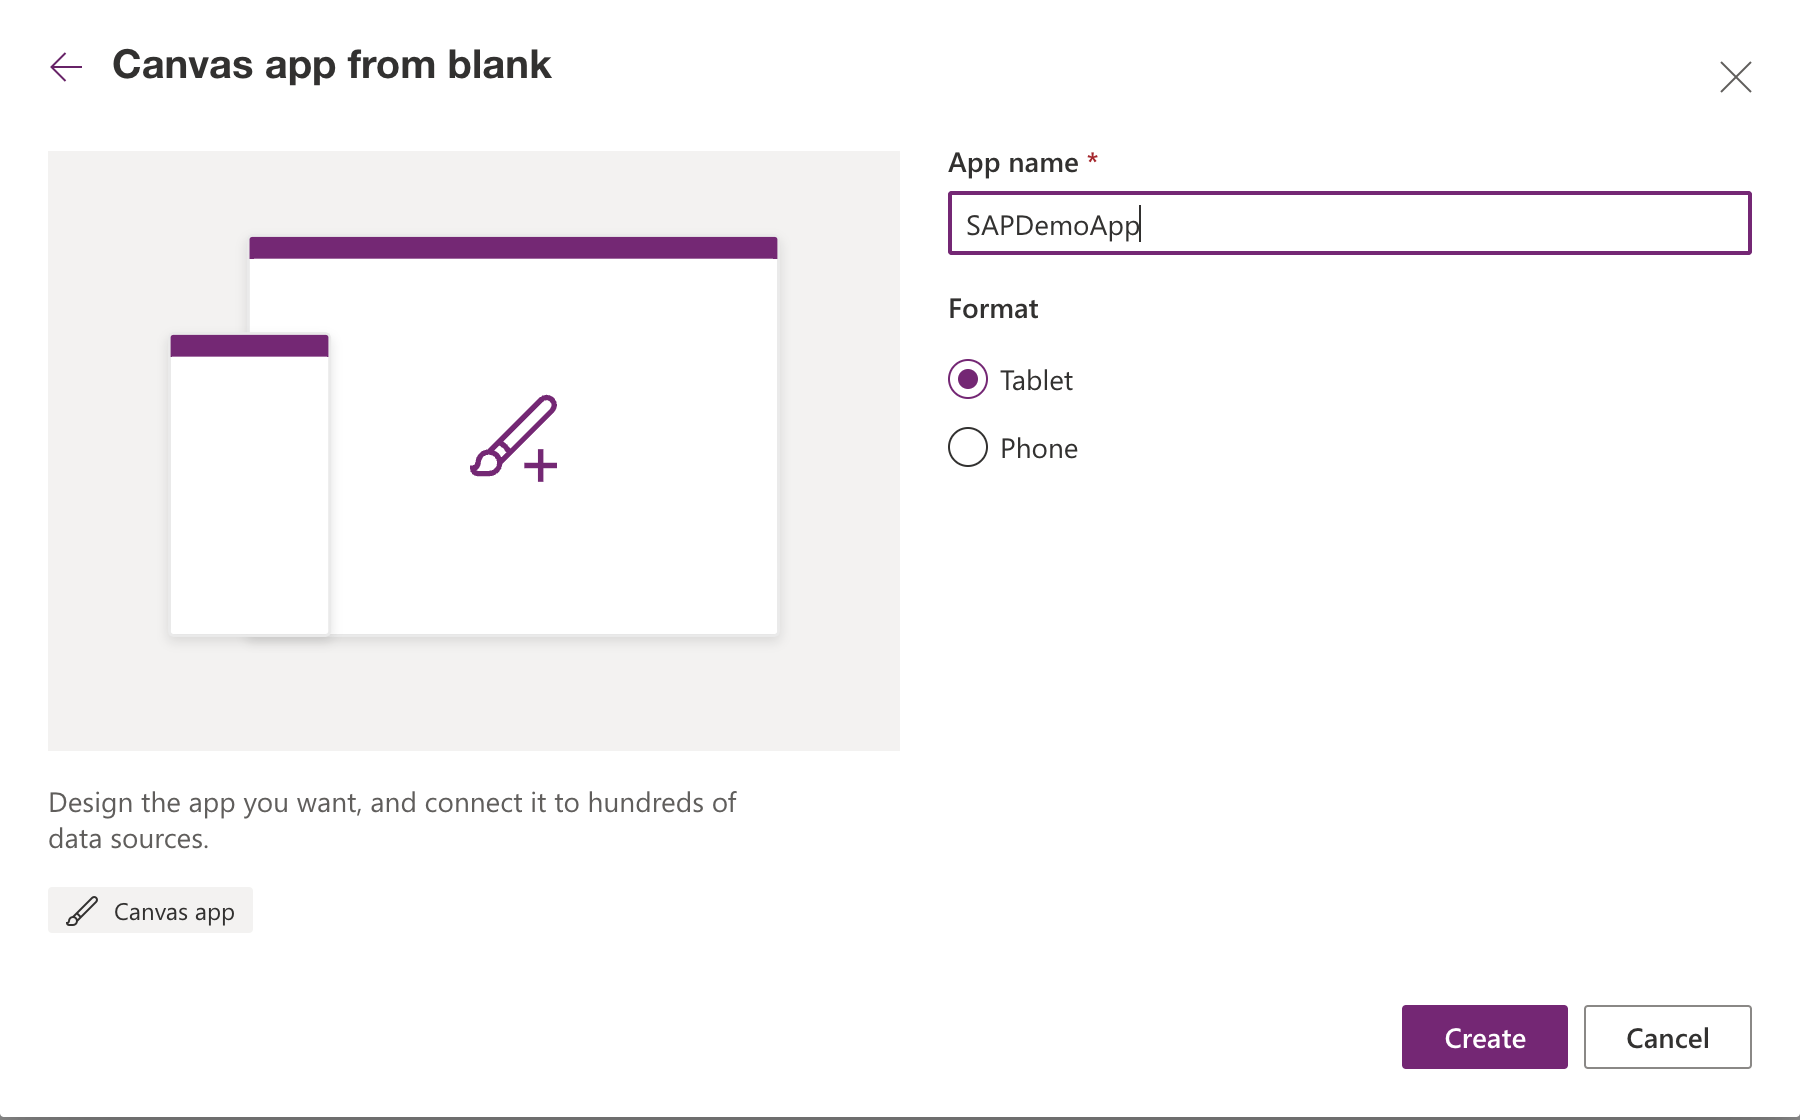
- Name it SAPDemoApp and select Tablet format. Click Create
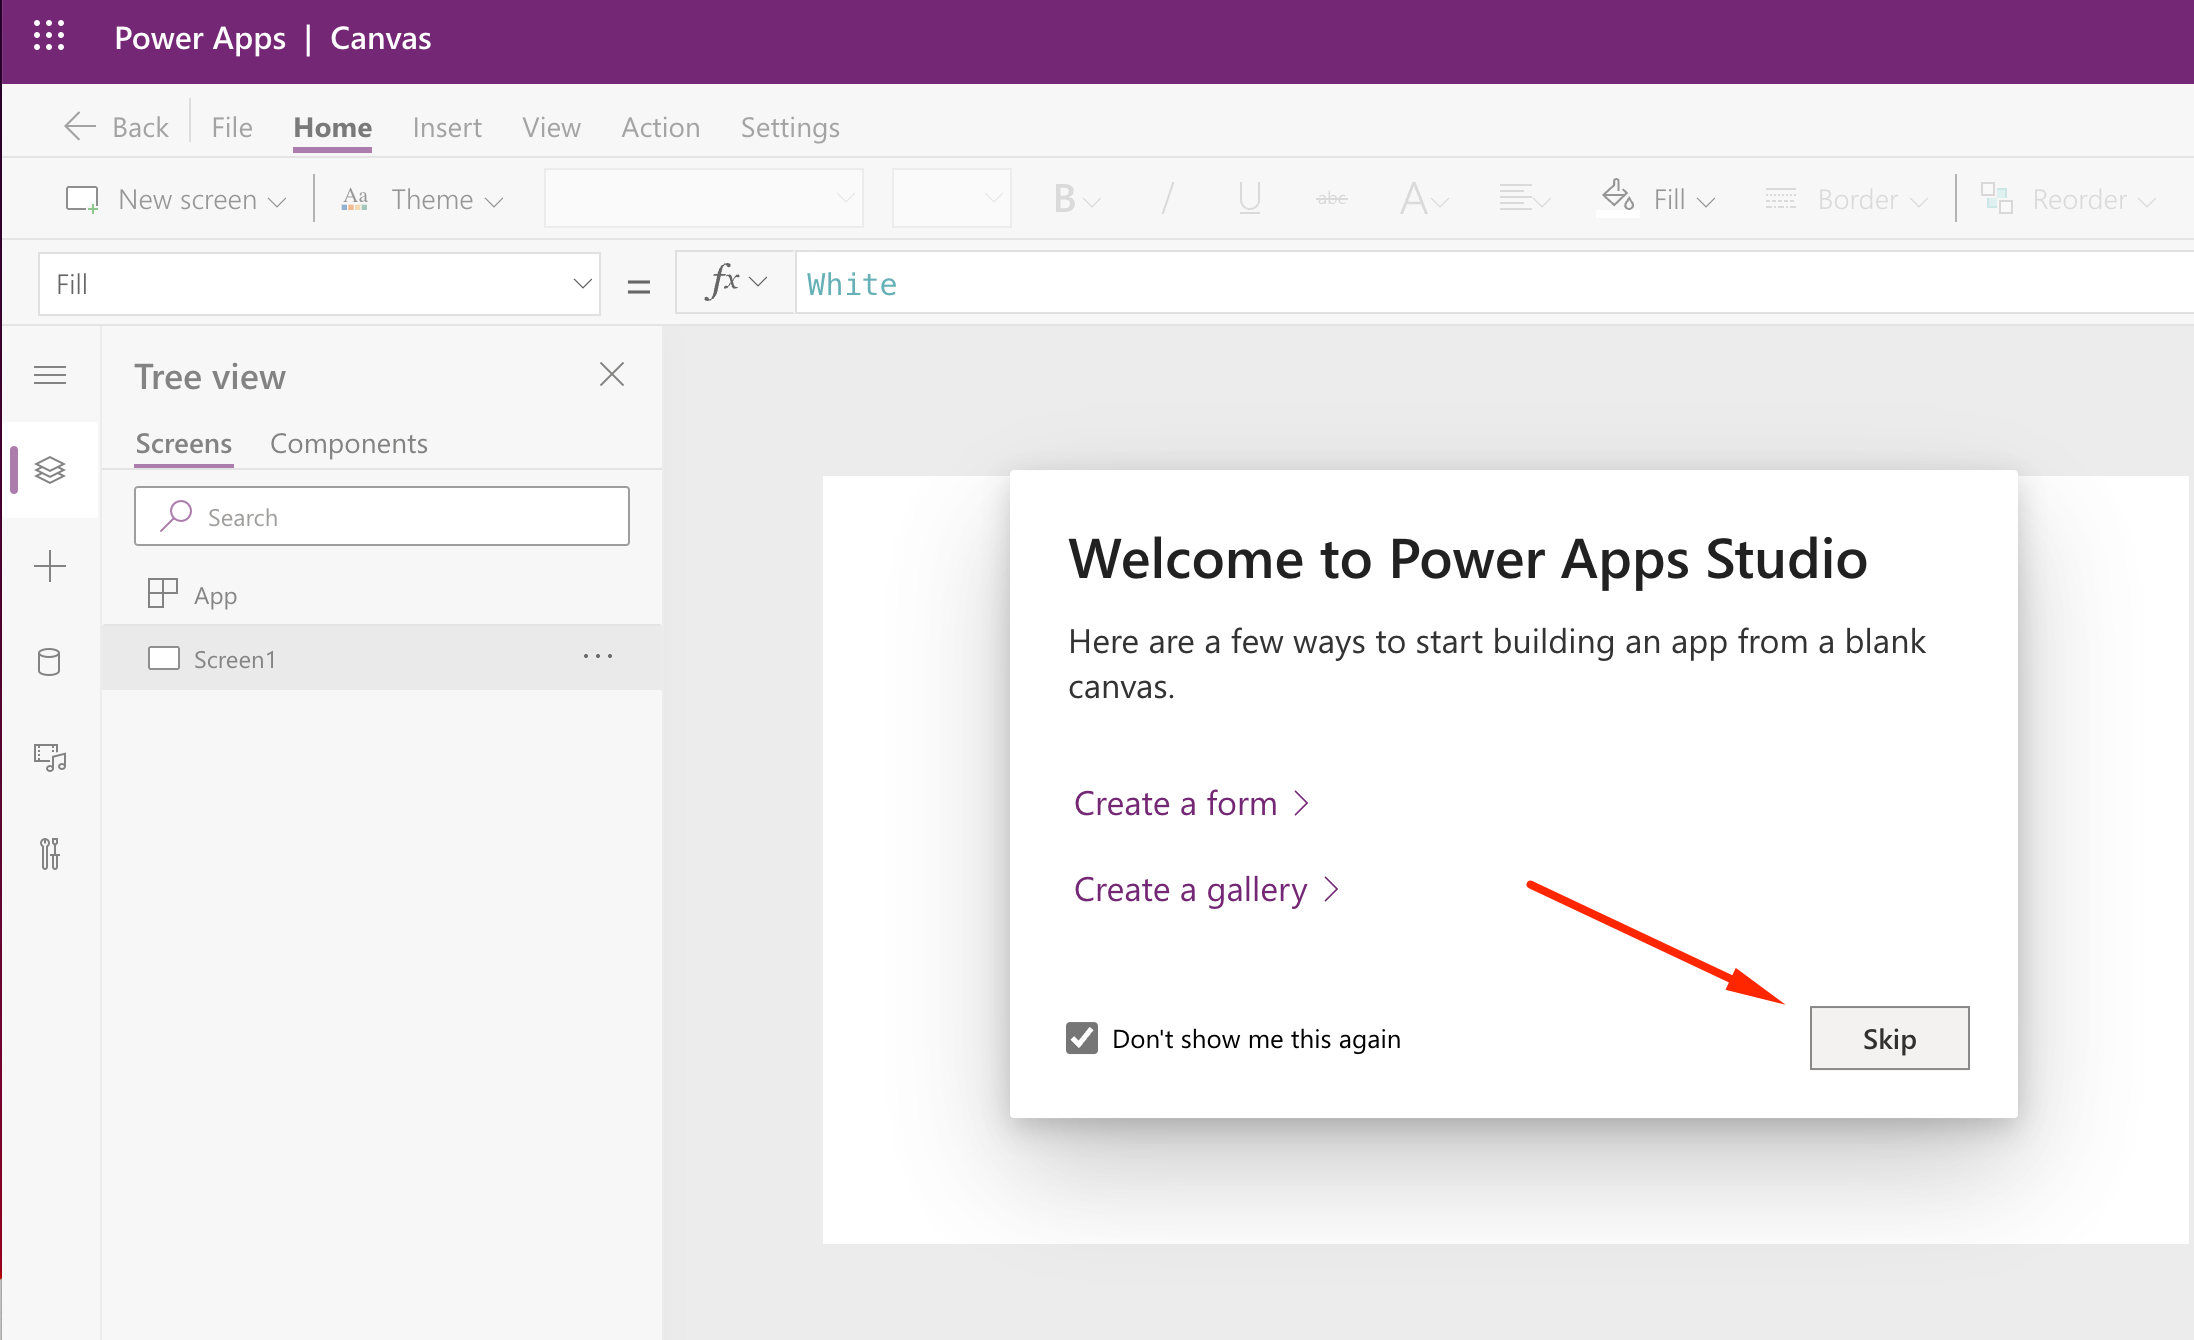
- Click Skip on the welcome message
Now we will start customizing our App:
-
Let’s add the Custom Connector as a Datasource. Click on the database icon on the left, Add Data, search for SAP and select SAPGWDEMO. It may require authentication; in this case use the credentials sent by SAP and password you changed in environment setup, section 4.

-
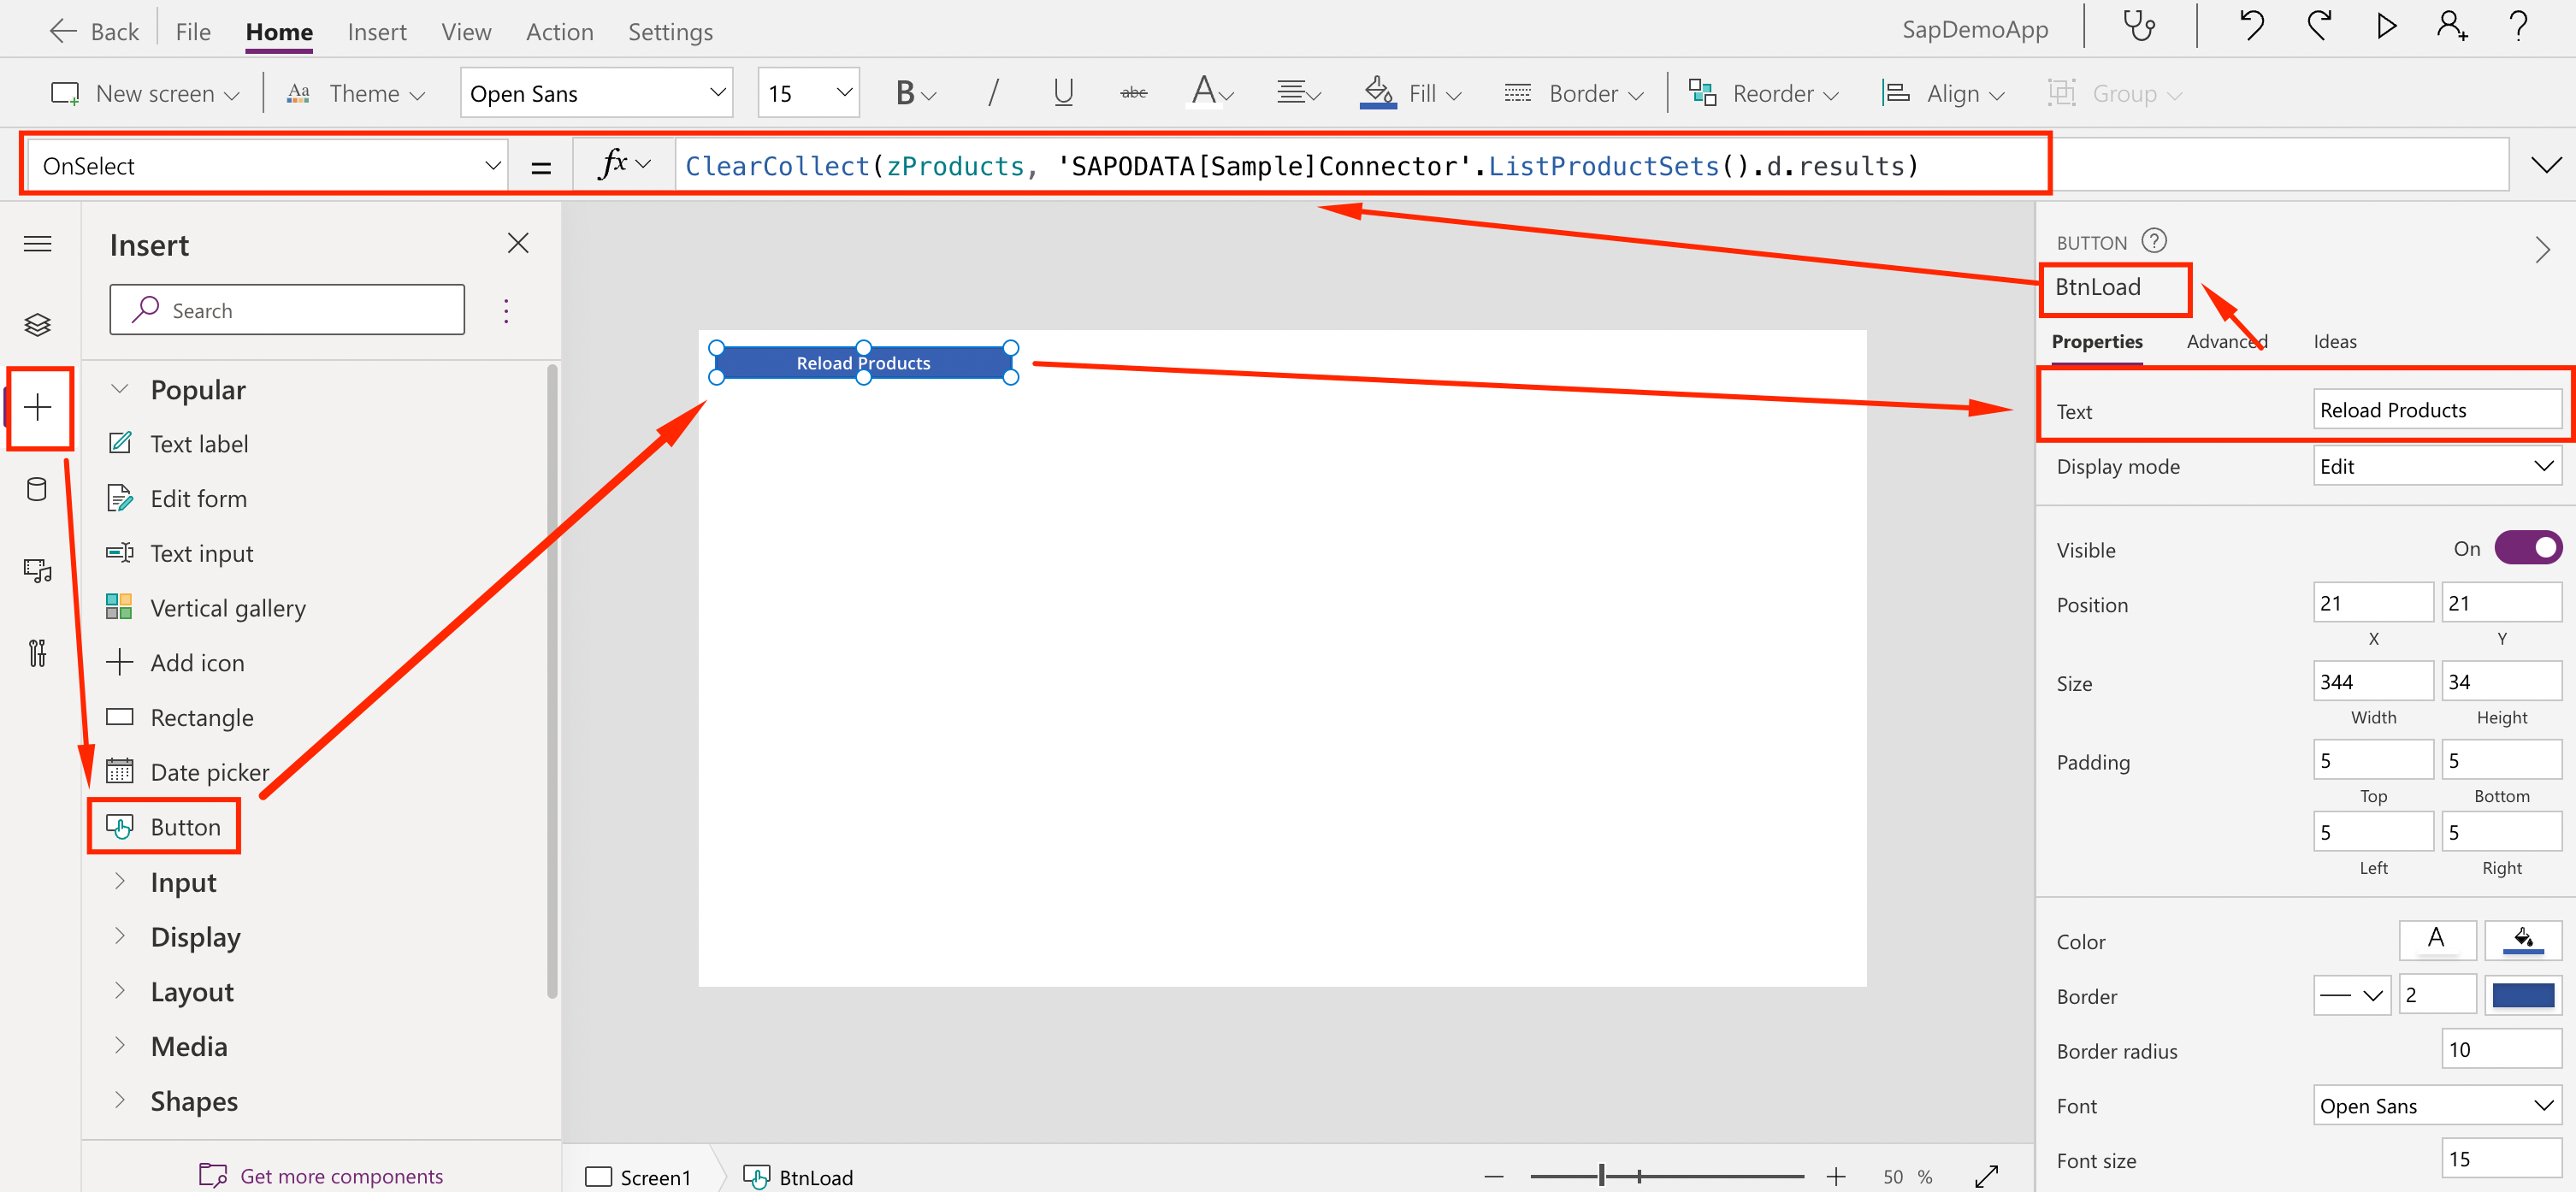
There are many ways of loading data. In this example we will create a button to do the initial loading. In a regular App, this would be automated upon App load, but for the sake of the example, we will keep it separate for now. Click on the + icon, drag and drop the Button component to the canvas, resize it and set the required parameters:
- Text = Reload Products
- Name = BtnLoad
- OnSelect = ClearCollect(zProducts, ‘SAPODATA[Sample]Connector’.ListProductSets().d.results)
The OnSelect property is the action we expect it to run when clicked. In this example we will be creating a data collection called zProducts and load it with results from the api call ListProductSet from SAP. You can ALT+CLICK or OPTION+CLICK the button to test it.
-
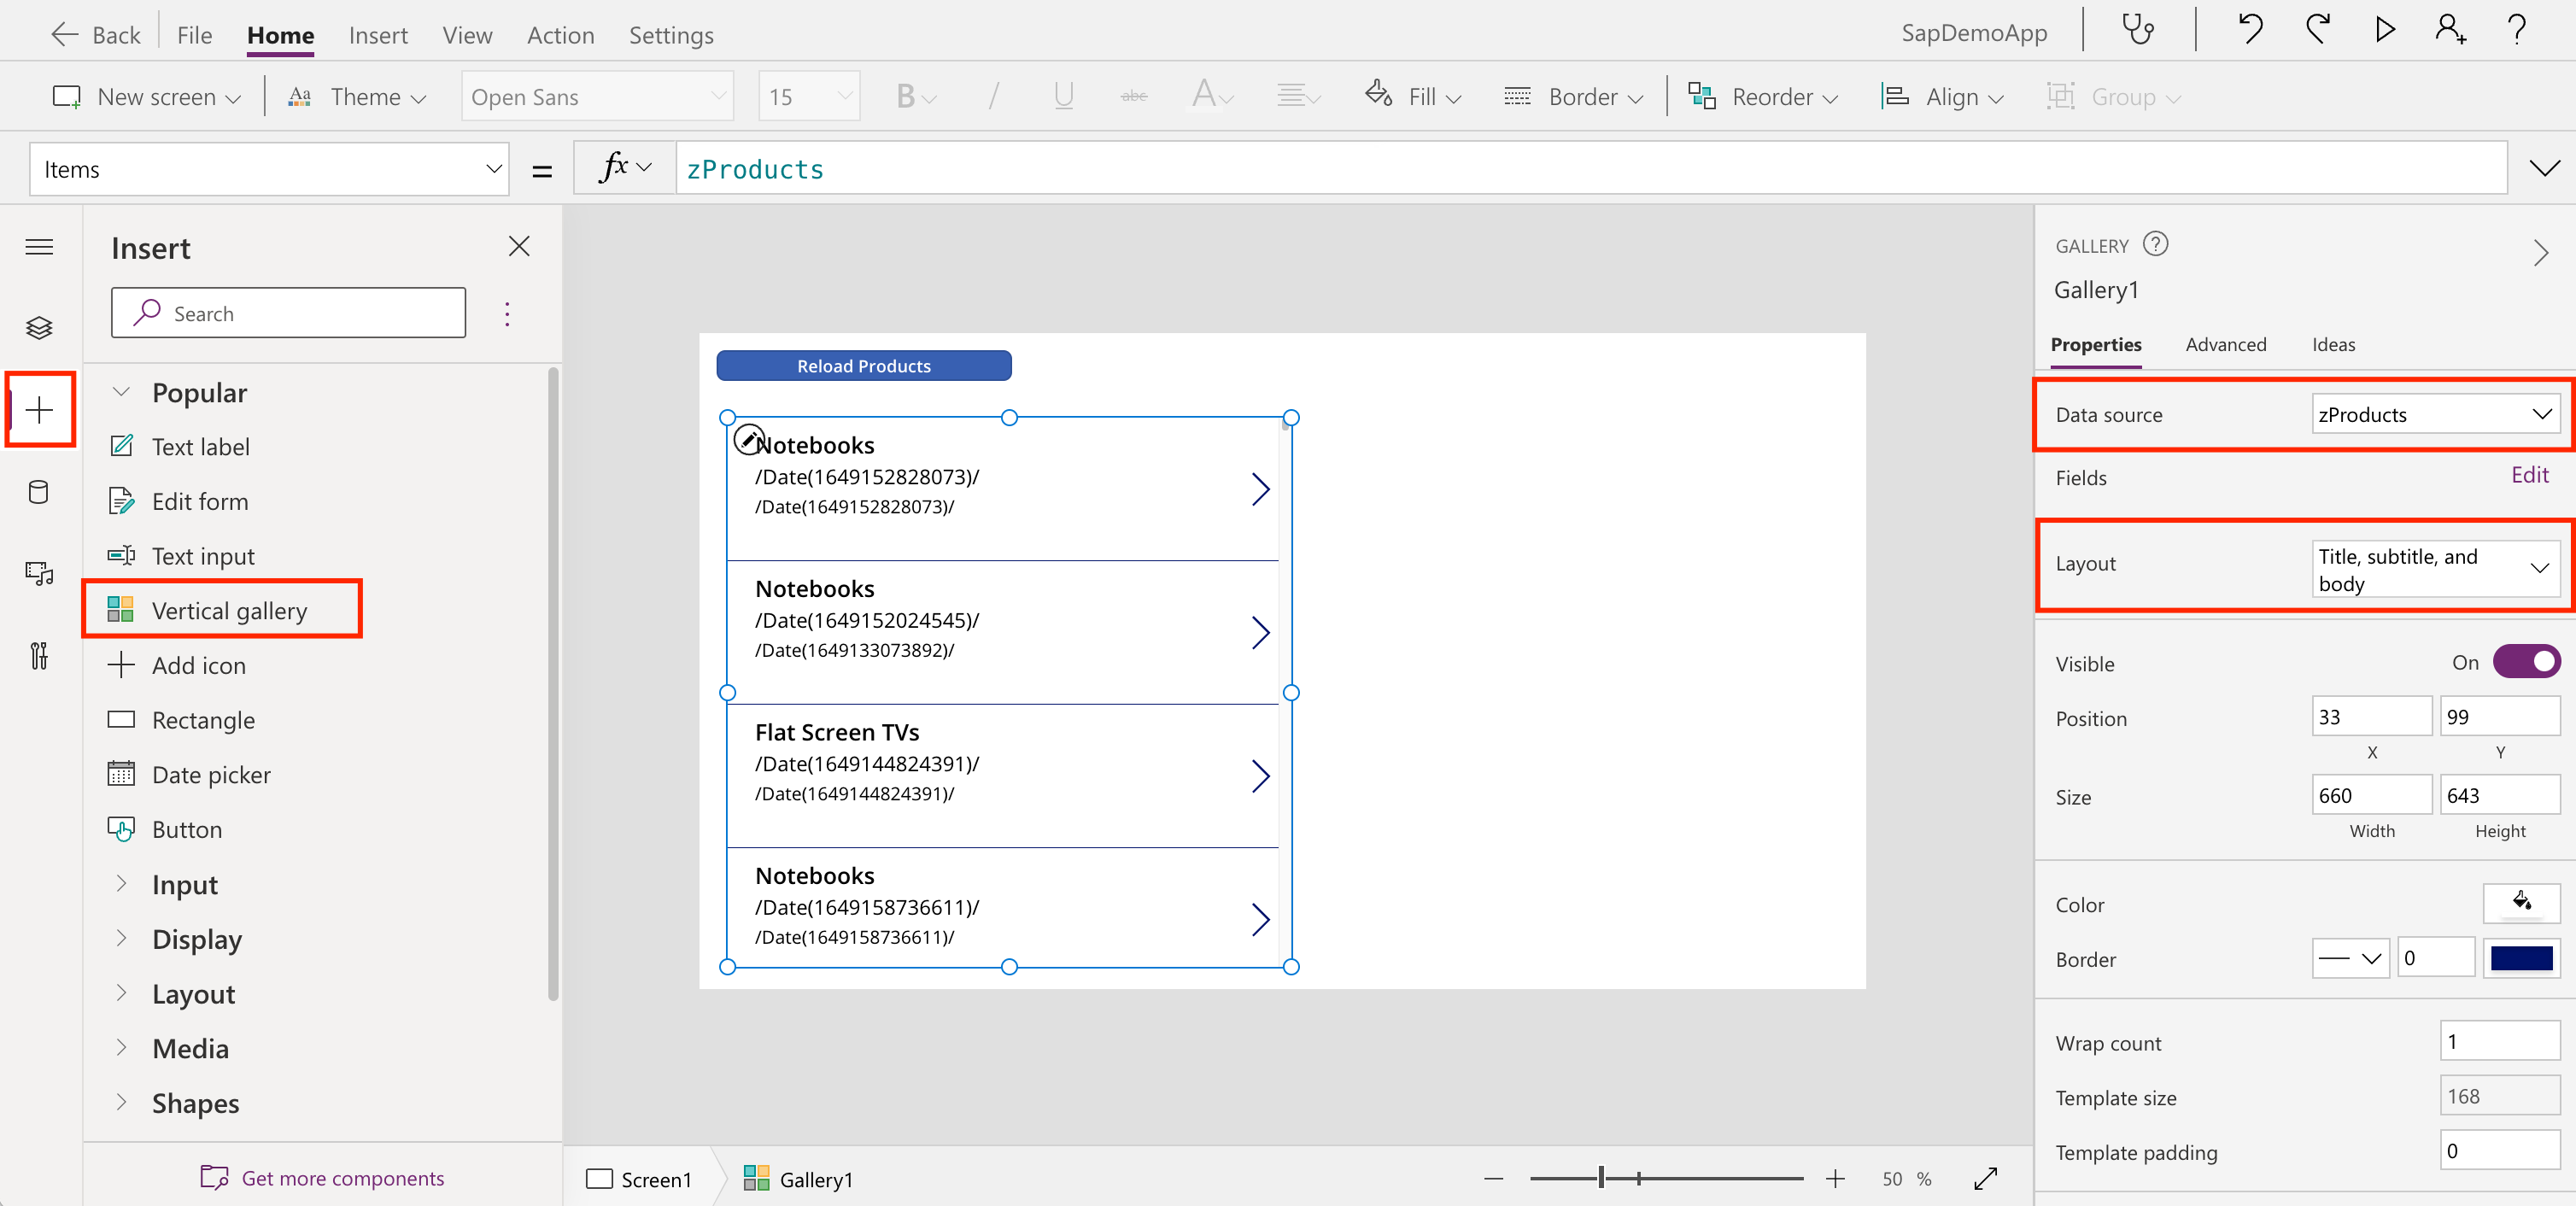
In order to display the Collection laoded, we will use a Gallery component that can have its layout customized. Click on the + icon, drag and drop the Vertical Gallery component to the canvas, resize it and set the required parameters:
- DataSoruce = zProducts
- Name = Gallery1
- Layout = Title, subtitle and Body
By setting the parameters, it should display the zProducts content loaded from the button above (if not ALT+CLICK the button)
-
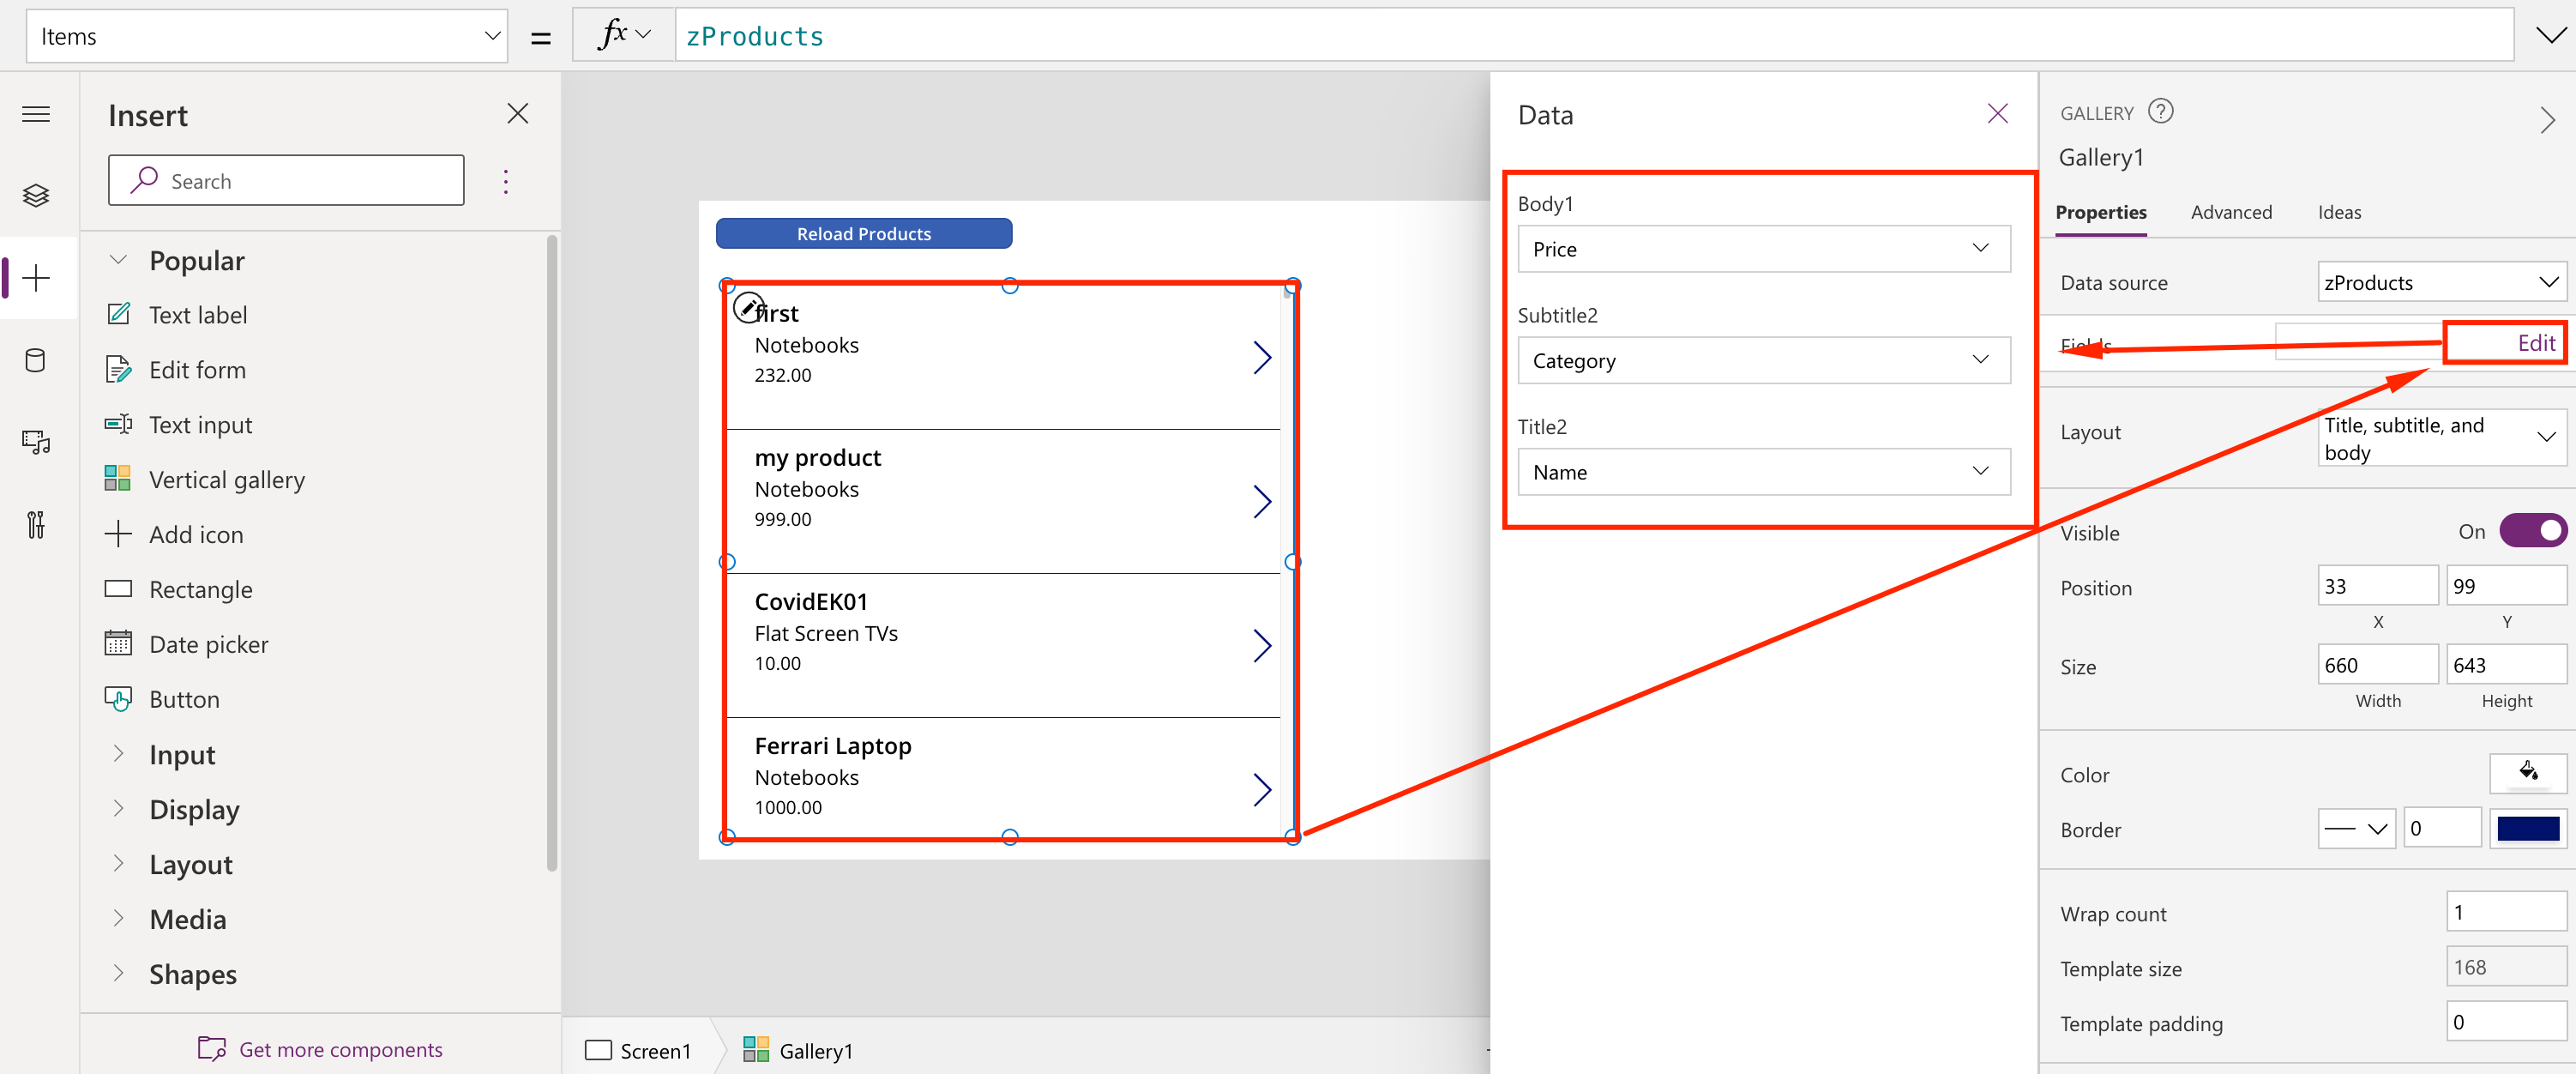
Let’s customize the fields displayed on Gallery1. Select the component Gallery1, click on Edit, and match the fields like the picture:
- Body1 = Price
- Subtitle2 = Category
- Title2 = Name
-
The gallery is designed to show part of the data. But we can have access to all data once we select and item. Click on the arrow and adjust the OnSelect property. By doing this, we will be loading a variable called zSelect with the content of the Gallery1 selected item.
- OnSelect = Set(zSelected, Gallery1.Selected)
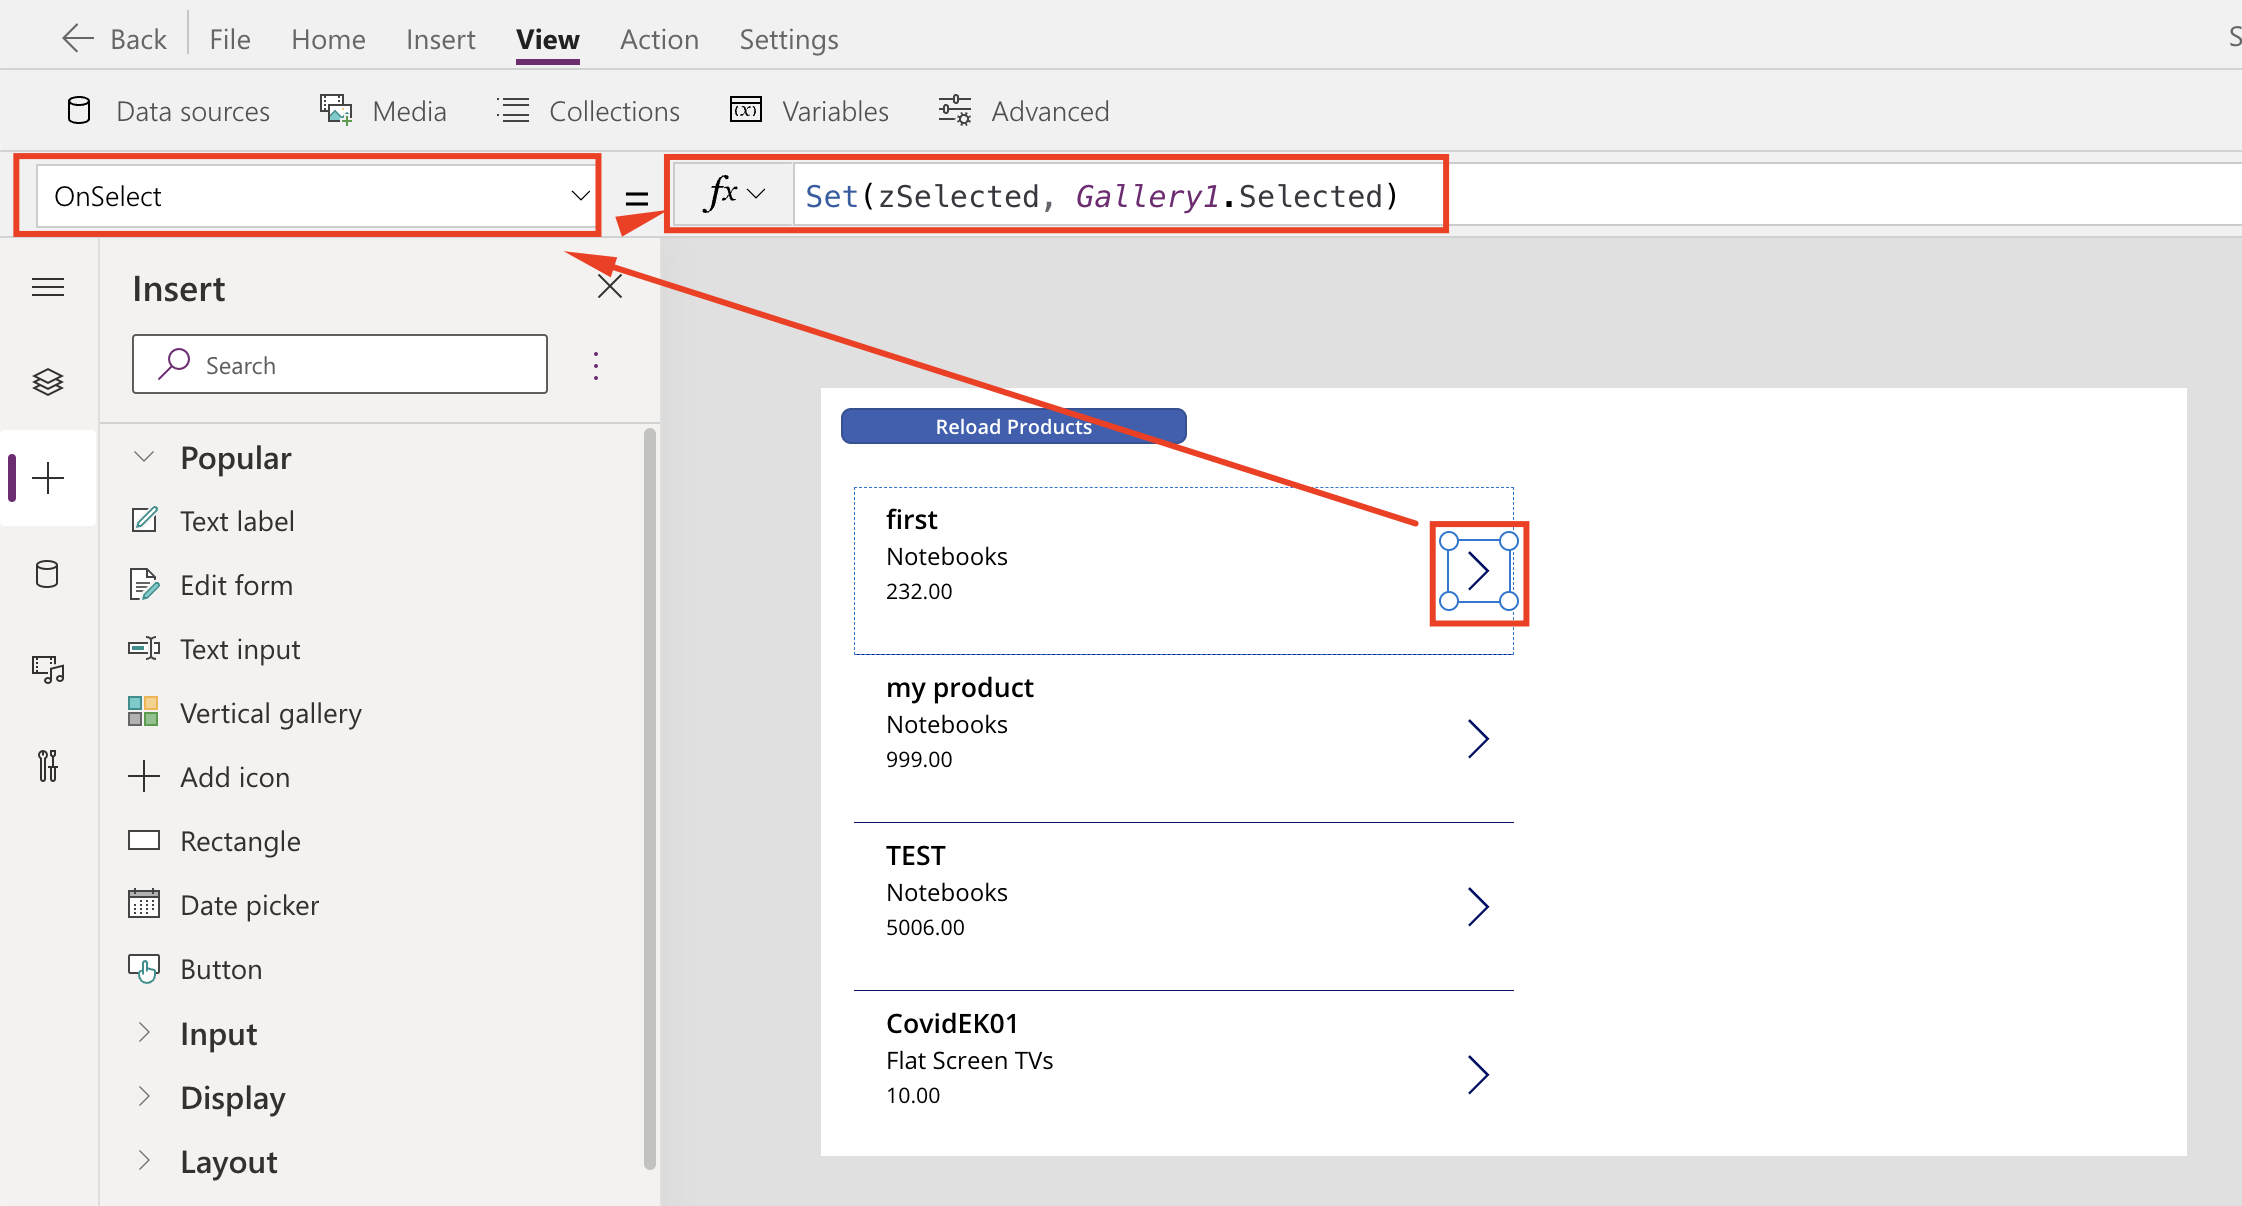
- OnSelect = Set(zSelected, Gallery1.Selected)
-
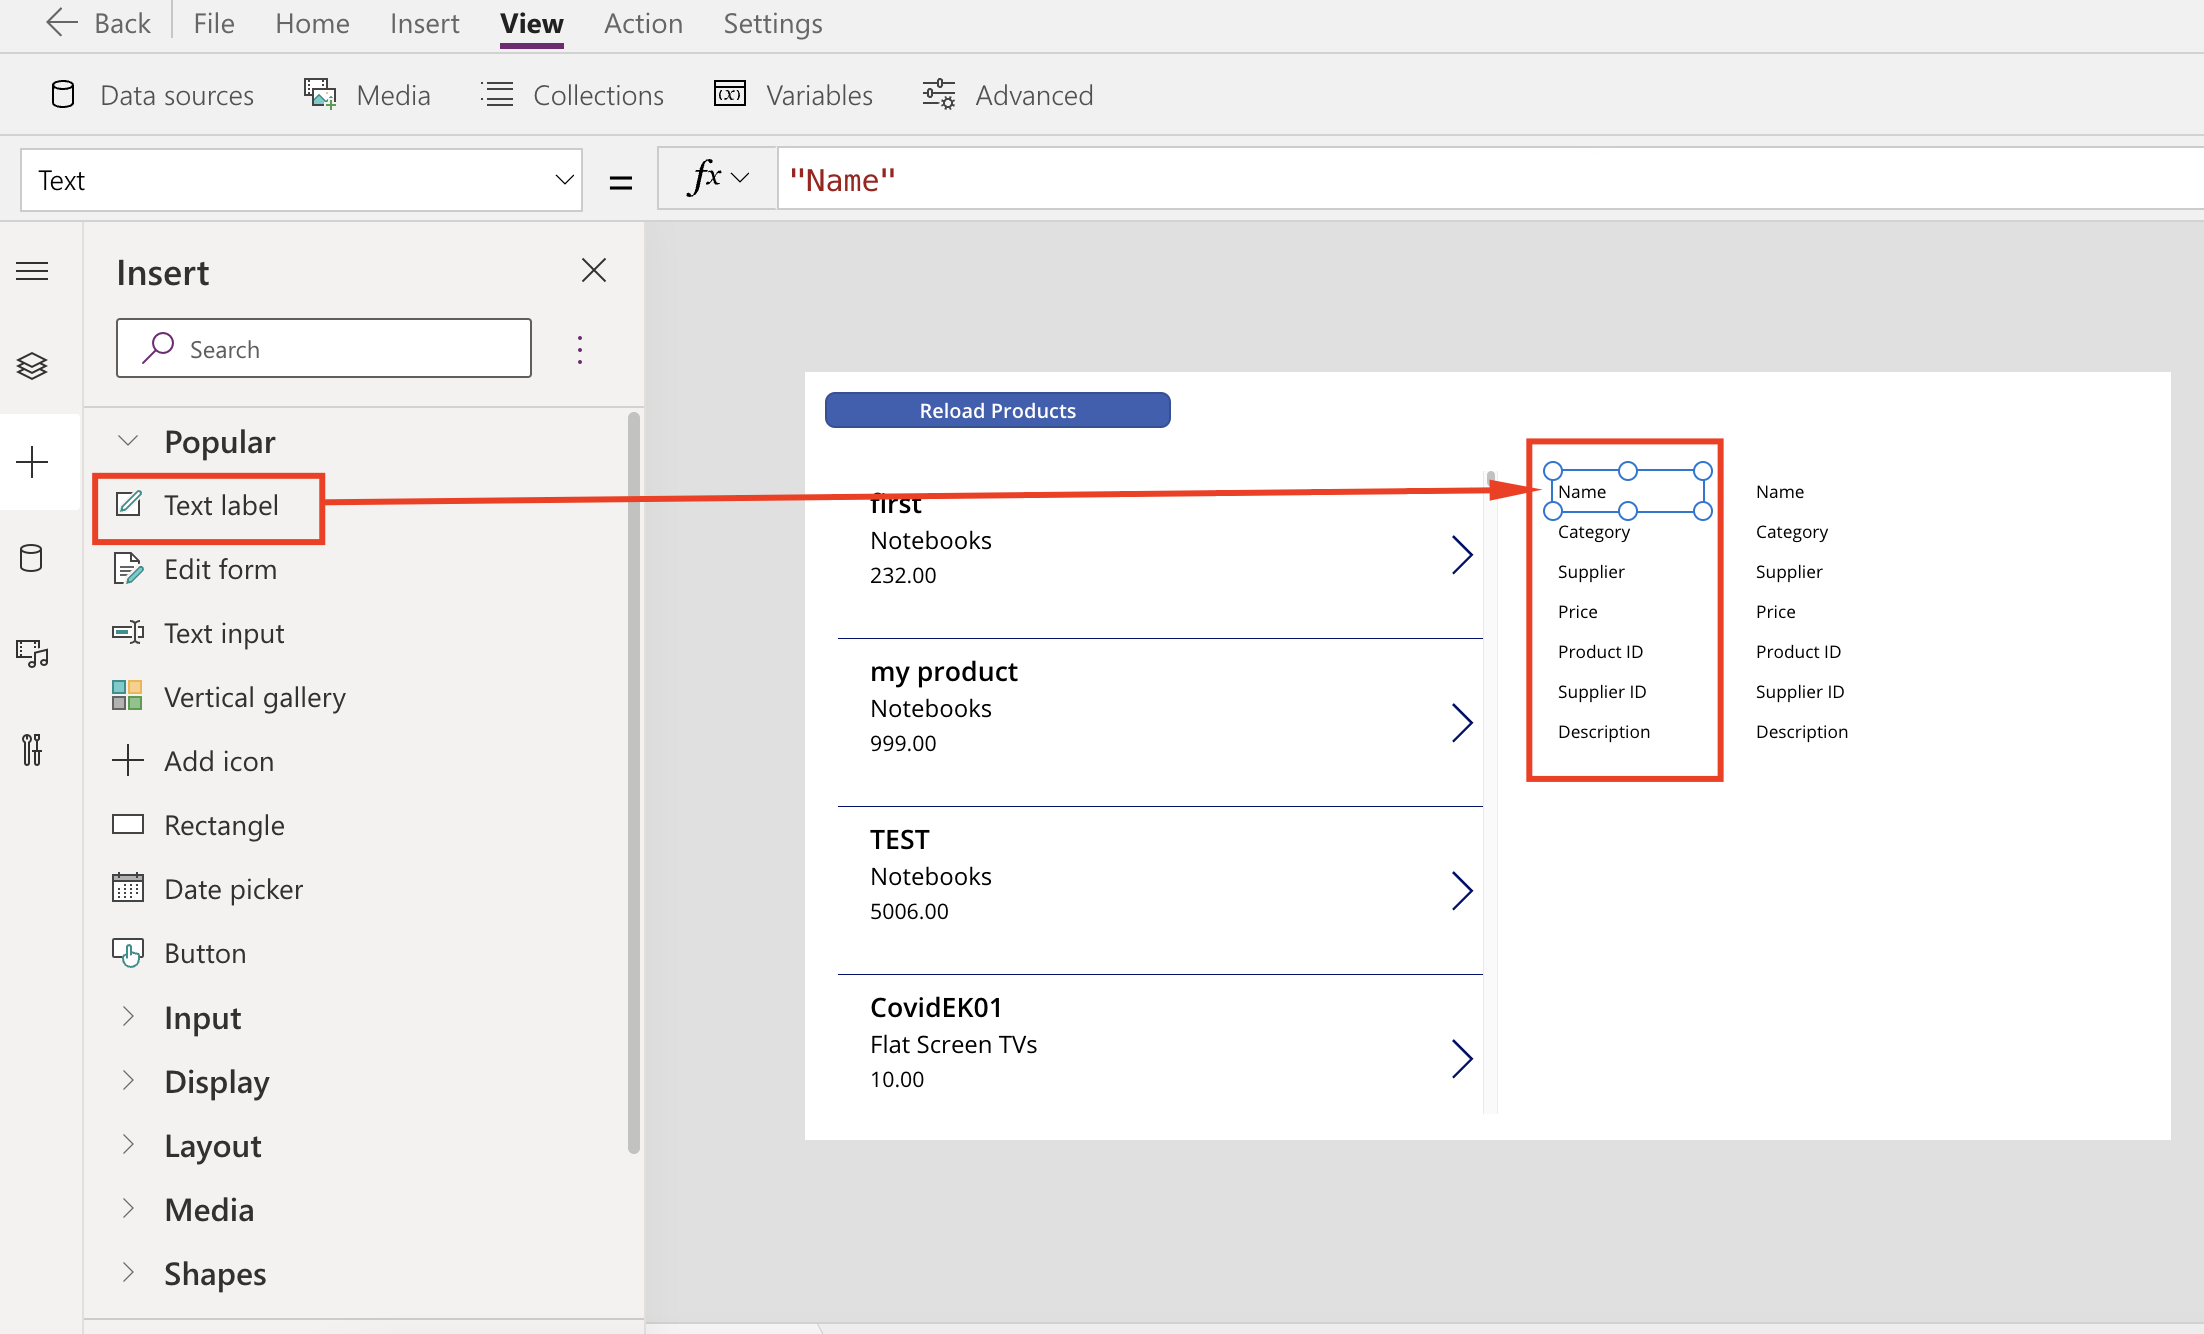
Drag 7 x Text Label to the canvas, and adjust its Text Property as Name, Category, Supplier, Price, Product ID, Supplier ID, Description. Those will be static data labels. Then select those 7 labels, copy and paste then on the canvas and on the next step we will customize it to read values form zSelected.
-
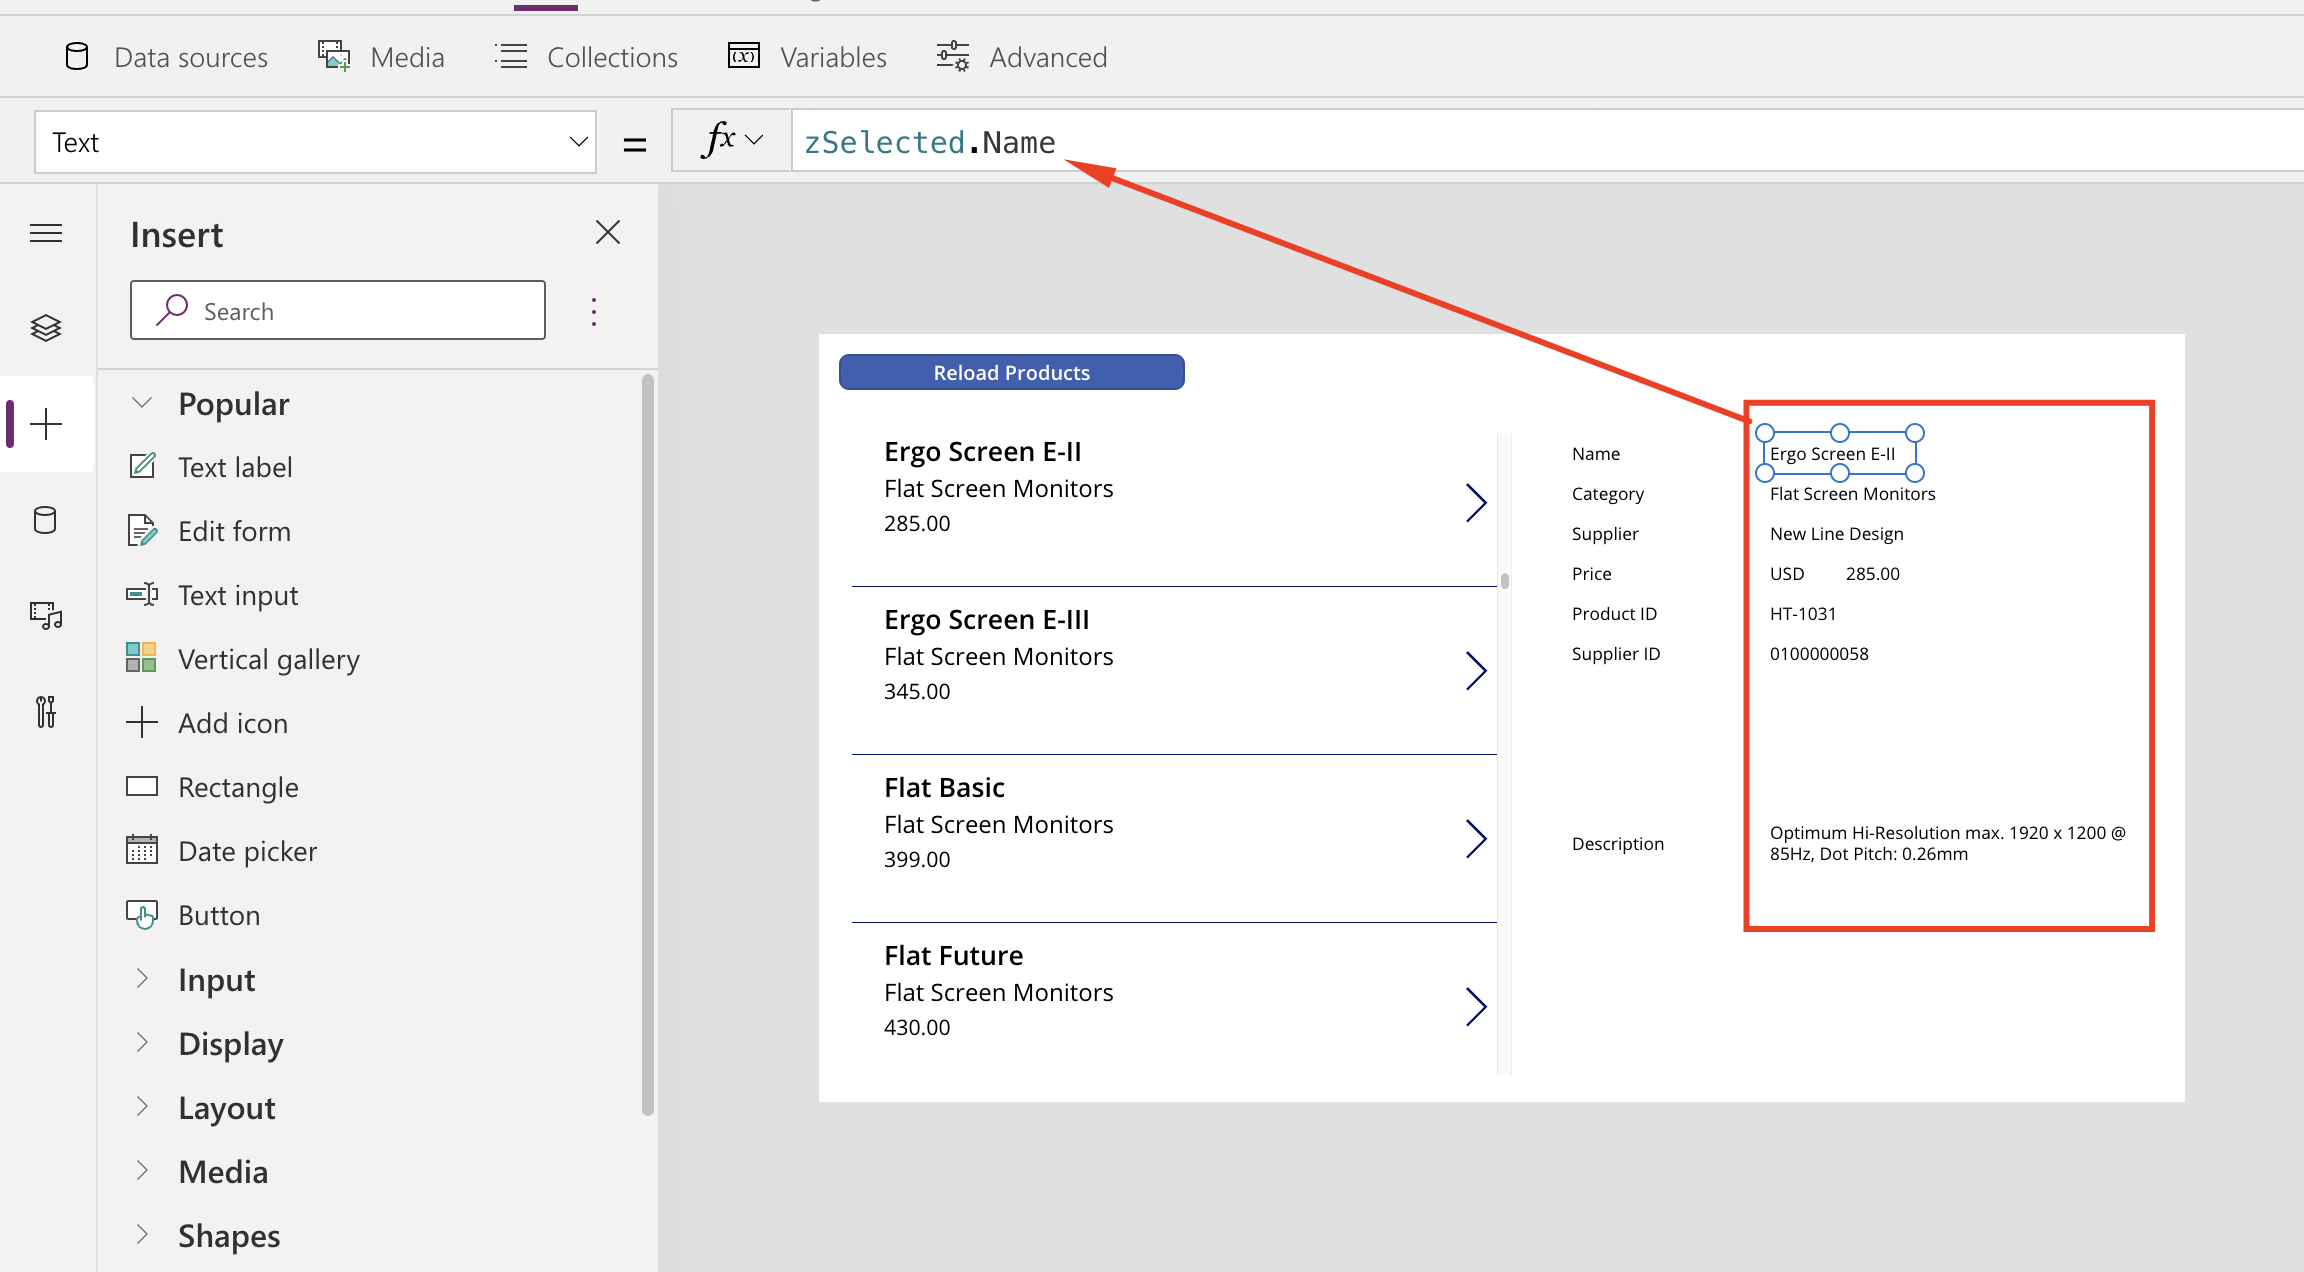
For each of the pasted labels, customize the Text property as:
- Name = zSelected.Name
- Category = zSelected.Category
- Supplier = zSelected.SupplierName
- Price = zSelected.CurrencyCode&" “&zSelected.Price
- Product ID = zSelected.ProductID
- Supplier ID = zSelected.SupplierID
- Description = zSelected.Description
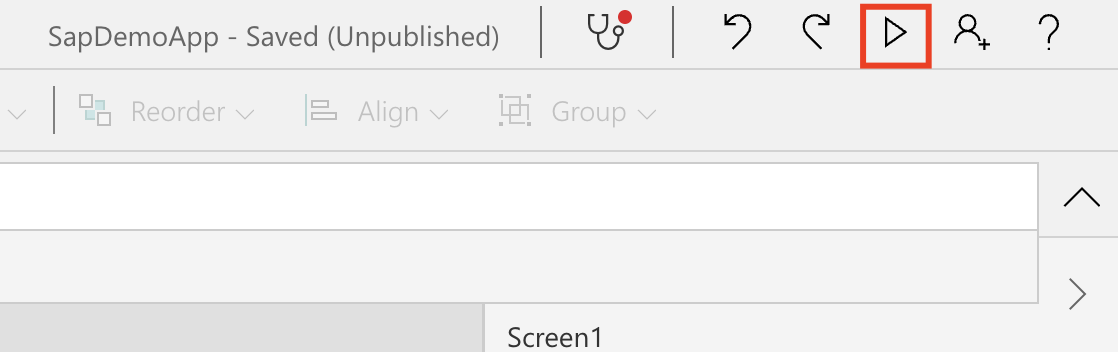
Alright ! We have a functioning app consuming data from SAP Gateway and displaying data in a simple and easy way.
You can click on the play button on the top right to run the app
On the next section we will start to add some funcionalities and call other APIs to augment the app.